Add Cash Receipt
1
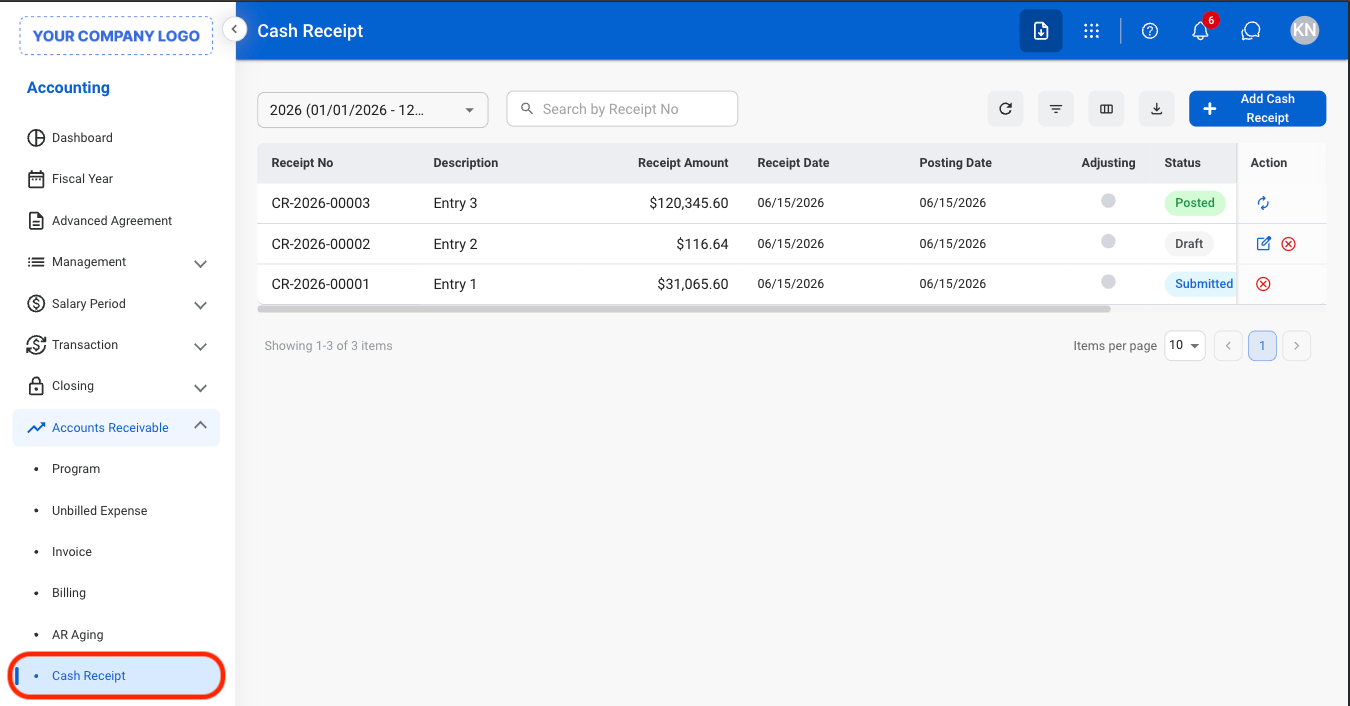
Navigate to Cash Receipt
2
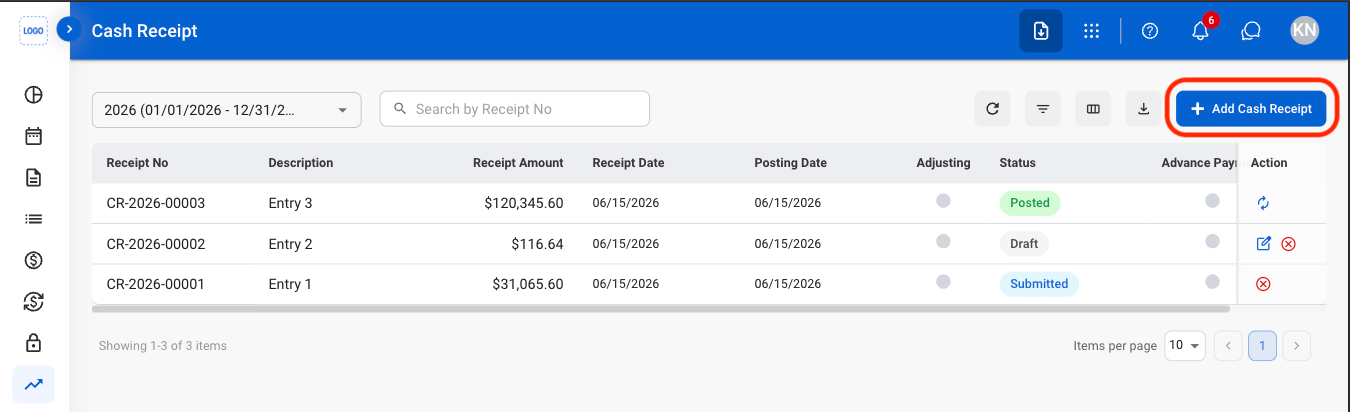
Select Add Cash Receipt
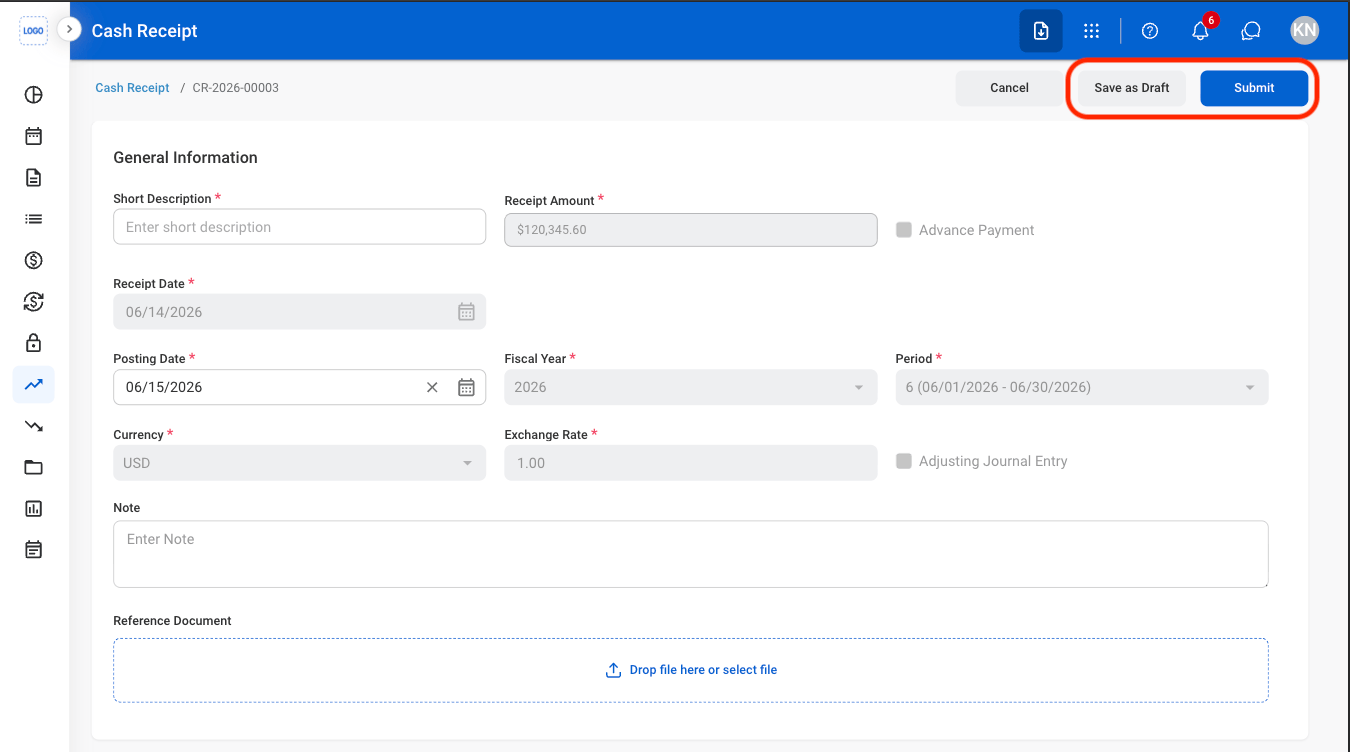
3
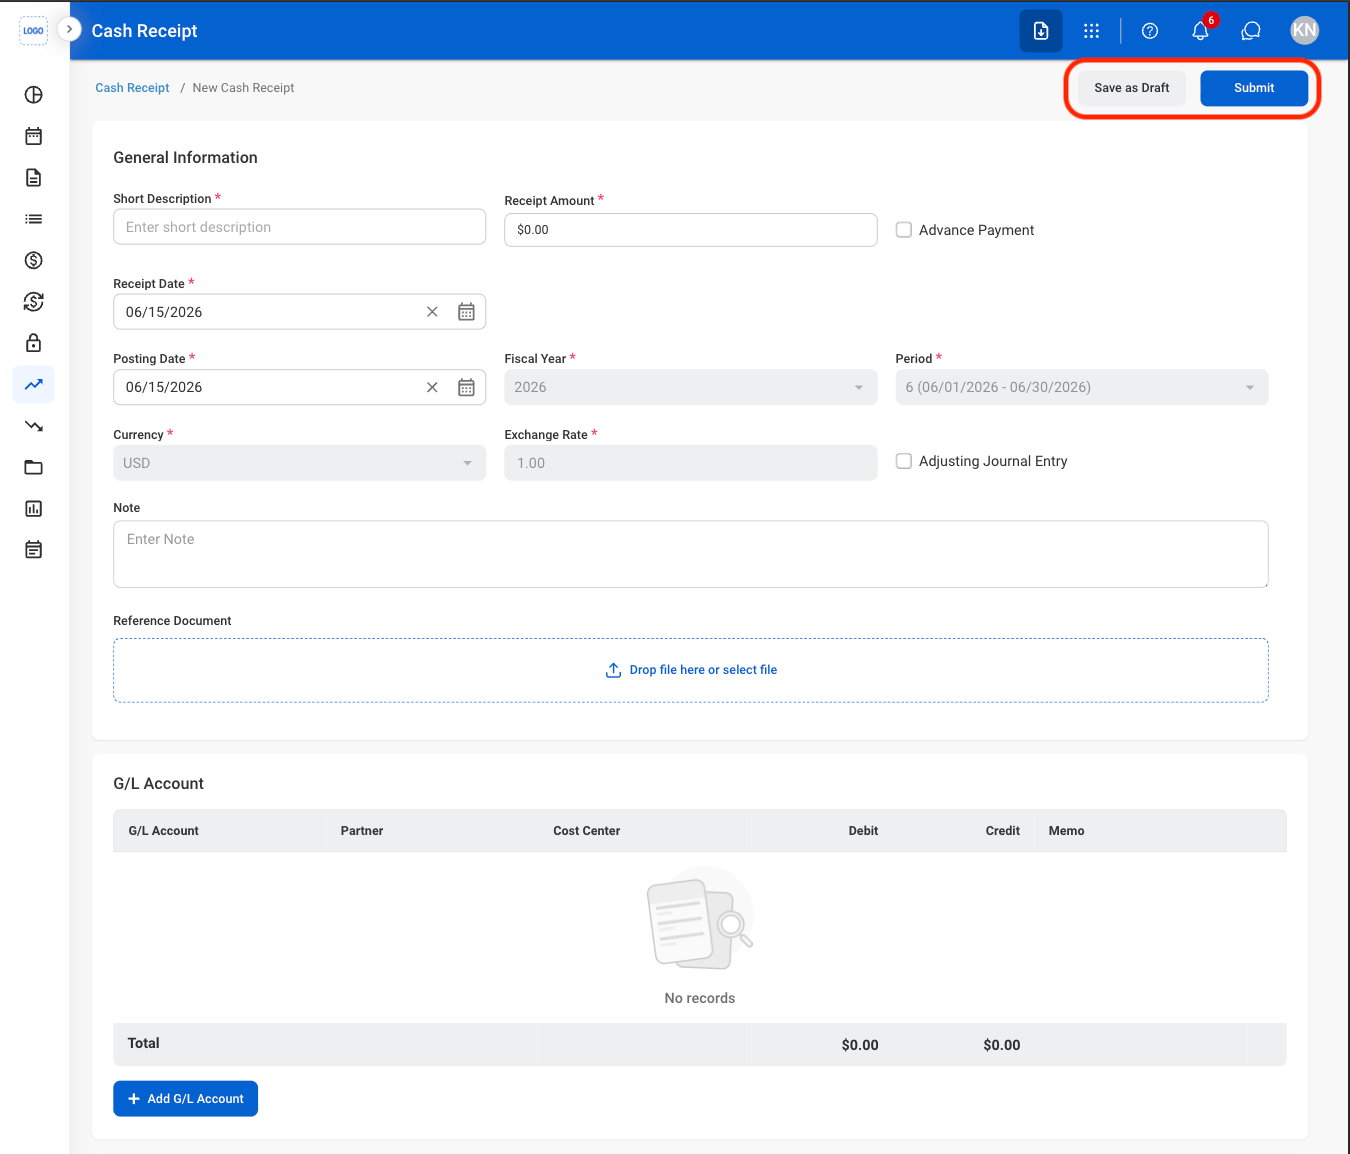
Fill in the required information
Modify a Cash Receipt
1
Select an action
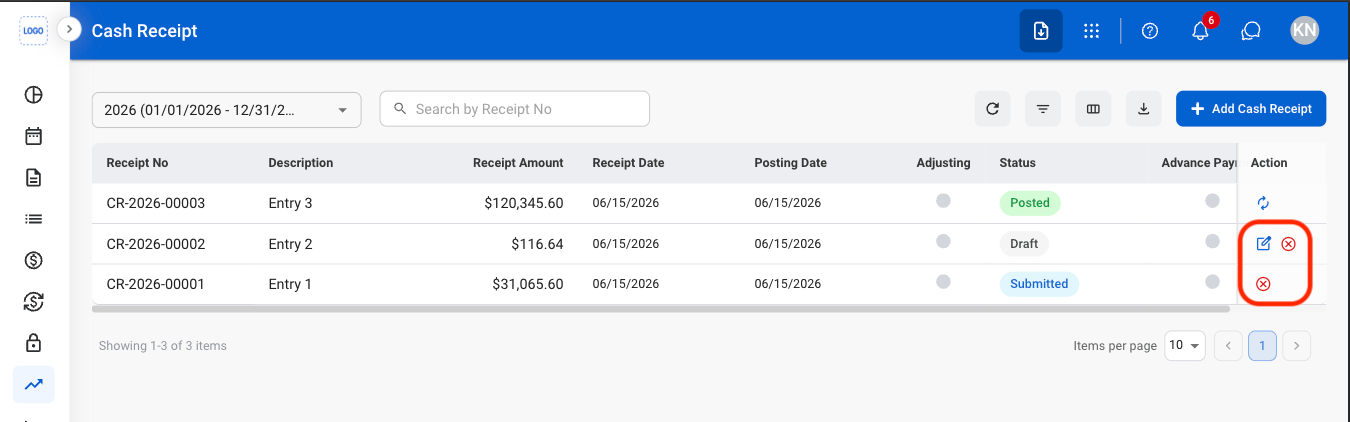
- Edit: Update cash receipt details before it is finalized or processed in the billing workflow.
- Delete: Permanently remove a draft cash receipt that has not been submitted for processing.
- Cancel: Cancel a submitted cash receipt and remove it from the billing workflow while preserving its record for audit purposes.
2
Confirm the action
- Edit: Fill in the required information. Select Submit to complete or Save to exit and save as draft.
- Delete: Select Delete to complete or Cancel to exit without saving changes.
- Cancel: Select Confirm to complete or Cancel to exit without saving changes.
Review a Cash Receipt
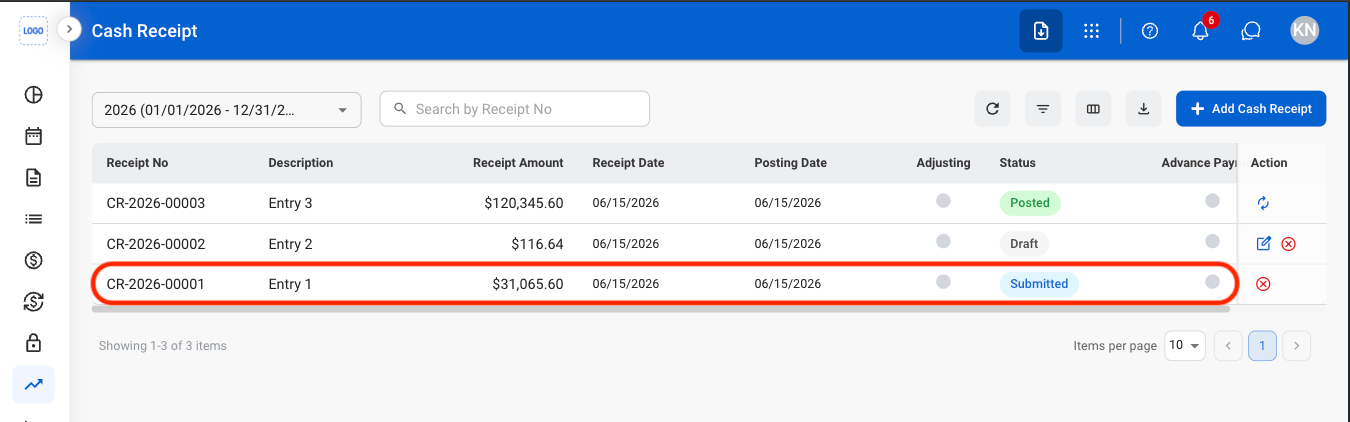
Cash Receipts must be in Submitted status before they can be reviewed. Submitted vouchers appear in the Pending tab until they are posted.
1
Select a submitted cash receipt
2
Review and process the record
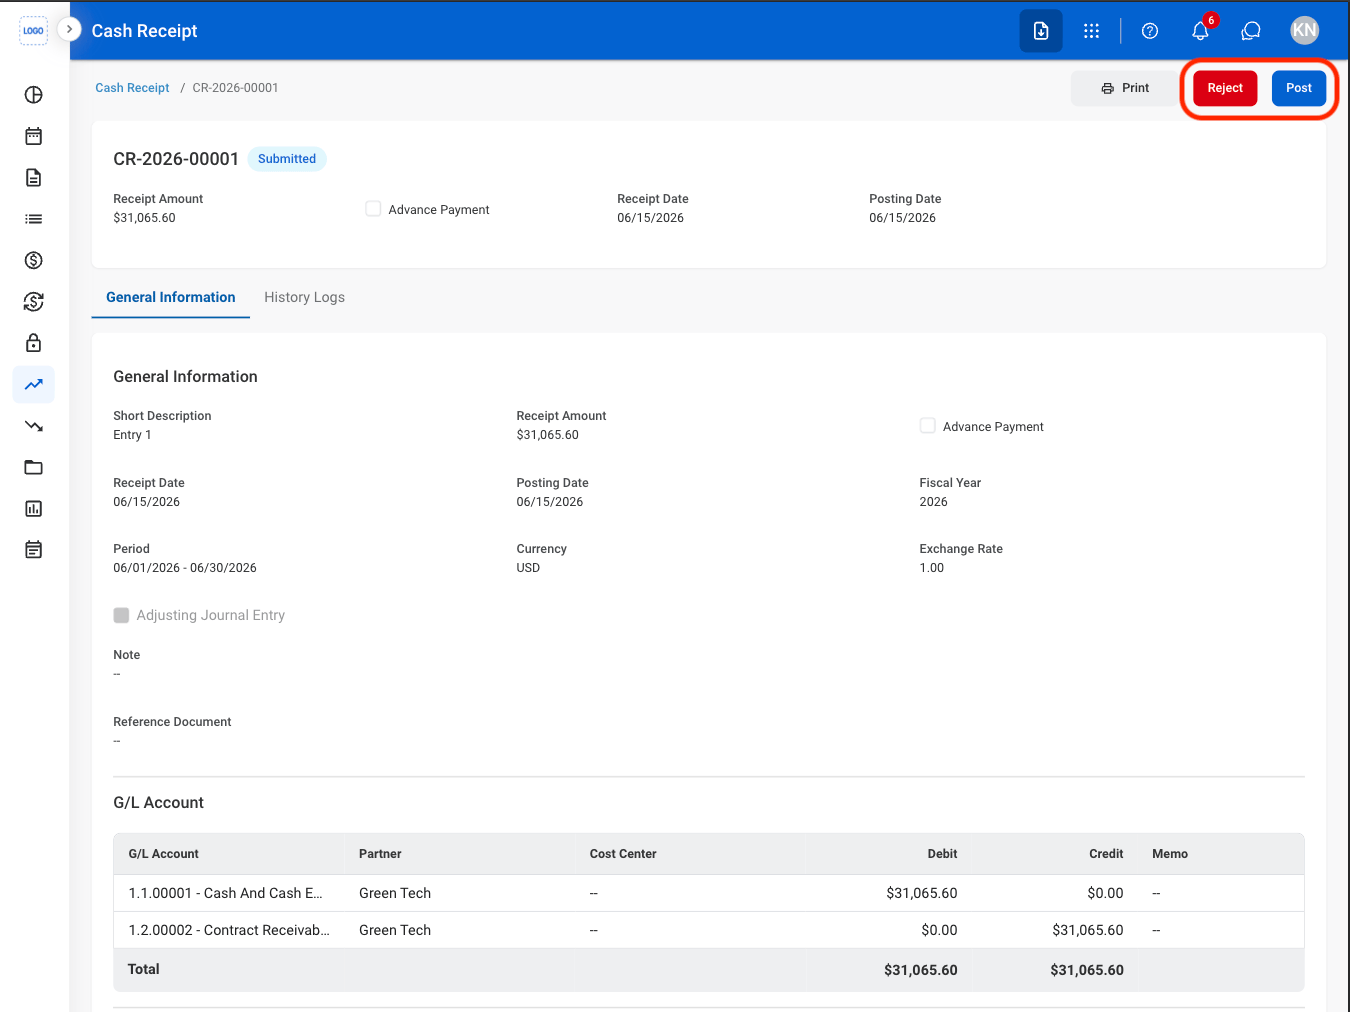
- Reject: The status changes to Rejected and the cash receipt is not posted to the General Ledger.
- Post: The status changes to Posted and the cash receipt is recorded in the General Ledger.
3
Confirm the action
- Reject: Enter a rejection reason. Select Reject to complete or Cancel to exit without saving changes.
- Post: Select Confirm to complete or Cancel to exit without saving changes.
Reverse a Cash Receipt
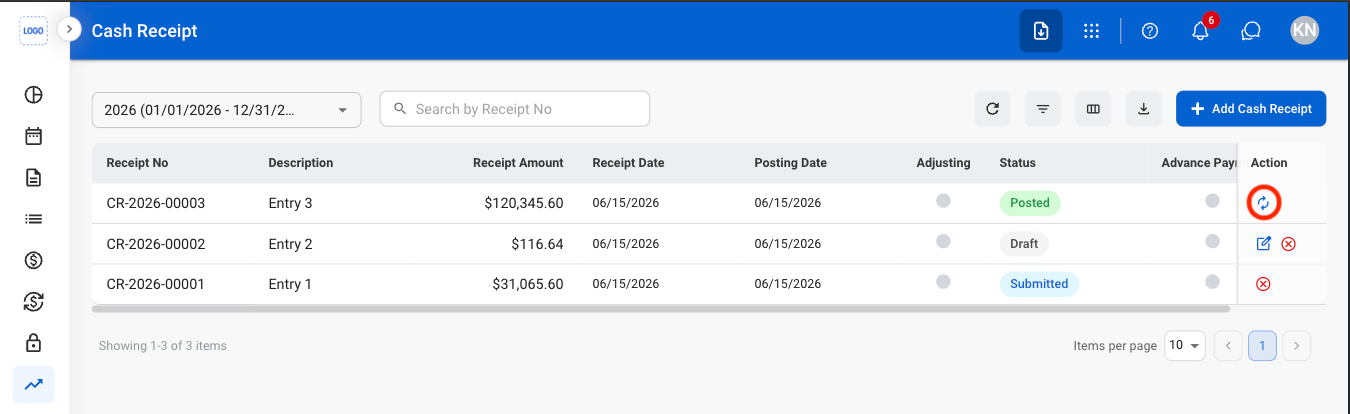
Reverse the cash receipt by creating an offsetting transaction. The original cash receipt record remains in the system and a reversing entry is recorded in the General Ledger.The Reverse action is only available for posted cash receipts.
1
Select the Reverse icon
2
Fill in the required information
General Information
View General Information
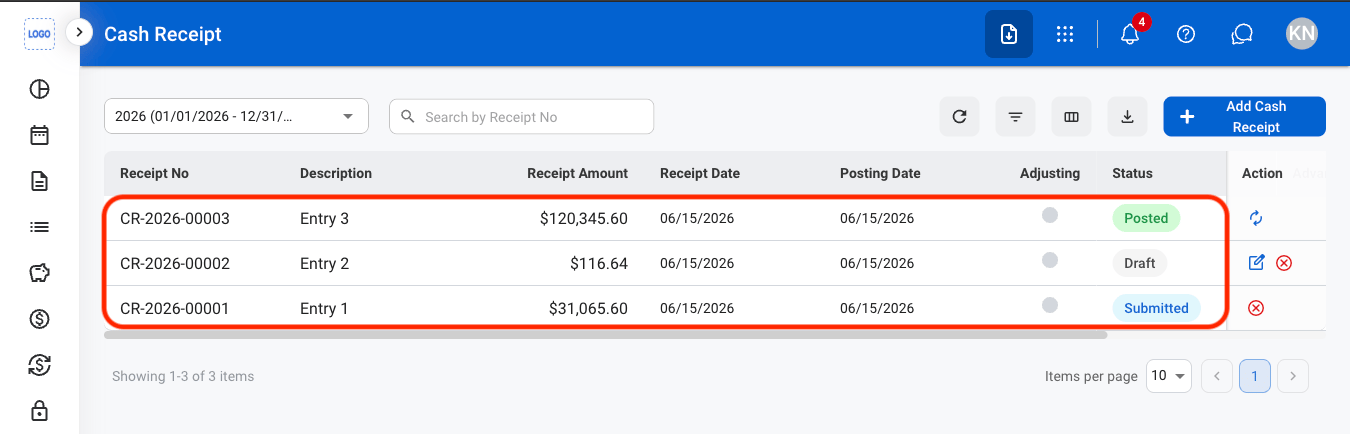
1
Select a cash receipt
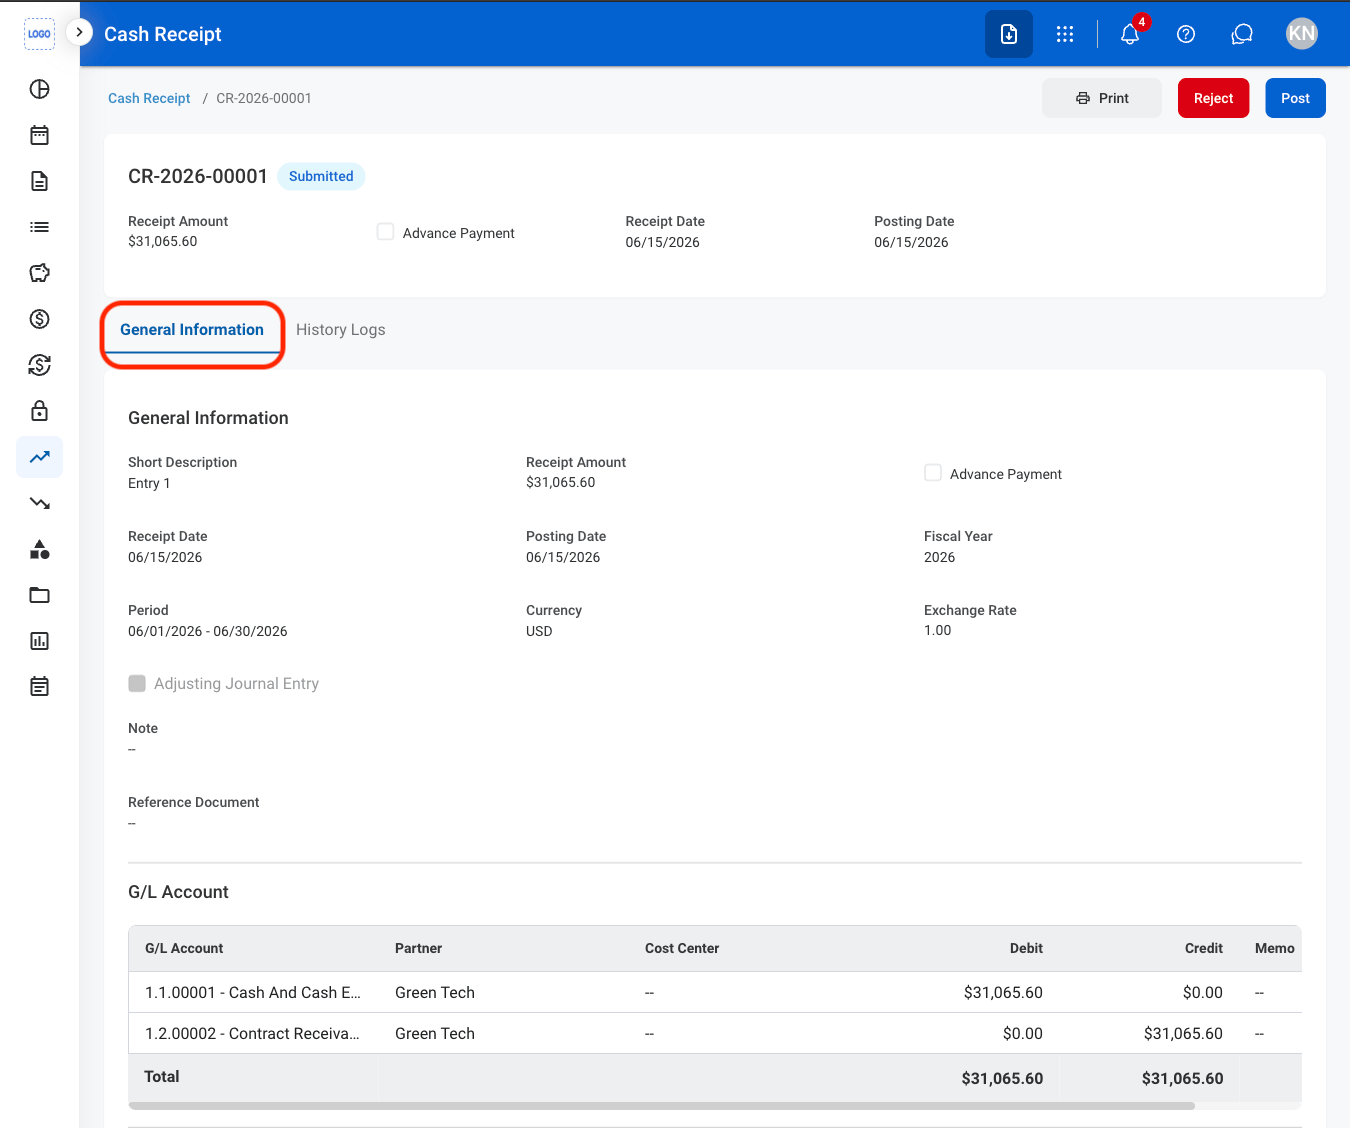
2
Navigate to General Information
History Logs
View History Logs
1
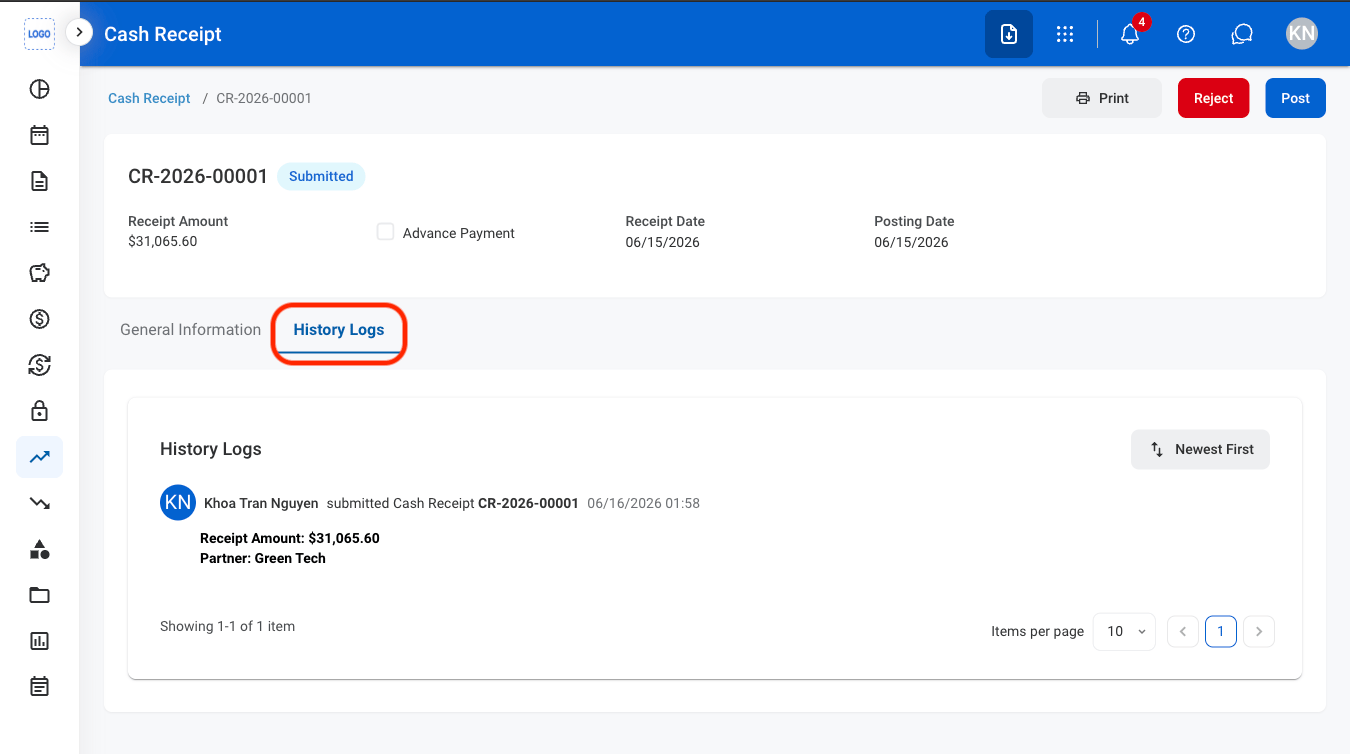
Navigate to History Logs