
Create an Invoice
Manual Entry
1
Navigate to Invoice
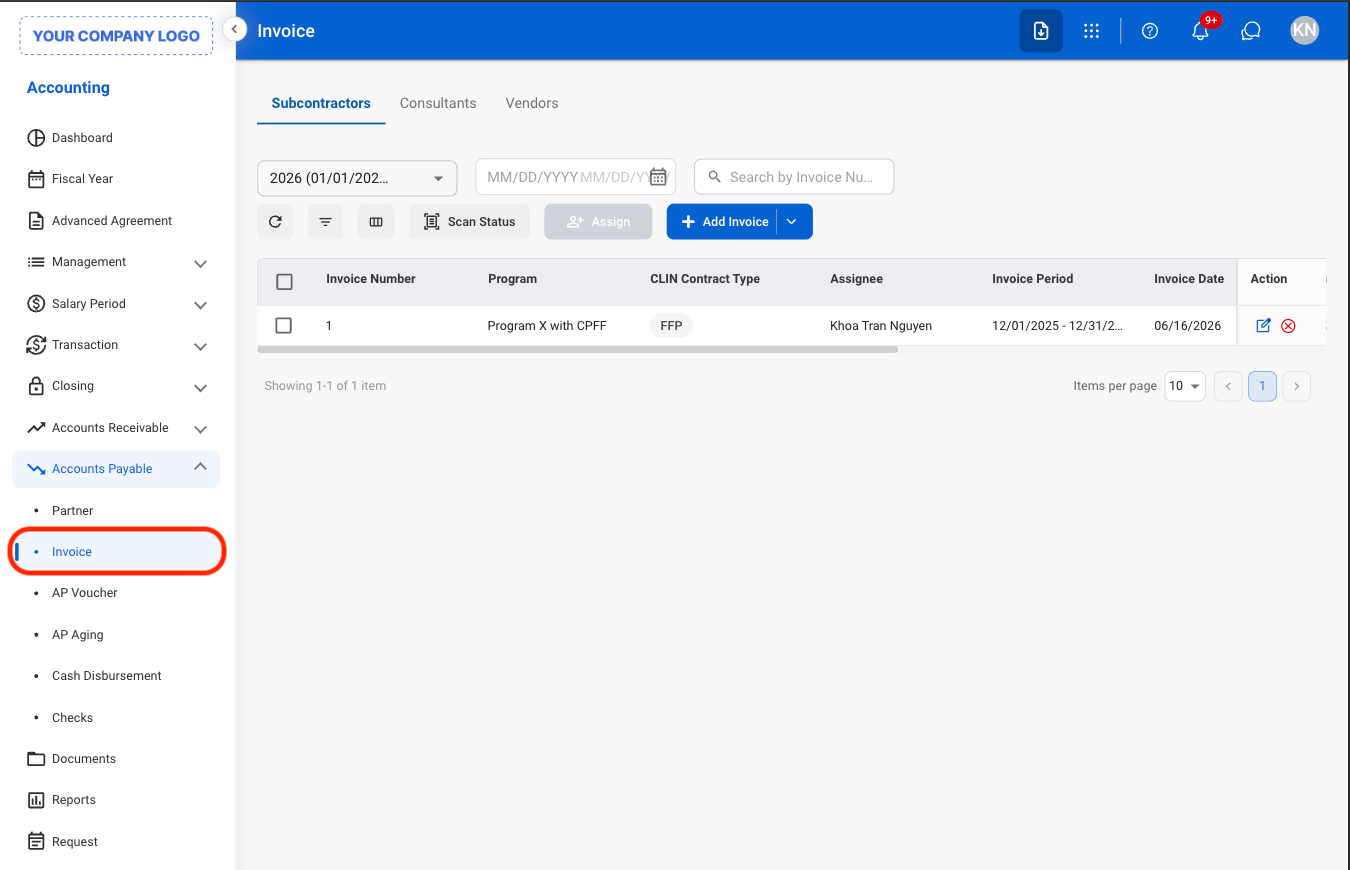
2
Select a tab

3
Select Add Invoice

4
Select Manual Entry
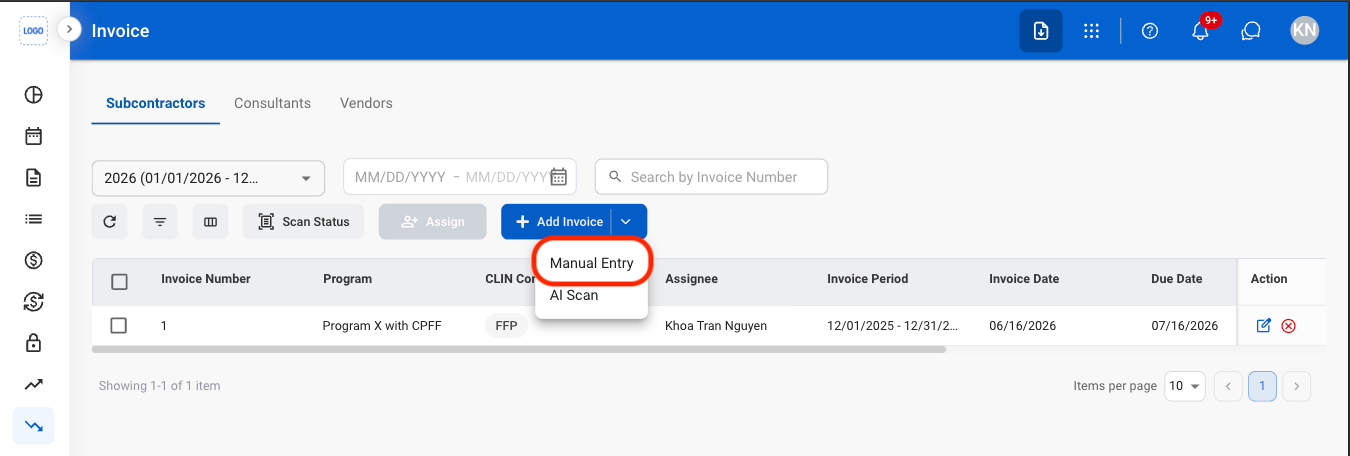
5
Fill in the required information

AI Scan
1
Select a tab
2
Select Add Invoice
3
Select AI Scan
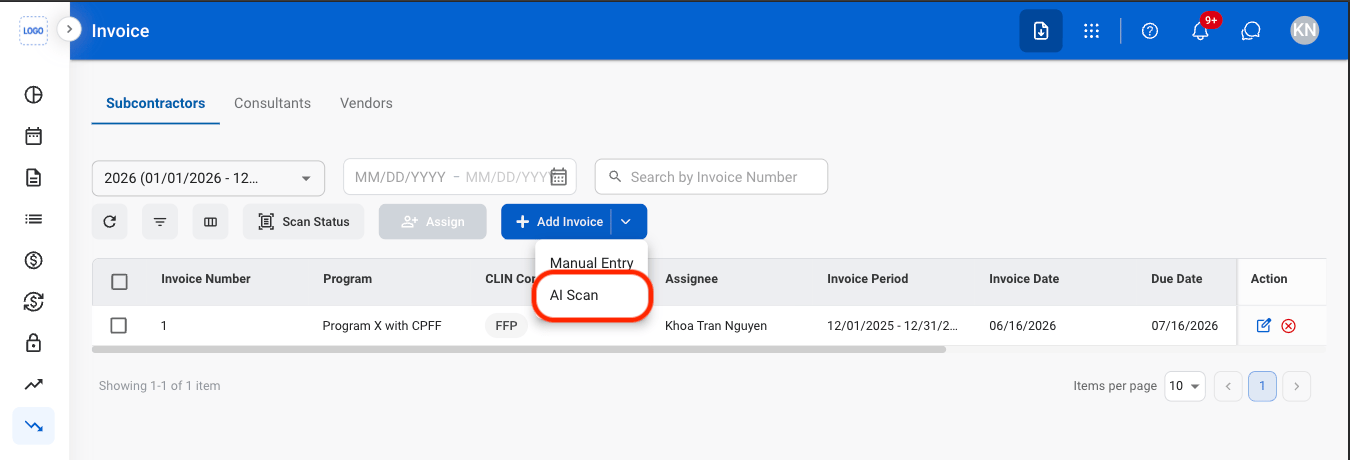
4
Upload an invoice
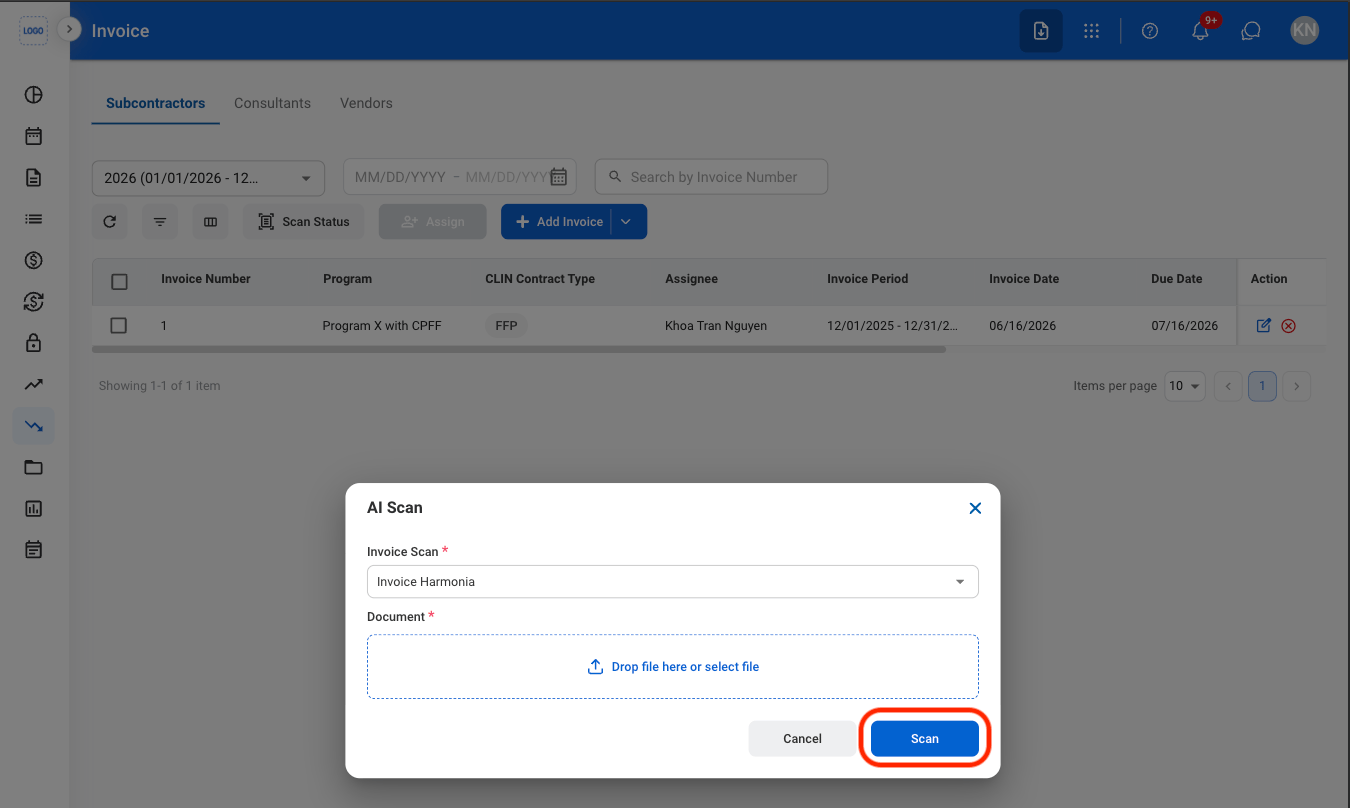
Only PDF files are supported for OCR scanning. If required information cannot be matched to existing system records, the message “Data could not be extracted” is displayed.
5
Select Scan Status to monitor progress
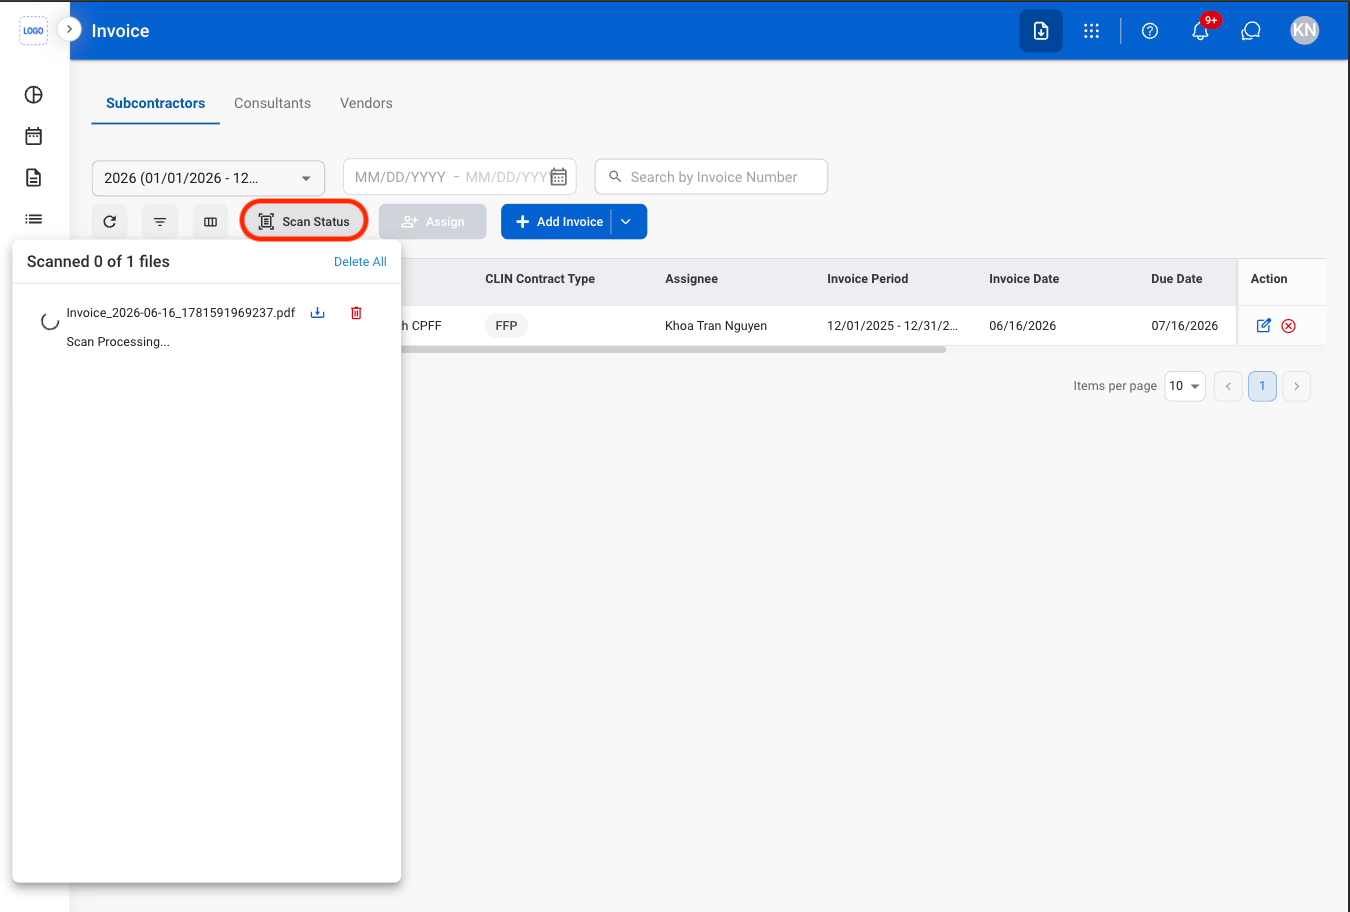
If OCR scanning fails, select Retry to scan the file again or use Manual Entry to enter the invoice information manually.
6
Select the file to open the Add Invoice page

7
Review the scanned information

Modify an Invoice
1
Select an action
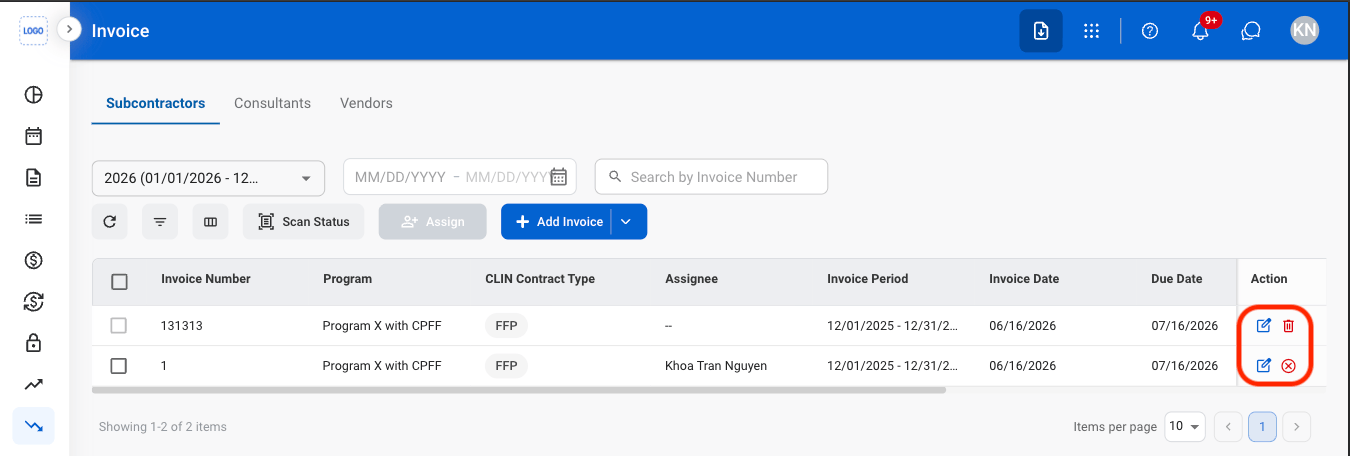
- Edit: Update invoice details before it is finalized or processed in the billing workflow.
- Delete: Permanently remove a draft invoice that has not been submitted for processing.
- Cancel: Cancel a submitted invoice and remove it from the billing workflow while preserving its record for audit purposes.
2
Confirm the action
- Edit: Fill in the required information. Select Submit to complete, Save as Draft to save the record without submitting, or Cancel to exit without saving changes.
- Delete: Select Delete to complete or Cancel to exit without saving changes.
- Cancel: Select Confirm to complete or Cancel to exit without saving changes.
Assign an Invoice
1
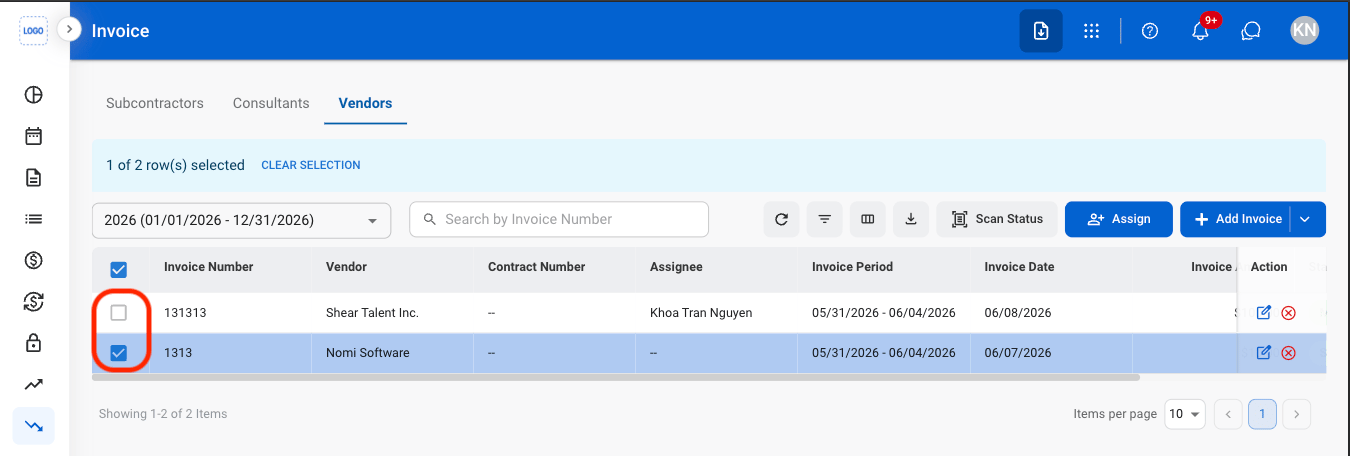
Select an invoice checkbox
2
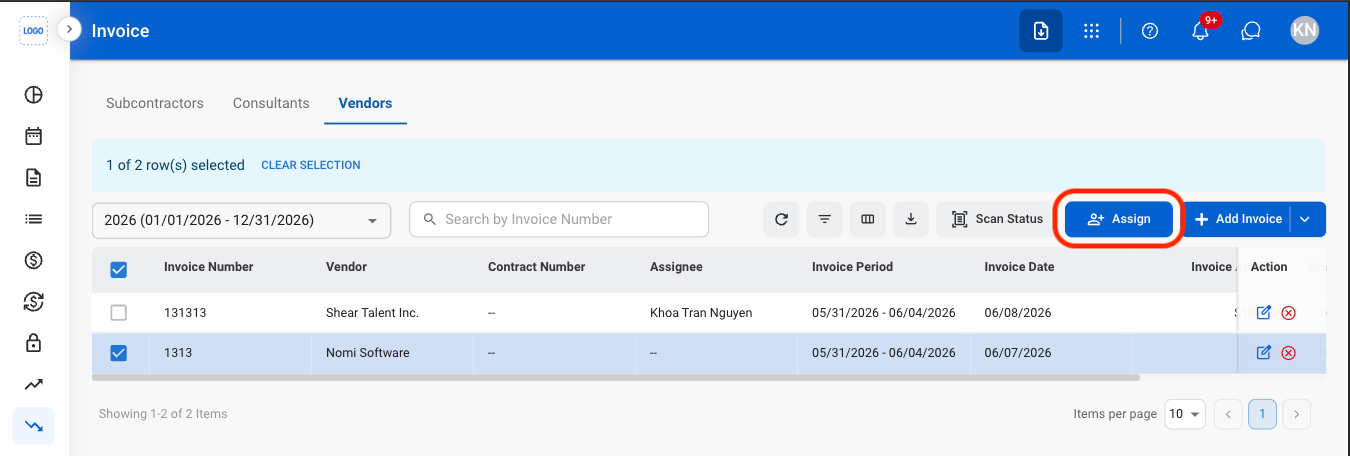
Select Assign
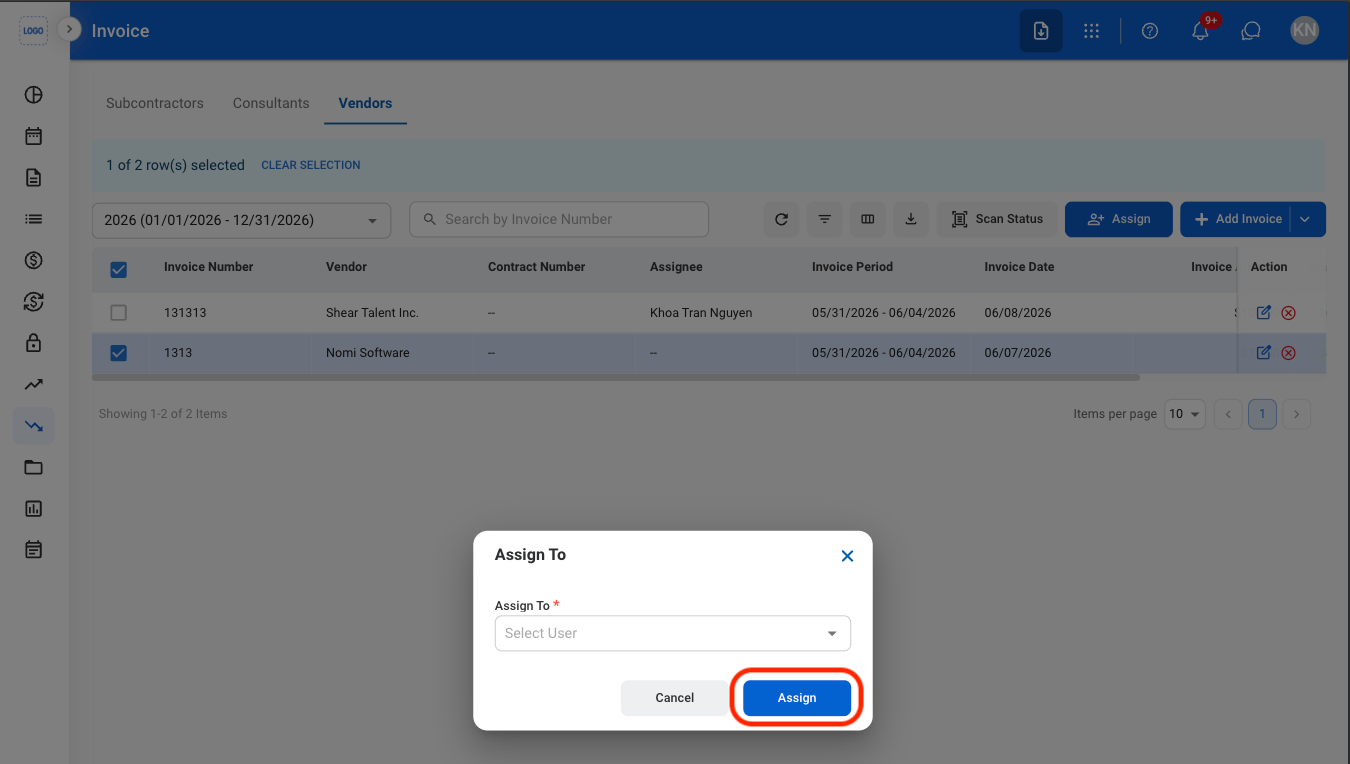
3
Assign a user
Review an Invoice
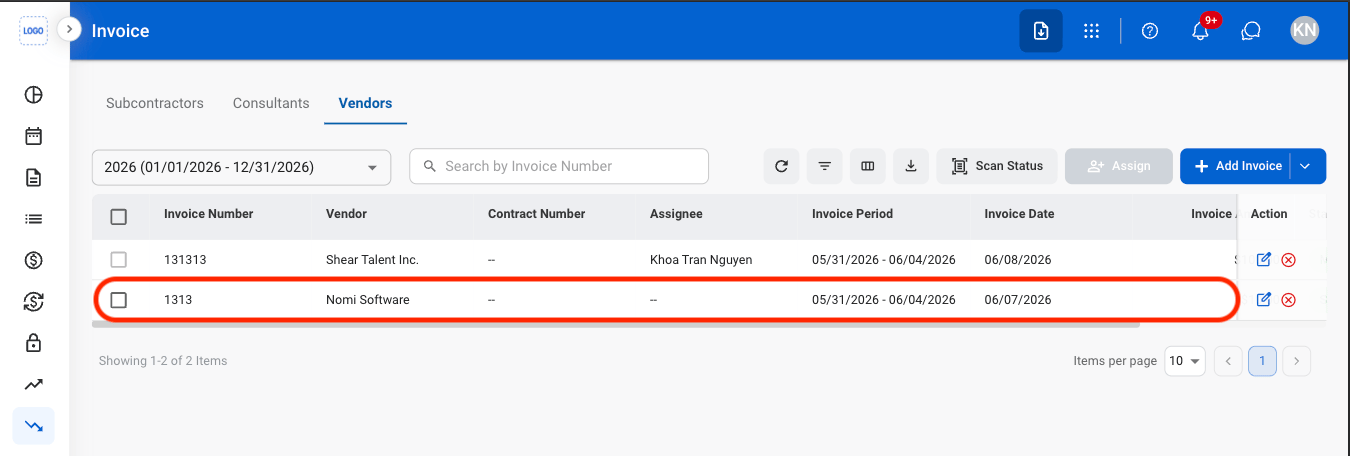
1
Select a submitted invoice
2
Review and process the record
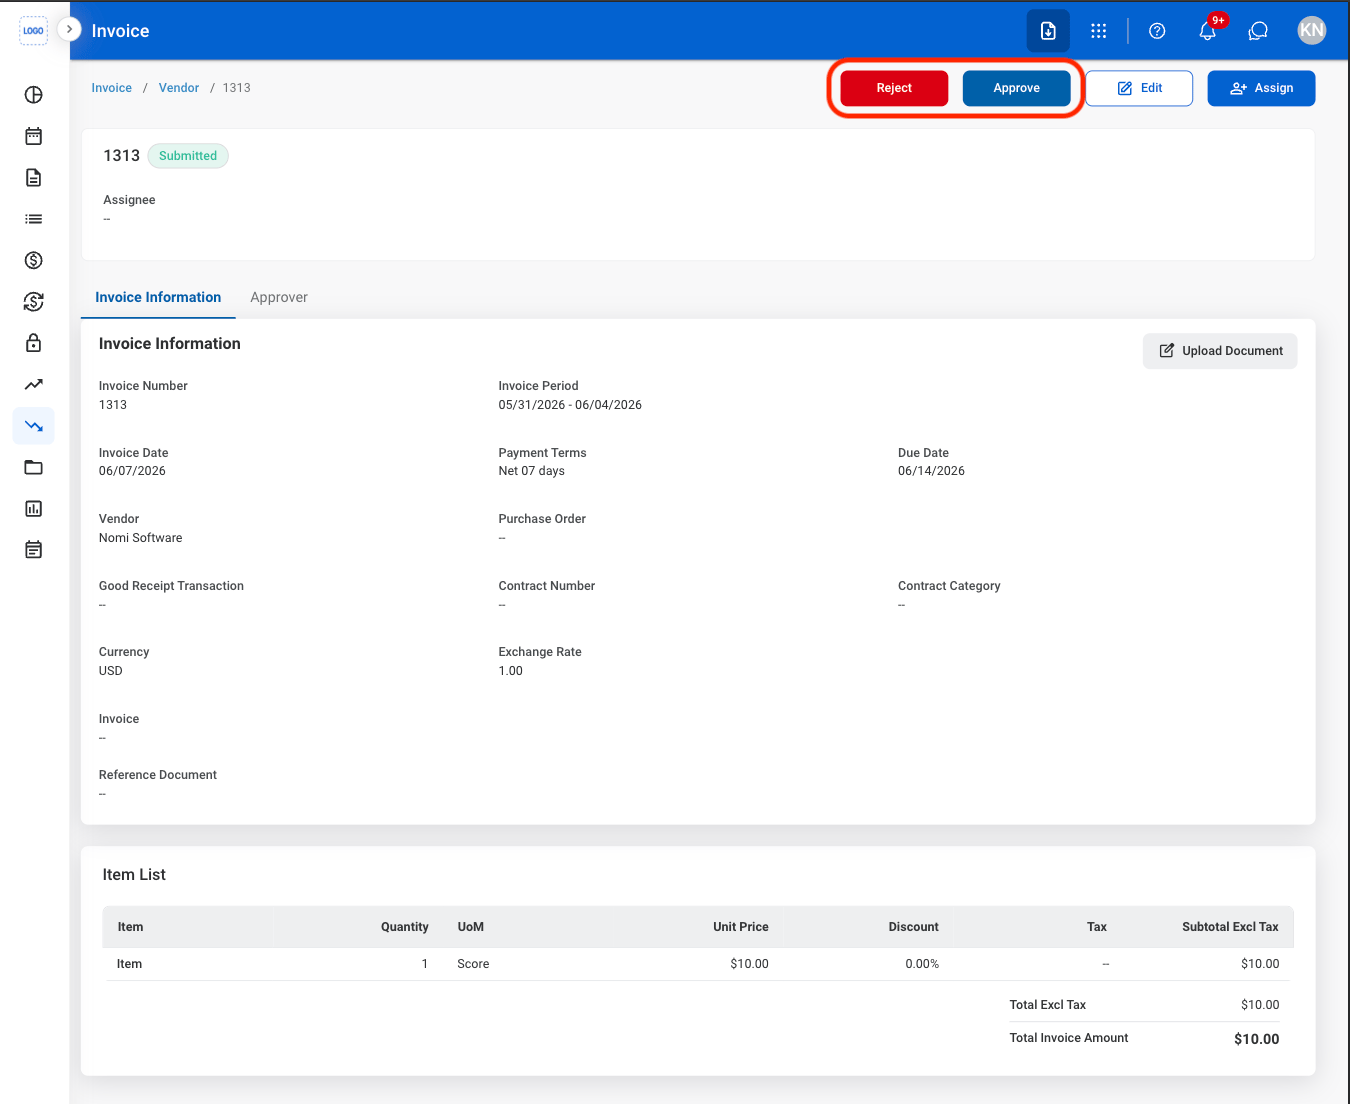
- Reject: The status changes to Rejected and the cash receipt is not posted to the General Ledger.
- Post: The status changes to Posted and the cash receipt is recorded in the General Ledger.