
Create a Dashboard
1
Navigate to Dashboard
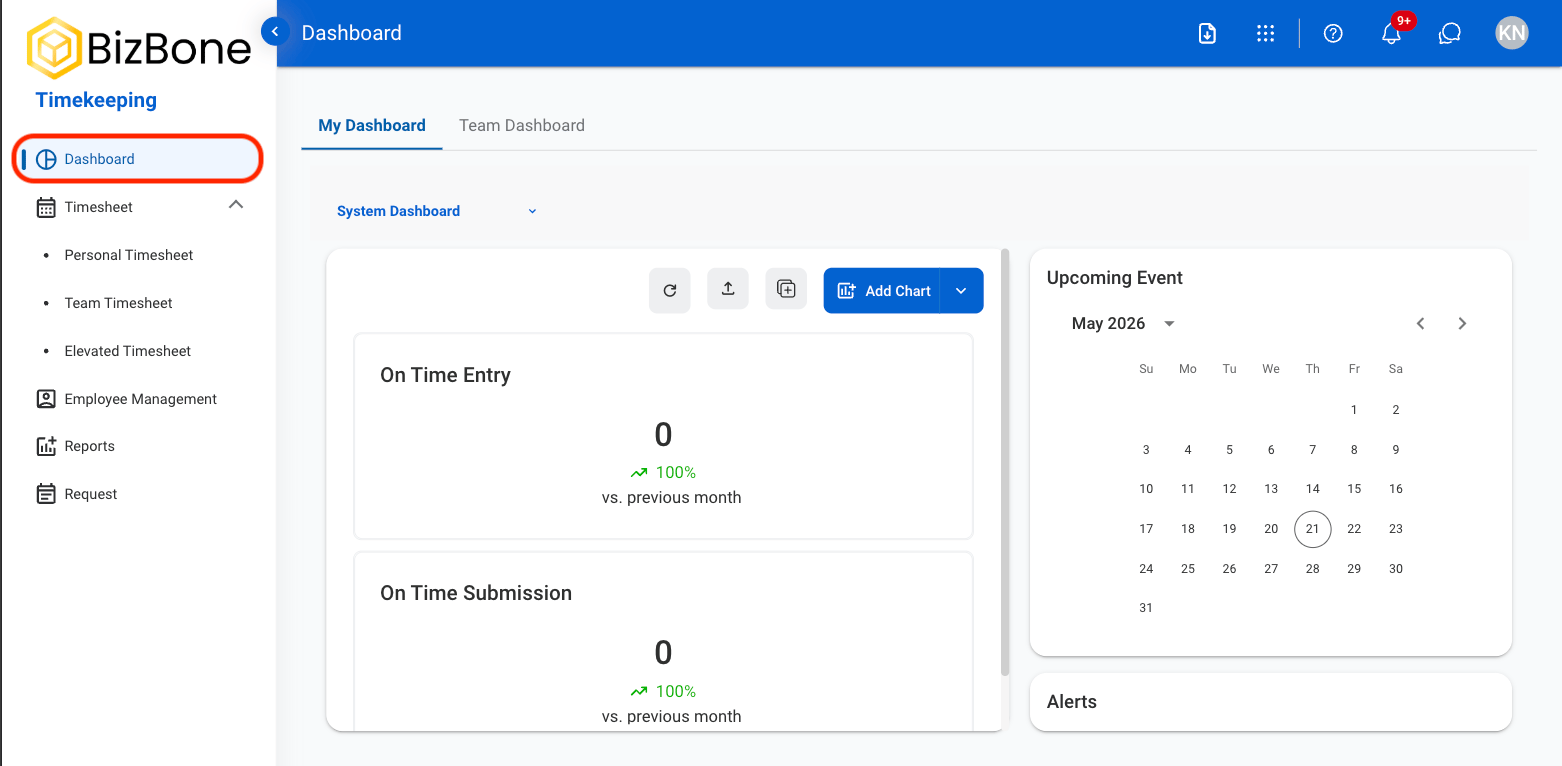
2
Select a tab
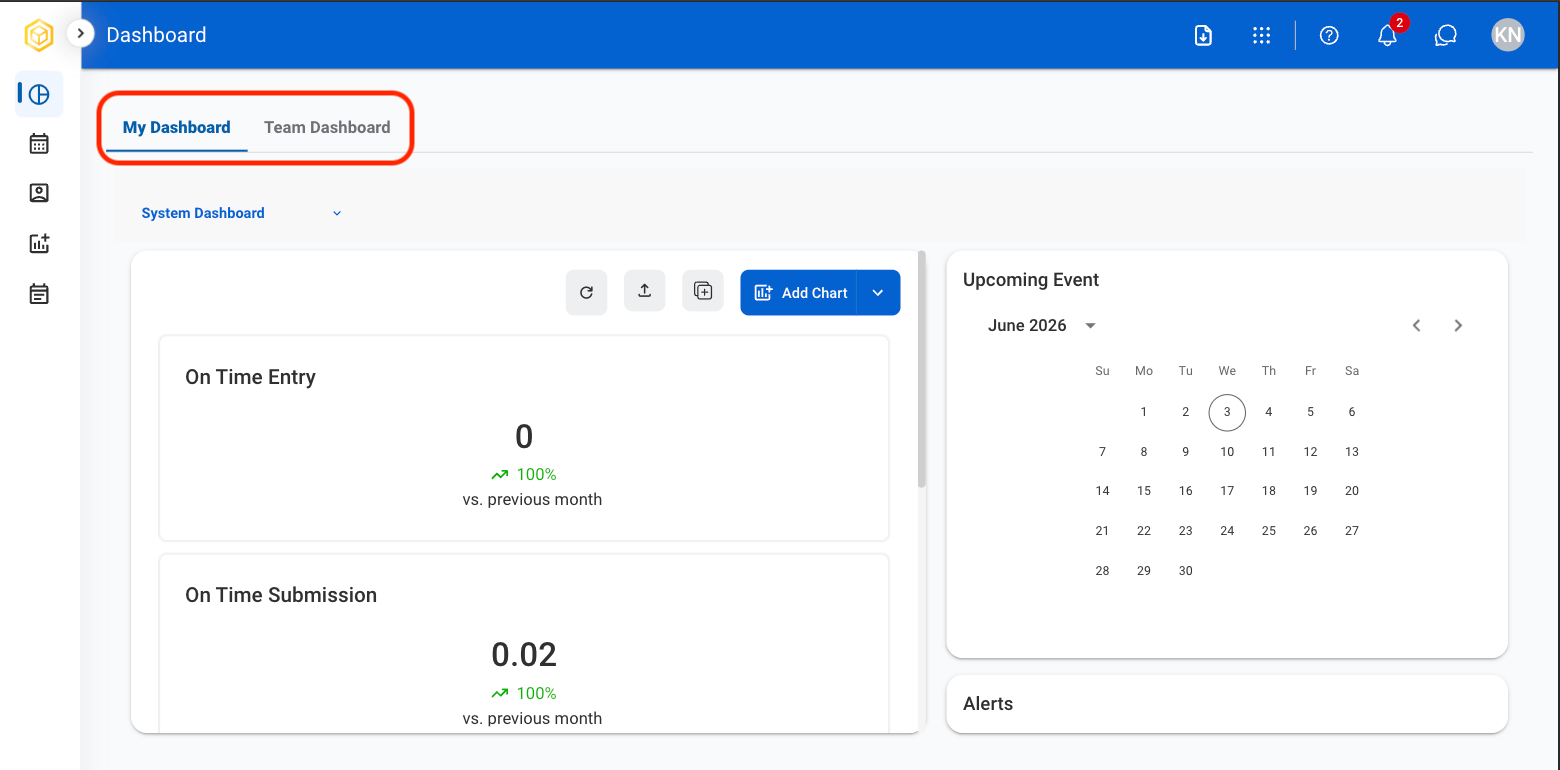
- My Dashboard: Displays dashboards created by the current account.
- Team Dashboard: Displays dashboards shared with or accessible to a team.
3
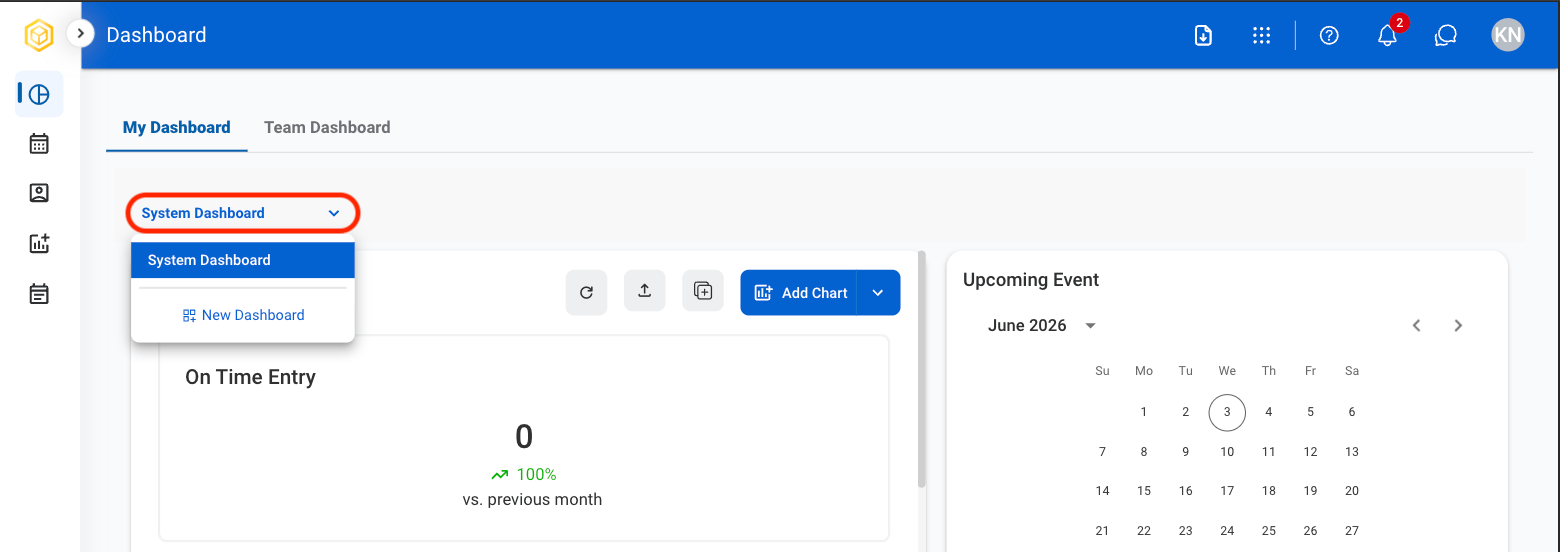
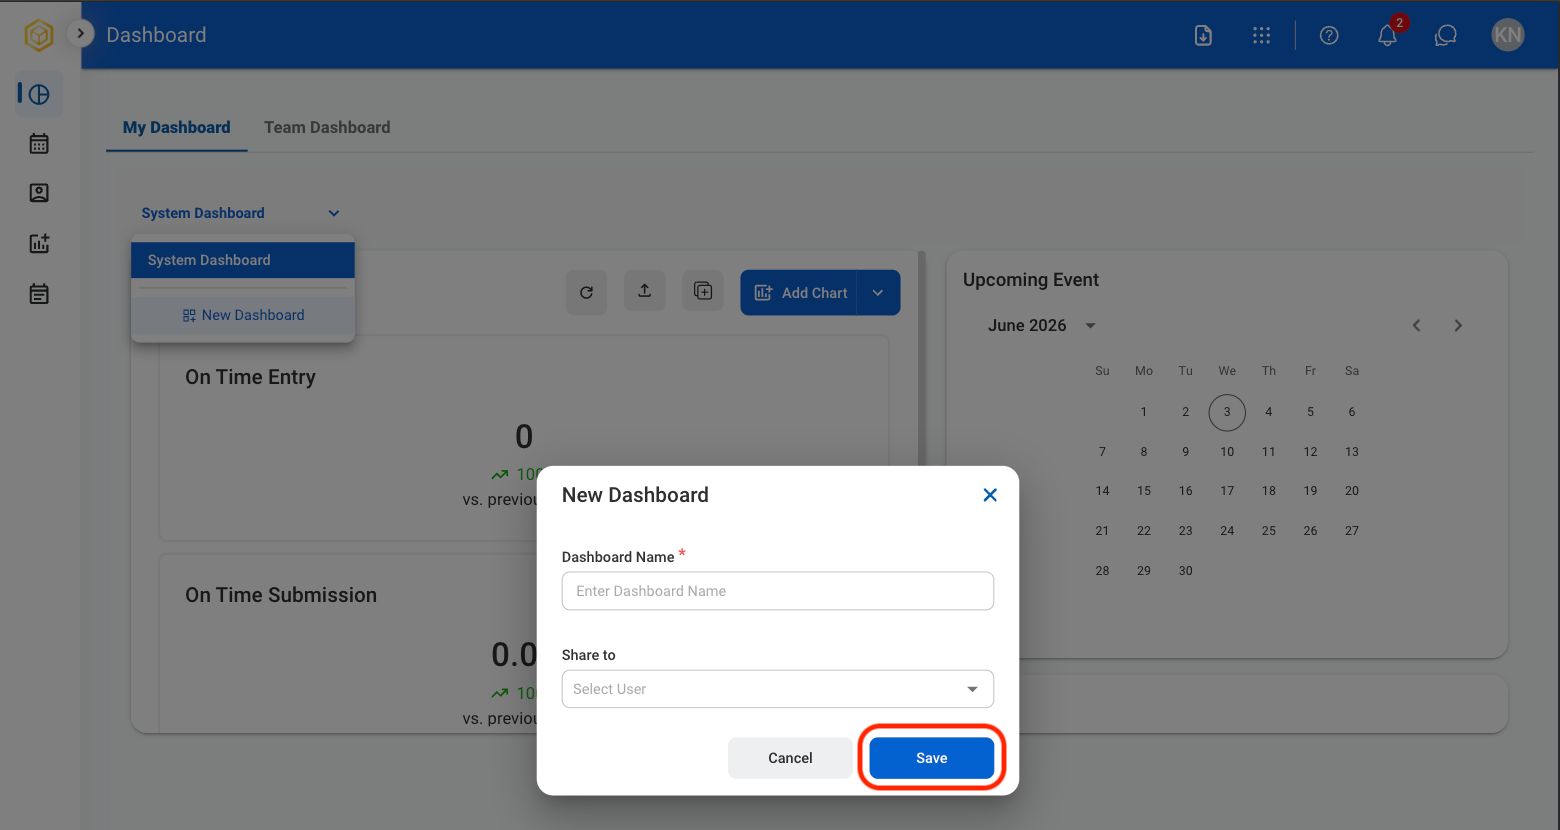
Select System Dashboard to open the dashboard dropdown list
4
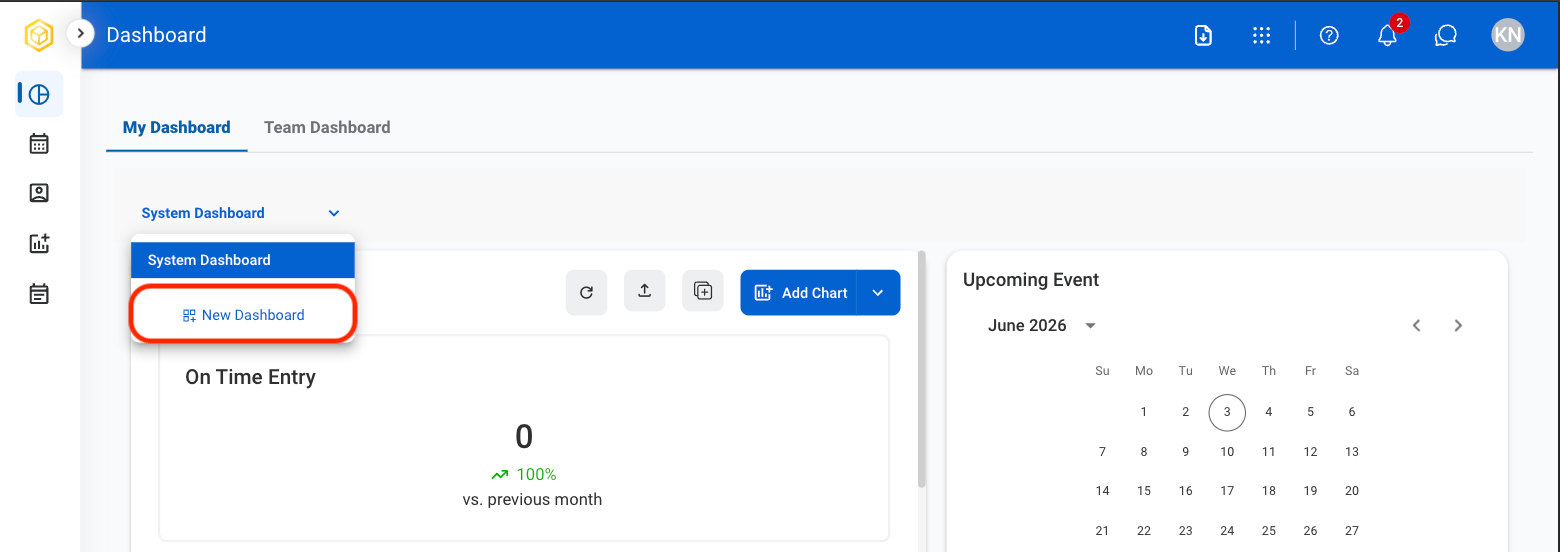
Select New Dashboard
5
Fill in the required information
Dashboard Actions
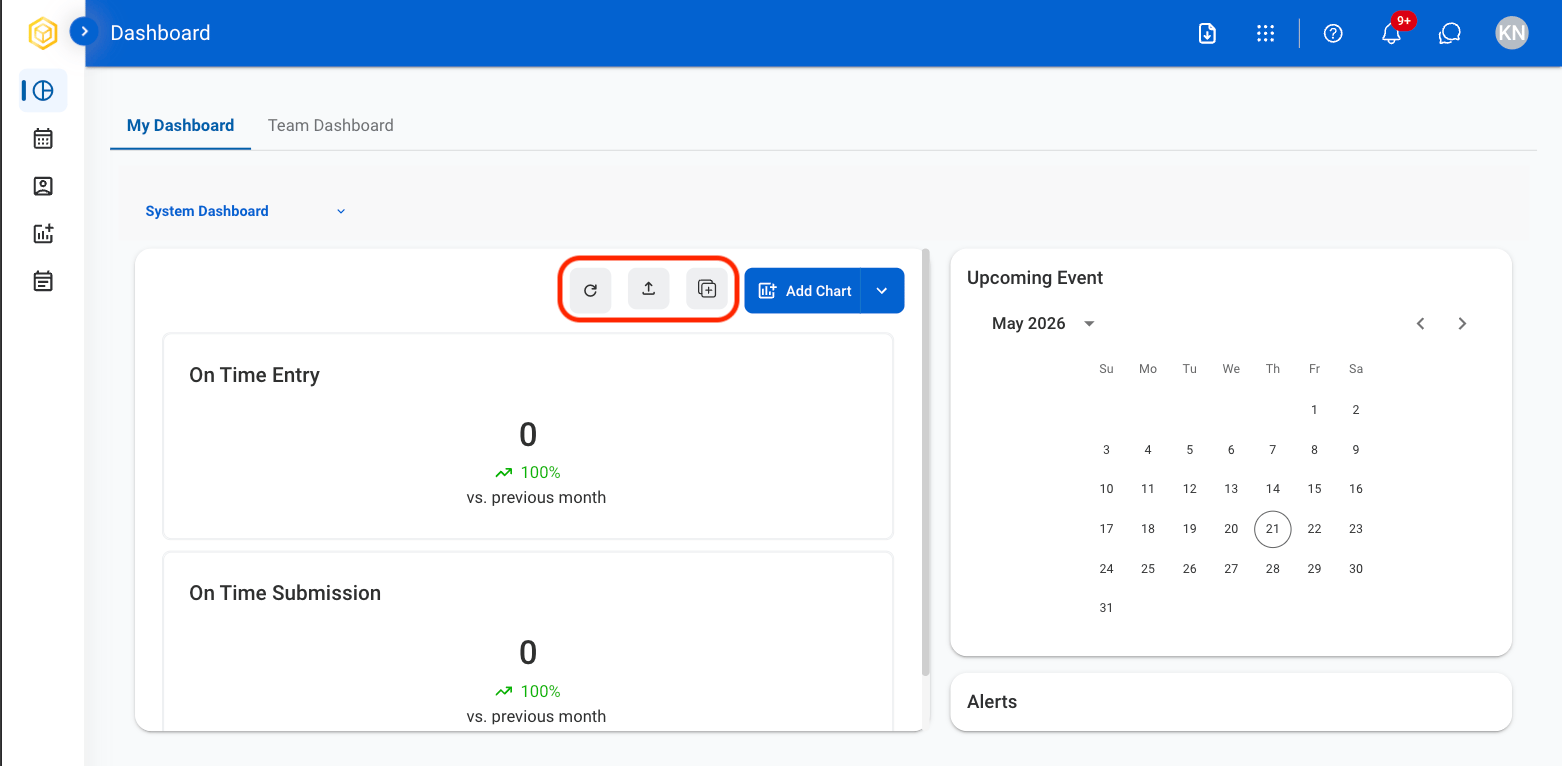
- Refresh icon: Refresh the information of the dashboard
- Export icon: Export the data
- Duplicate icon: Duplicate the dashboard
Create a New Chart
1
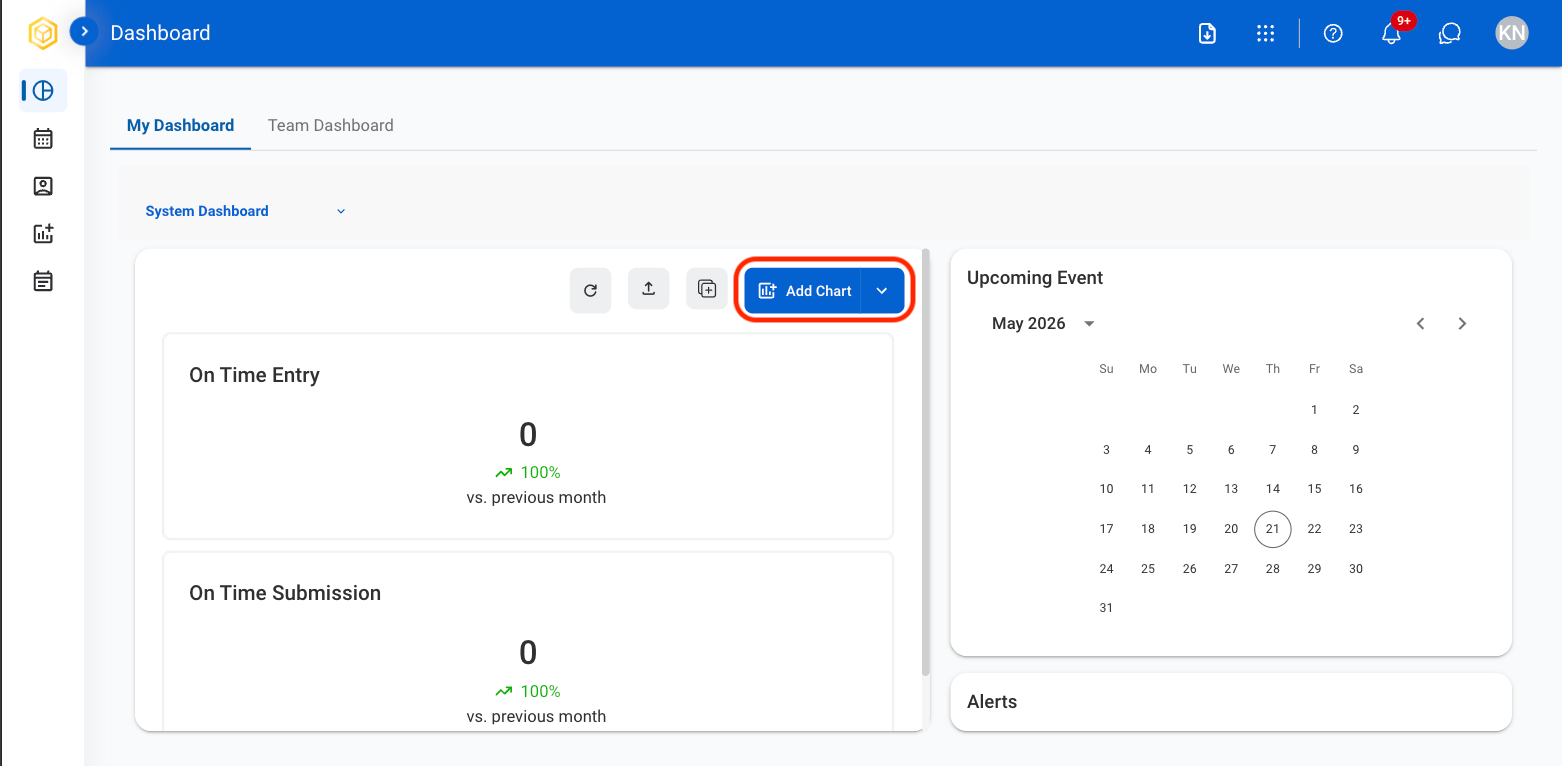
Select the Add Chart button
2
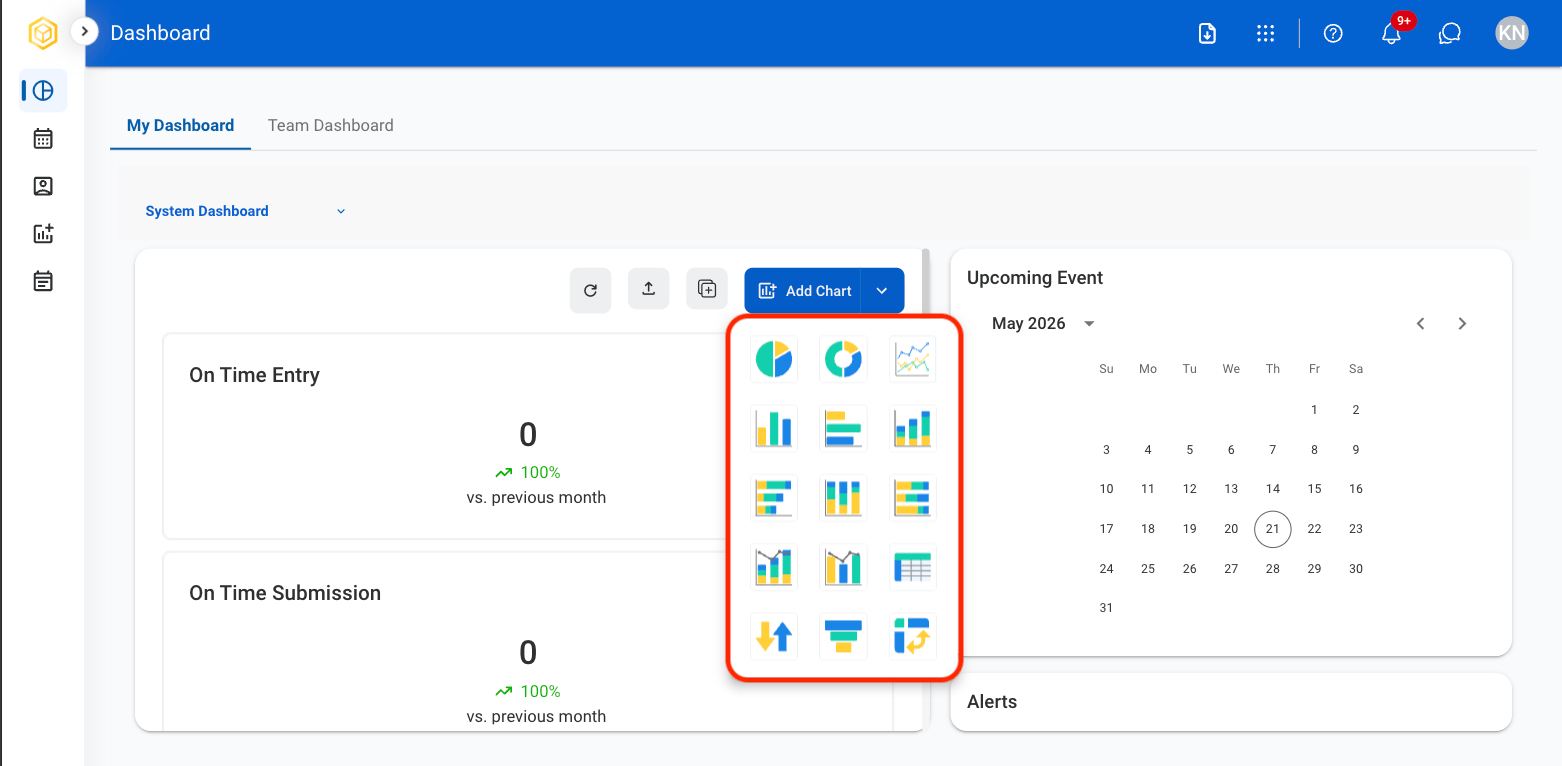
Select the desired chart
3
Fill the required information

Chart Actions
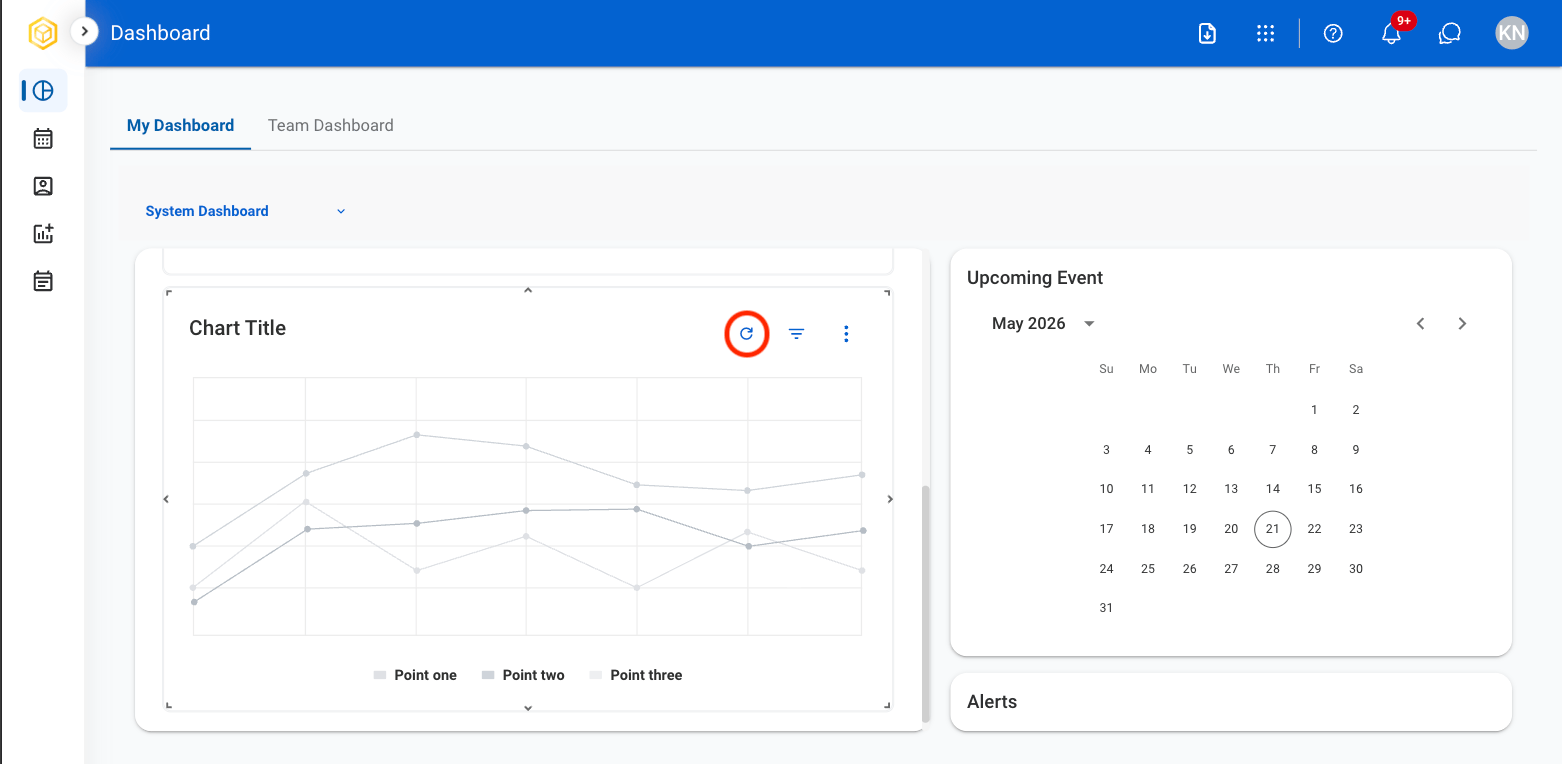
Select a chart to interact with its functions using the following icons.Refresh
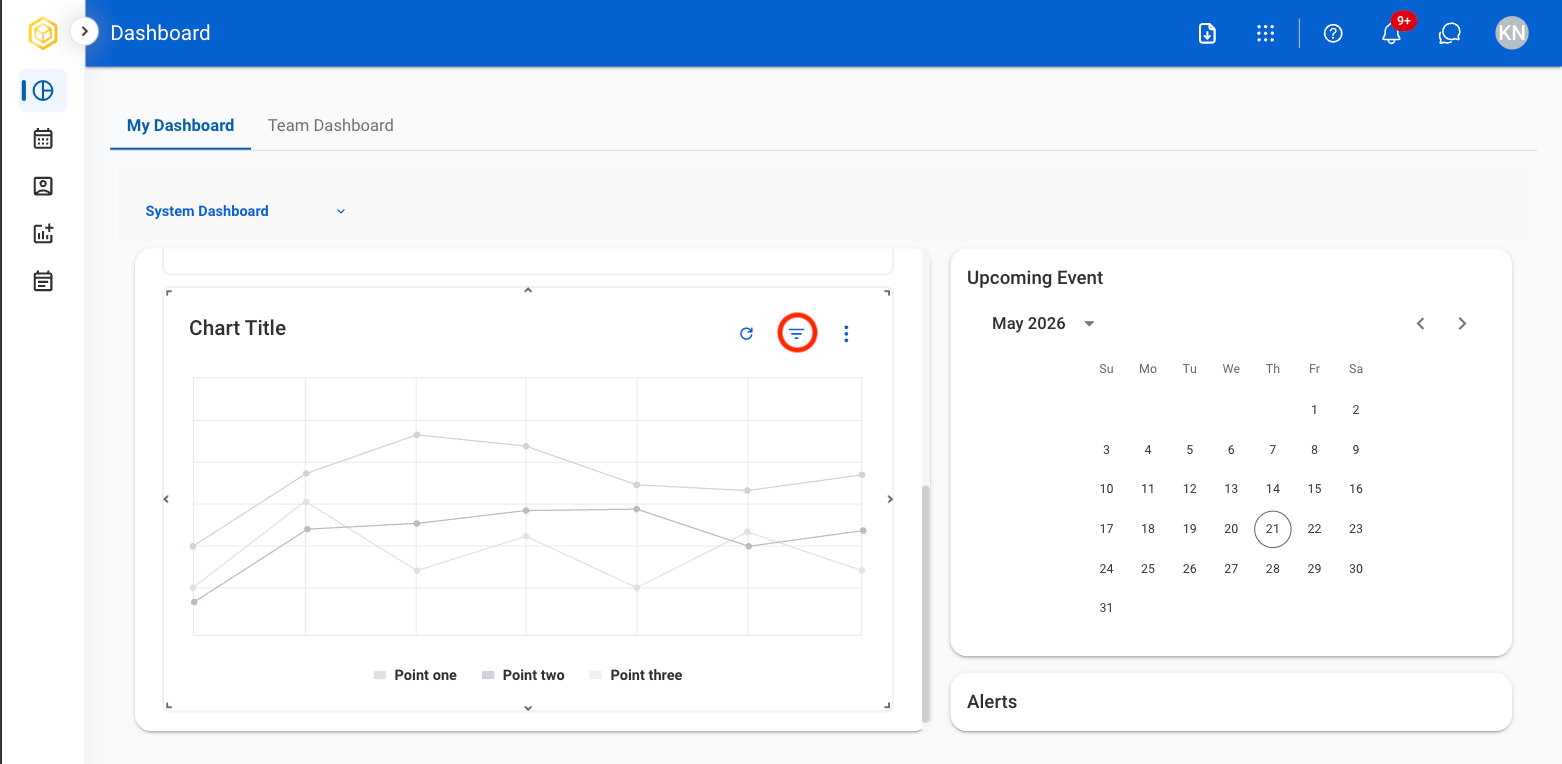
Filter
Additional Functions
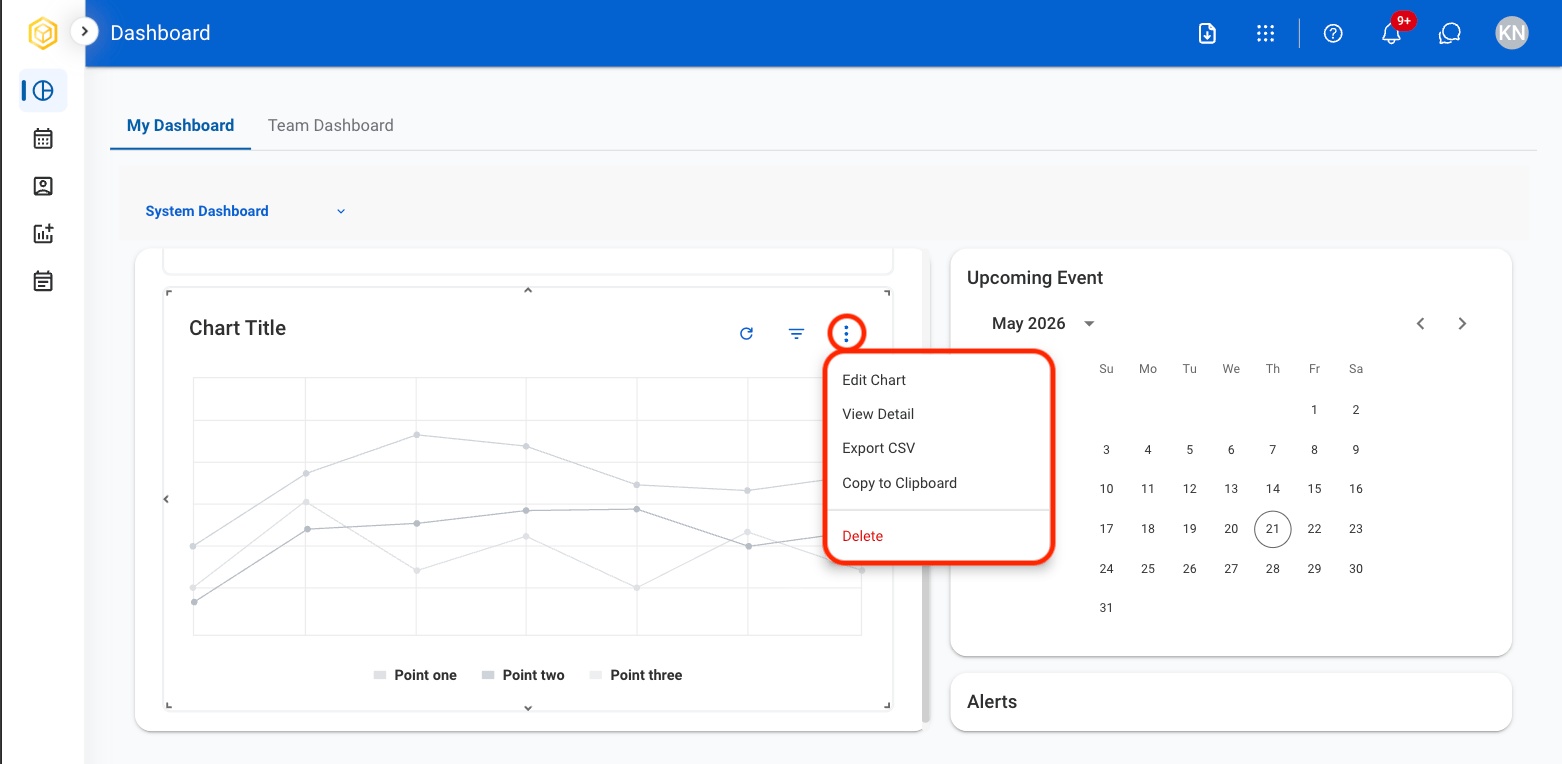
- Edit Chart: Modify chart settings, data, or display options.
- View Detail: View the underlying data used to generate the chart.
- Export CSV: Export the chart data as a CSV file.
- Copy to Clipboard: Copy an image of the chart to the clipboard.
- Delete: Remove the selected chart from the dashboard
View Alerts
View system-generated alerts and notifications related to module activities, requests, approvals, and pending actions.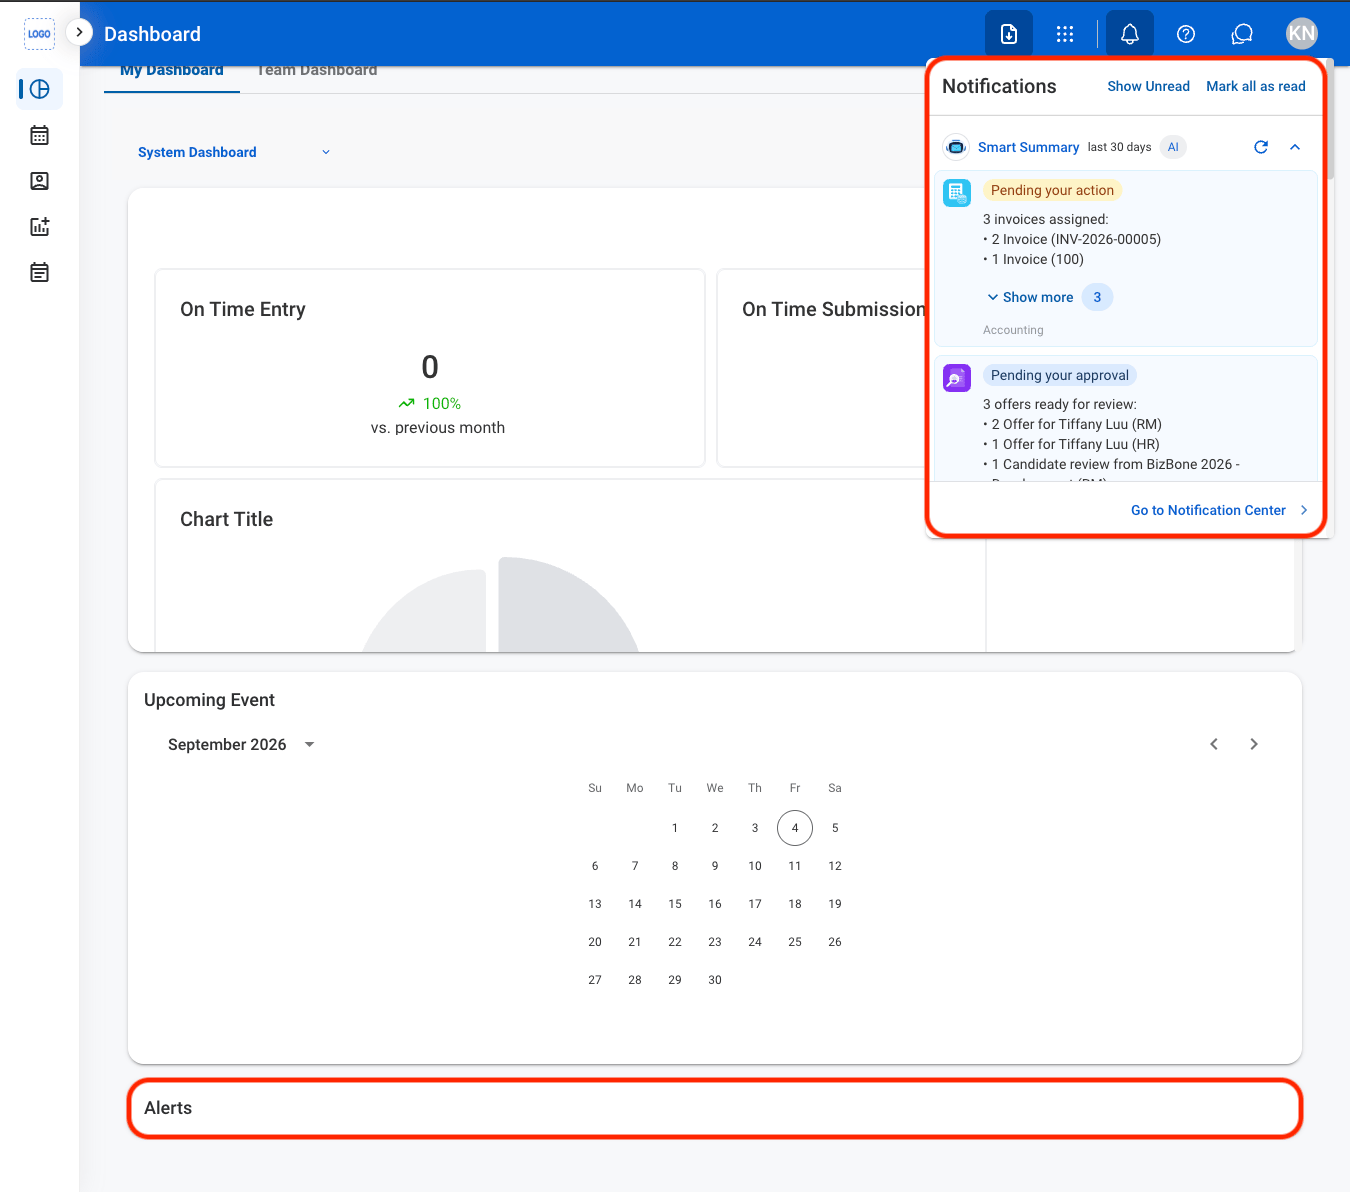
Smart Summary prioritizes the most important notifications based on their relevance and urgency, helping surface items that may require action.