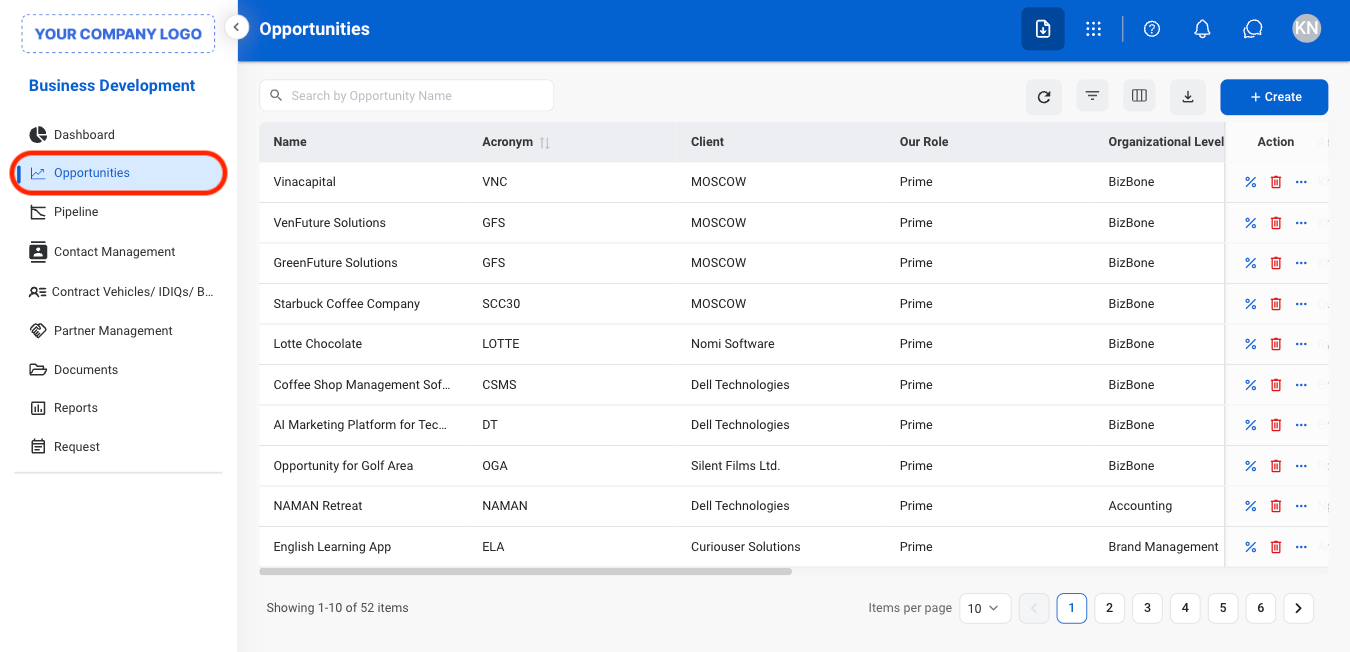
Add an Opportunity
Navigate to Opportunities
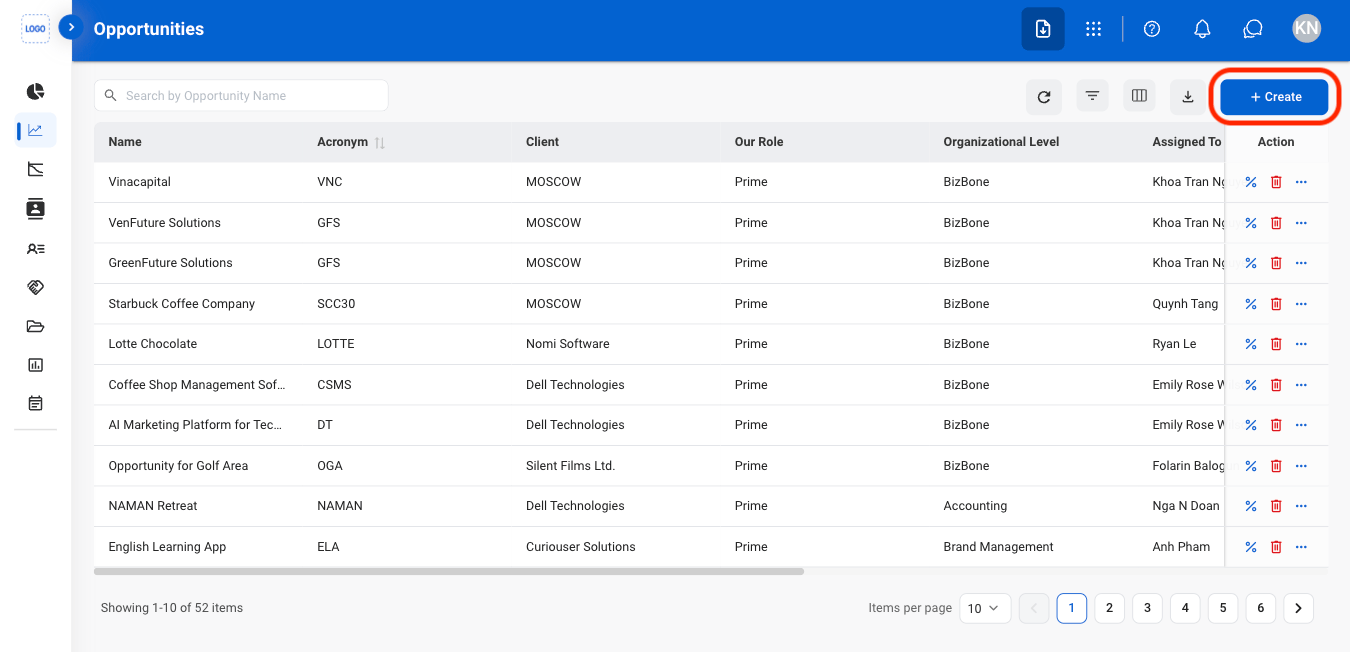
Select Create
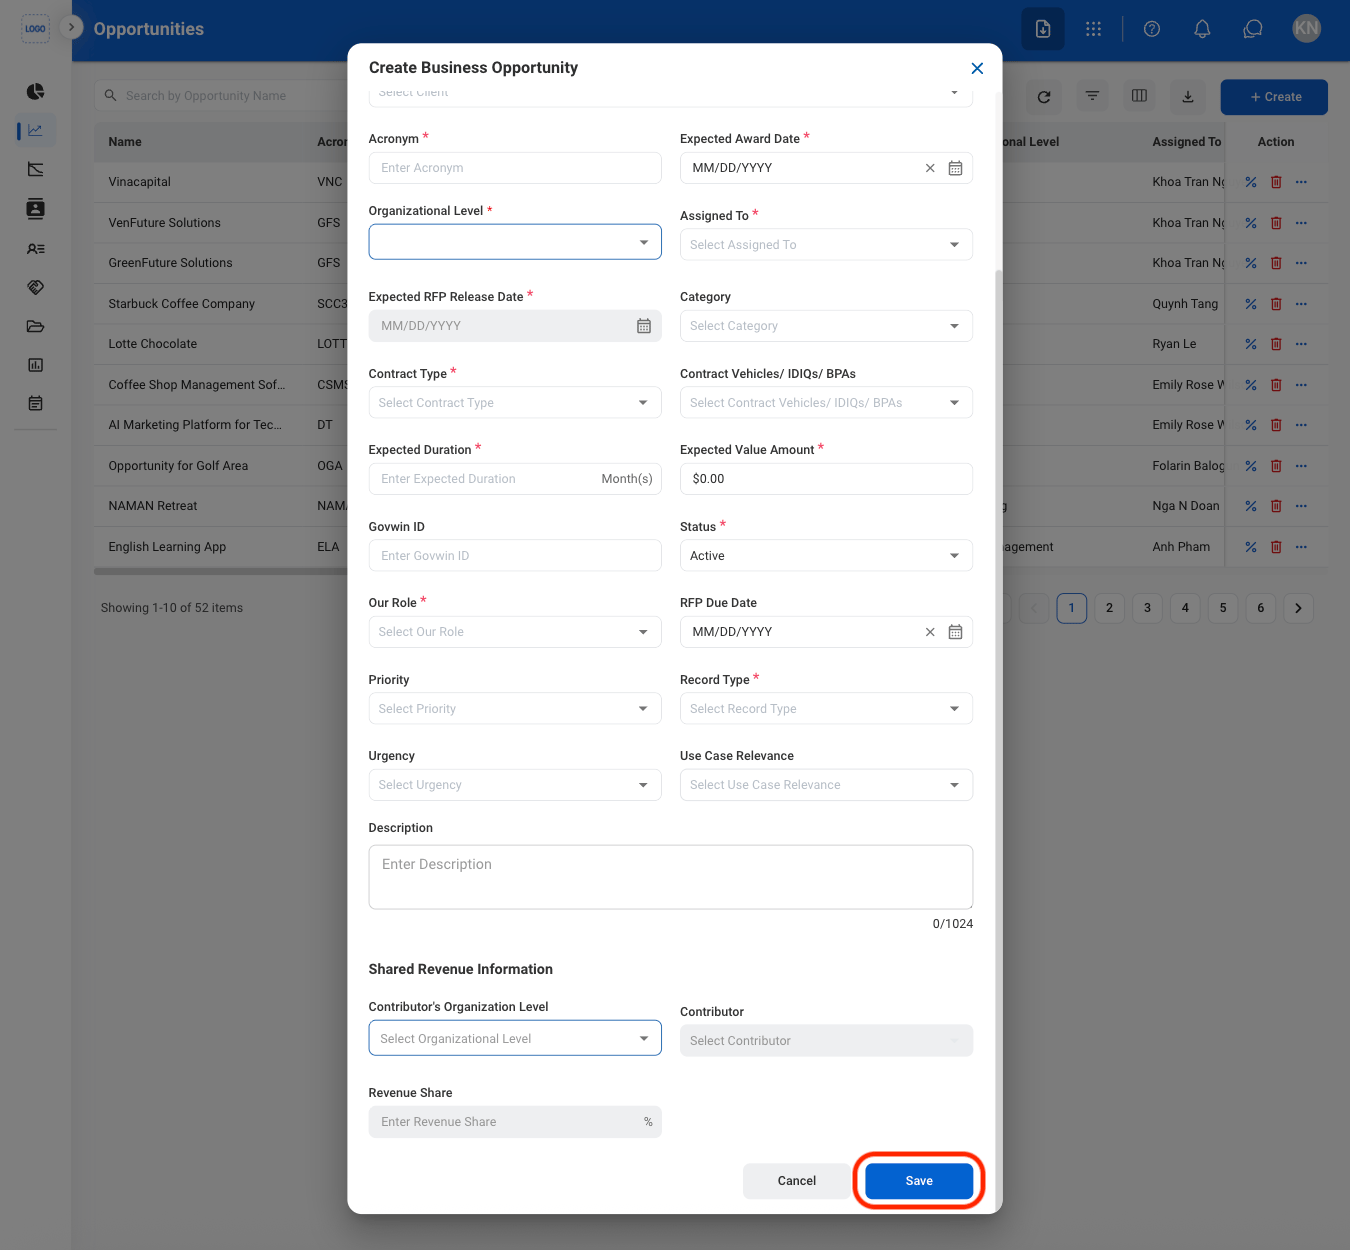
Fill in the required information
Modify an Opportunity
Select an action
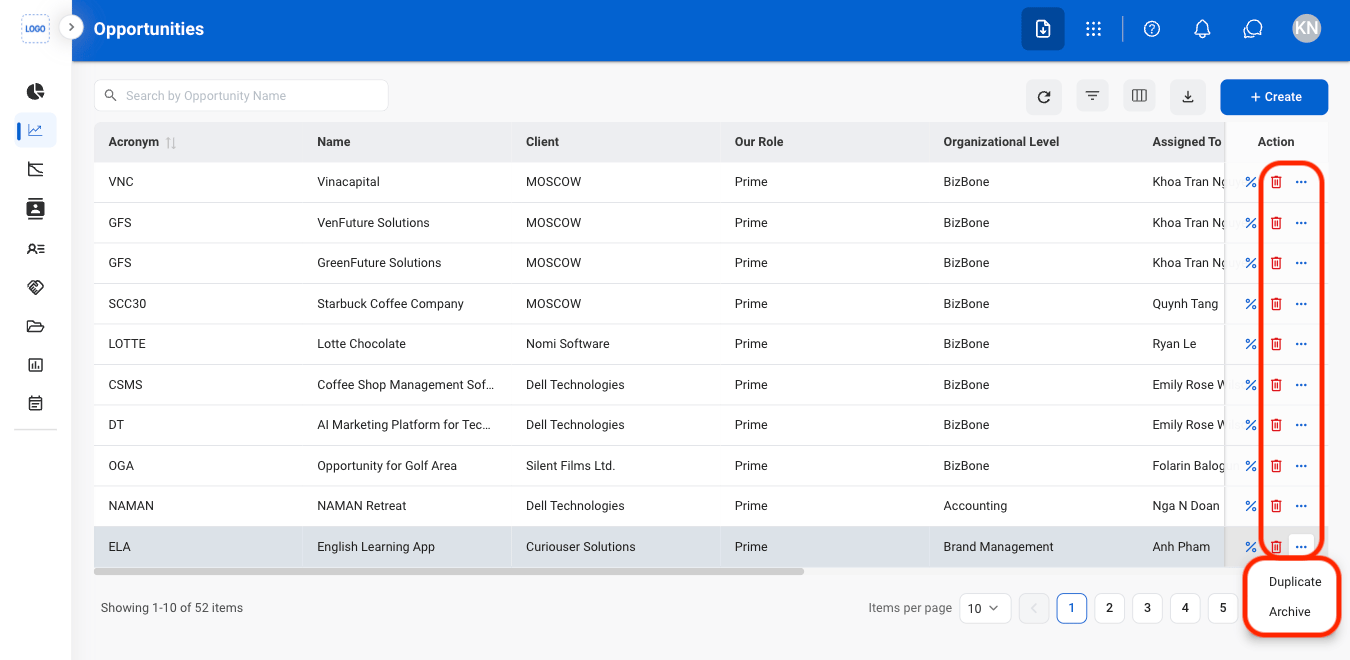
- Edit: Update opportunity information.
- Delete: Permanently remove the opportunity from the system.
- Duplicate: Create a copy of the opportunity to use as the basis for a new opportunity record.
Confirm the action
- Edit: Fill in the required information. Select Update to complete or Cancel to exit without saving changes.
- Delete: Select Delete to complete or Cancel to exit without saving changes.
- Duplicate: Fill in the required information. Select Save to complete or Cancel to exit without saving changes.
Calculate PWin
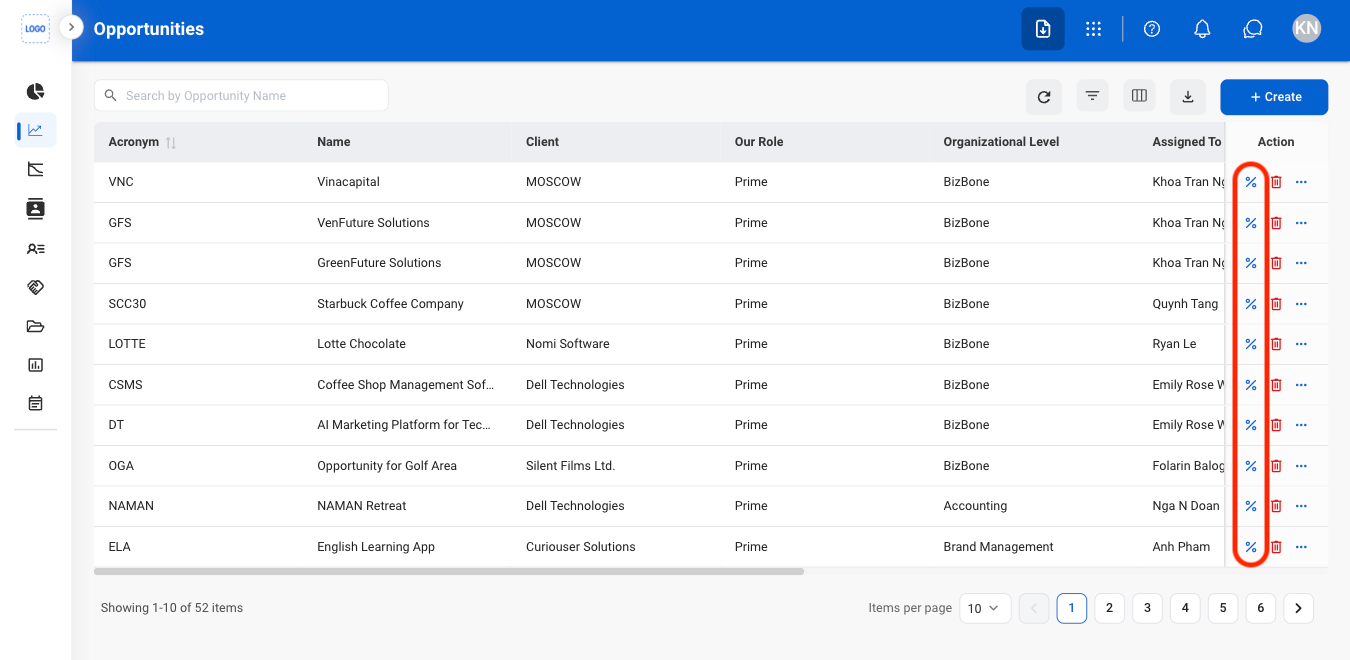
Select the PWin icon
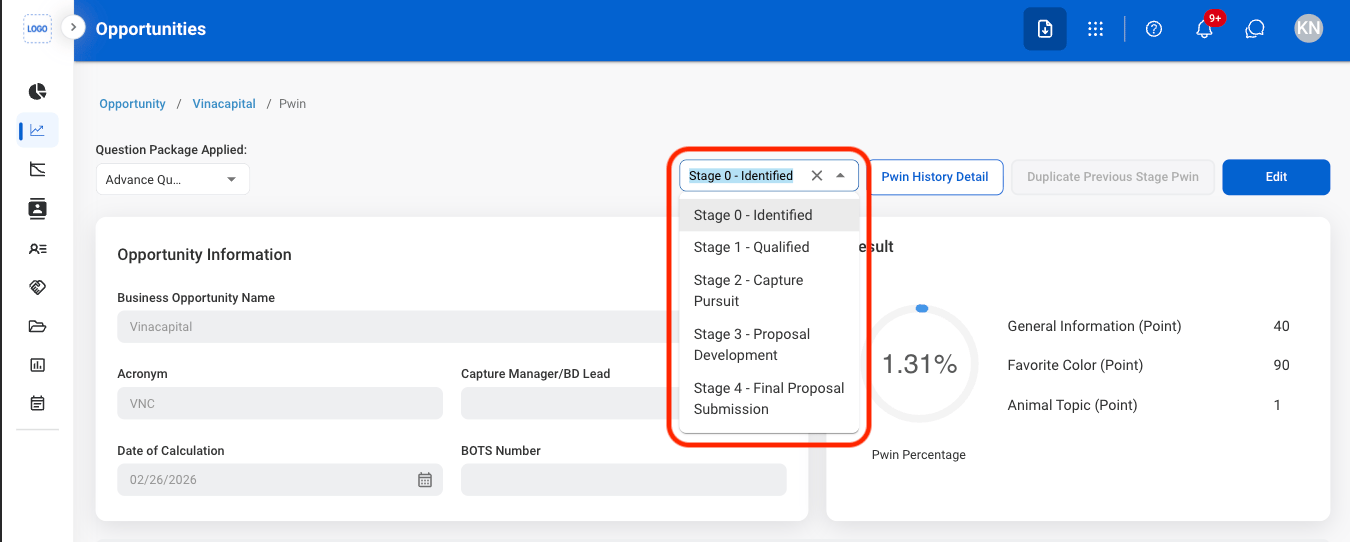
Select a stage
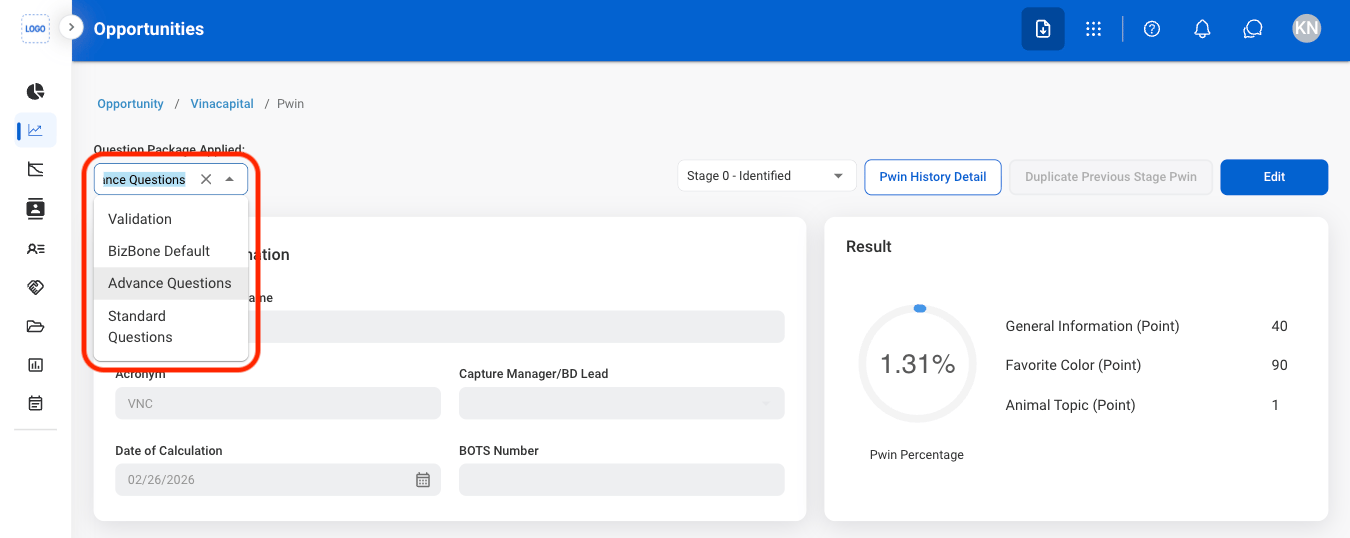
Select a question package
Select Edit
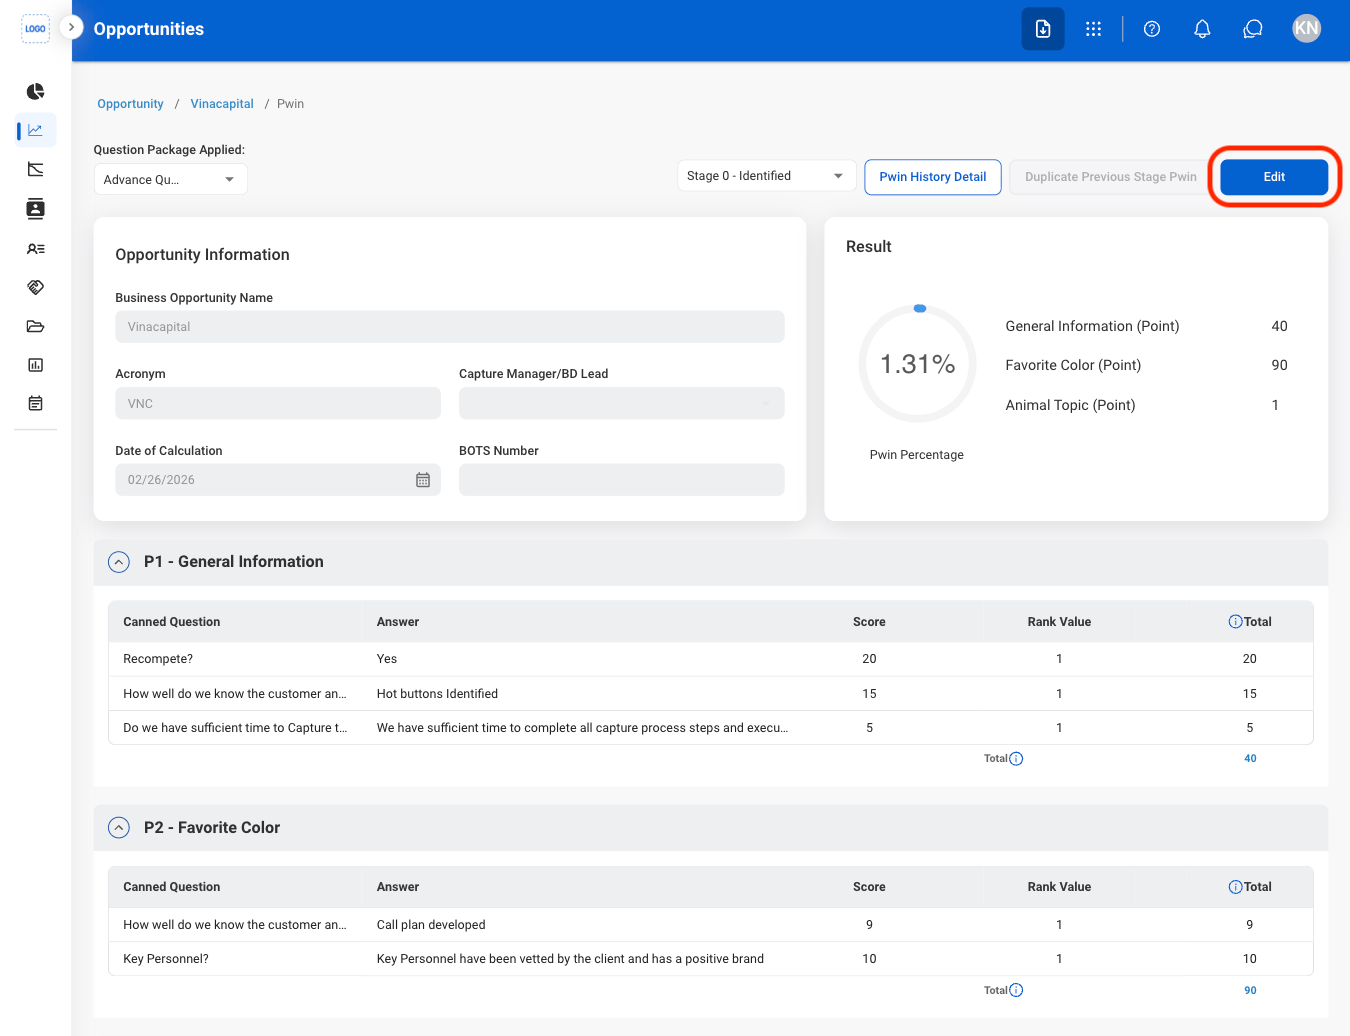
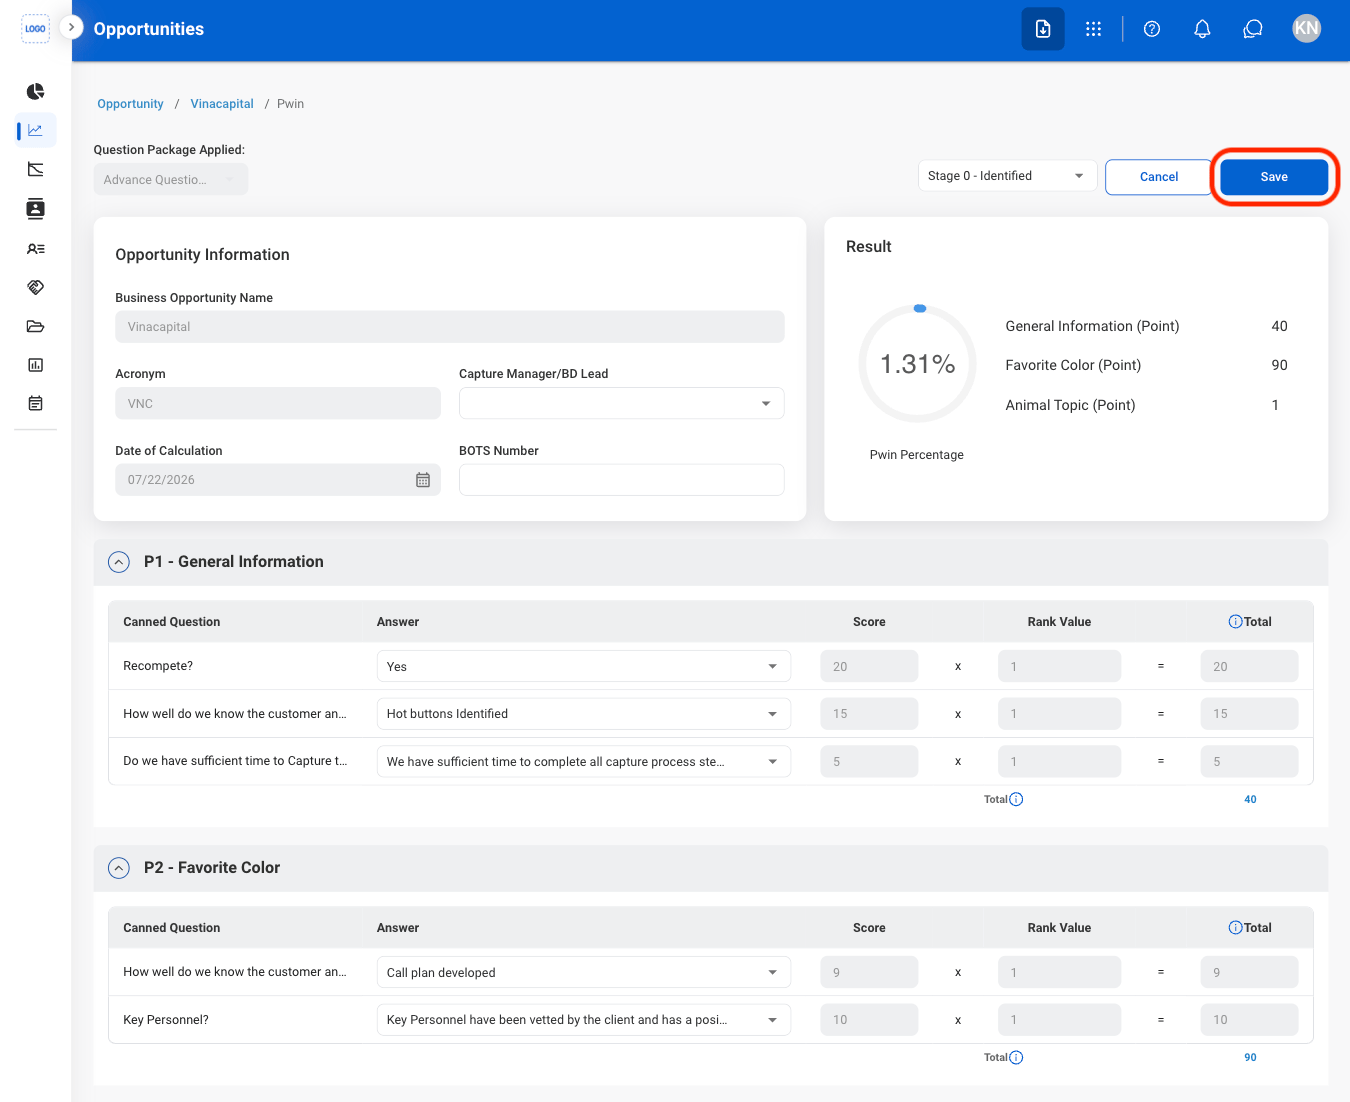
Fill in the required information
Activity
Add an Activity
Select an Opportunity
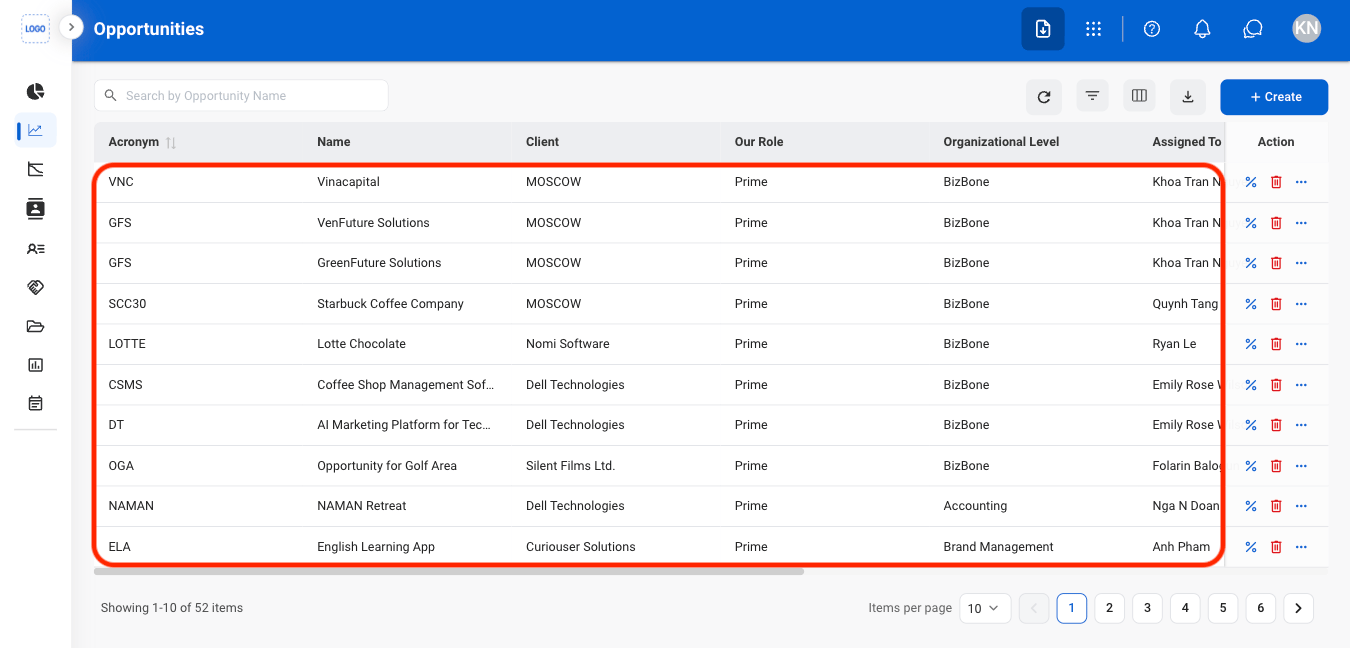
Navigate to Activity
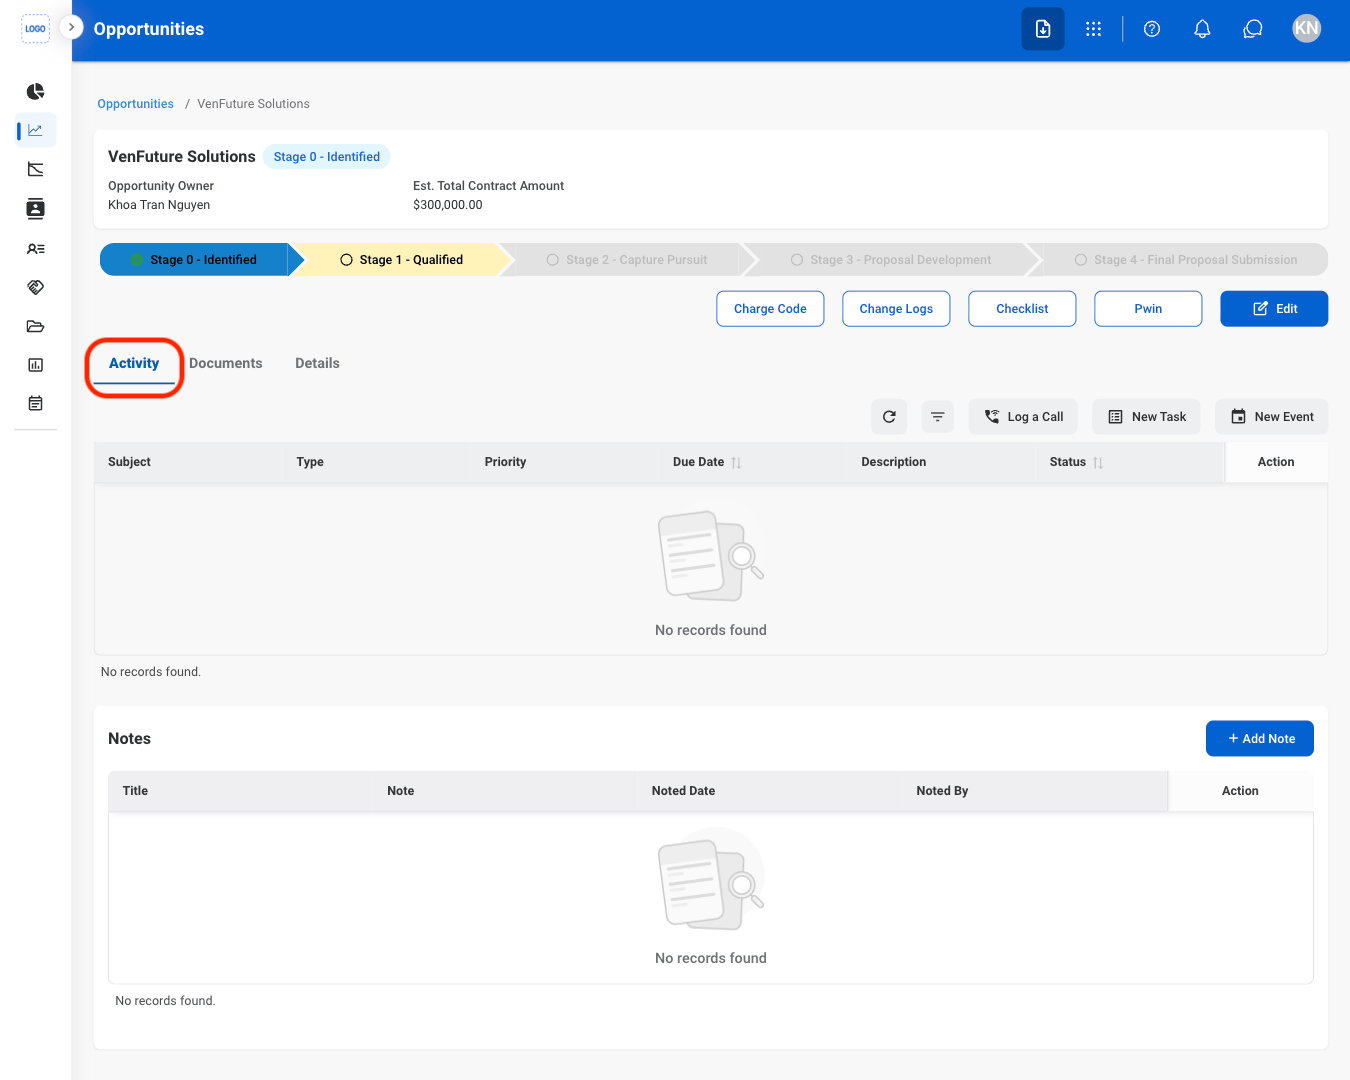
Select an action
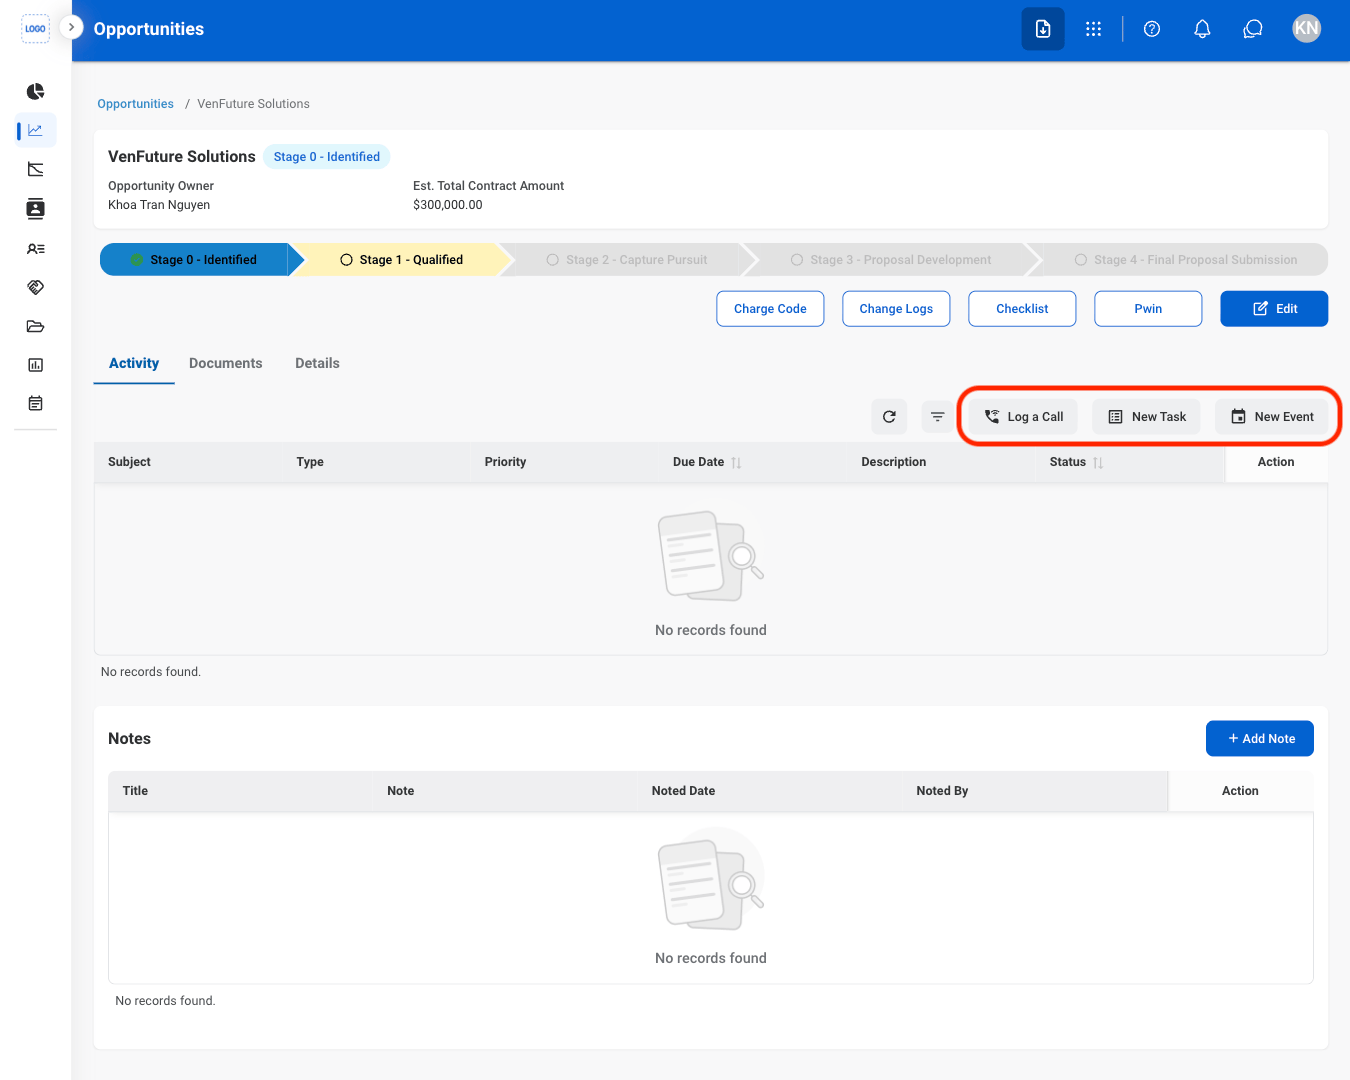
- Log a Call: Record a phone call related to the opportunity.
- New Task: Create a follow-up task for the opportunity.
- New Event: Note a meeting or event for the opportunity.
Confirm the action
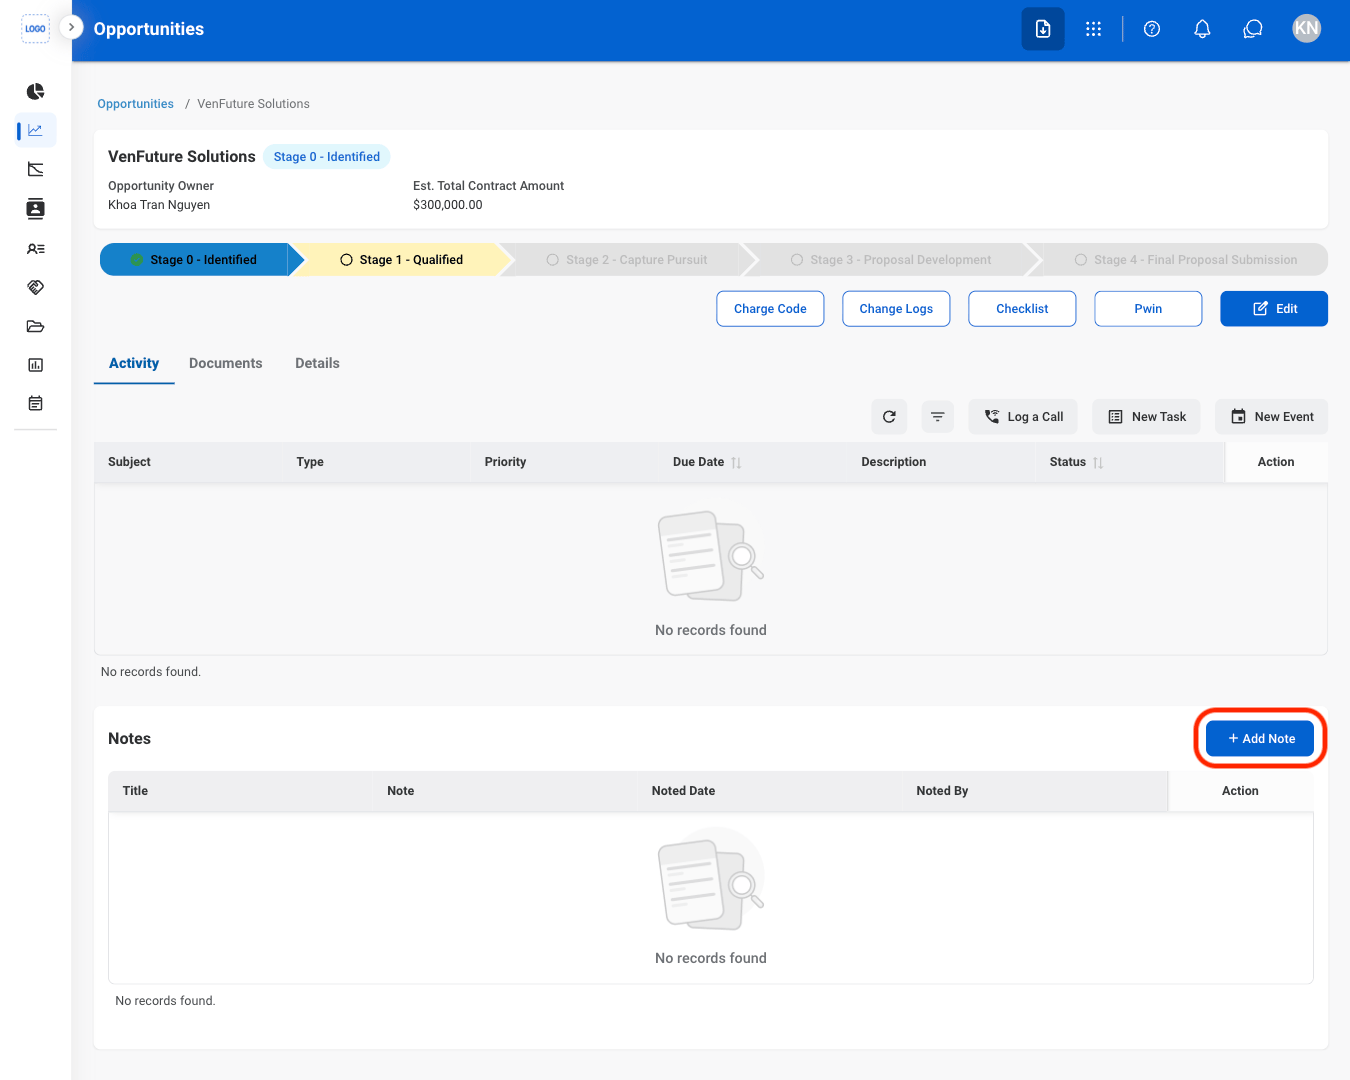
Add a Note
Select Add Note
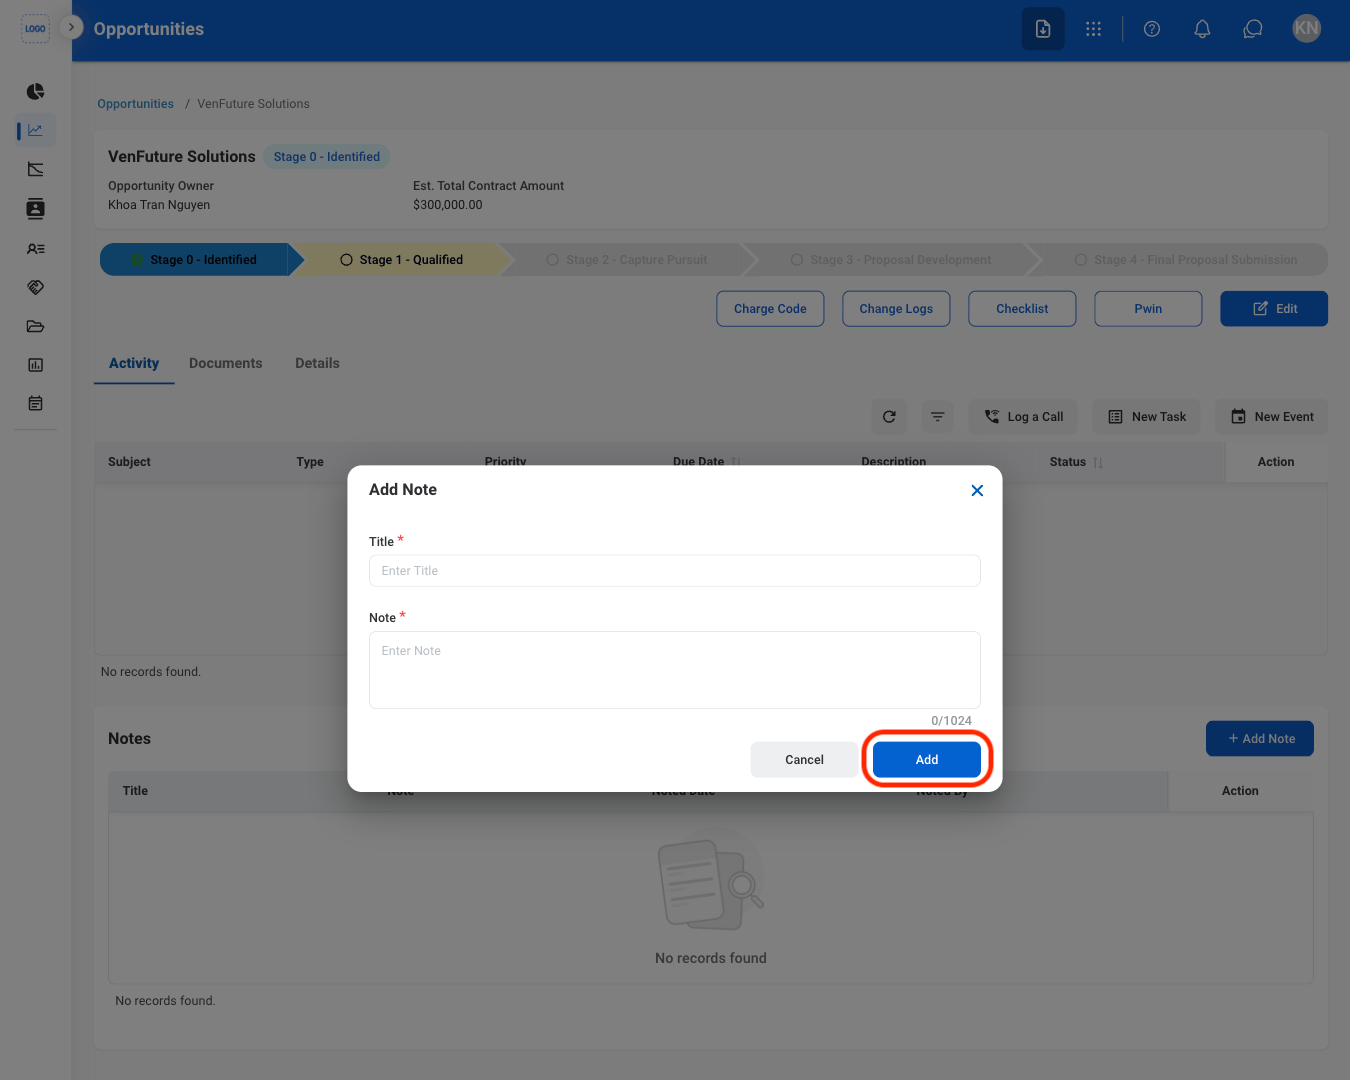
Fill in the required information
Documents
Add a Document
Navigate to Documents
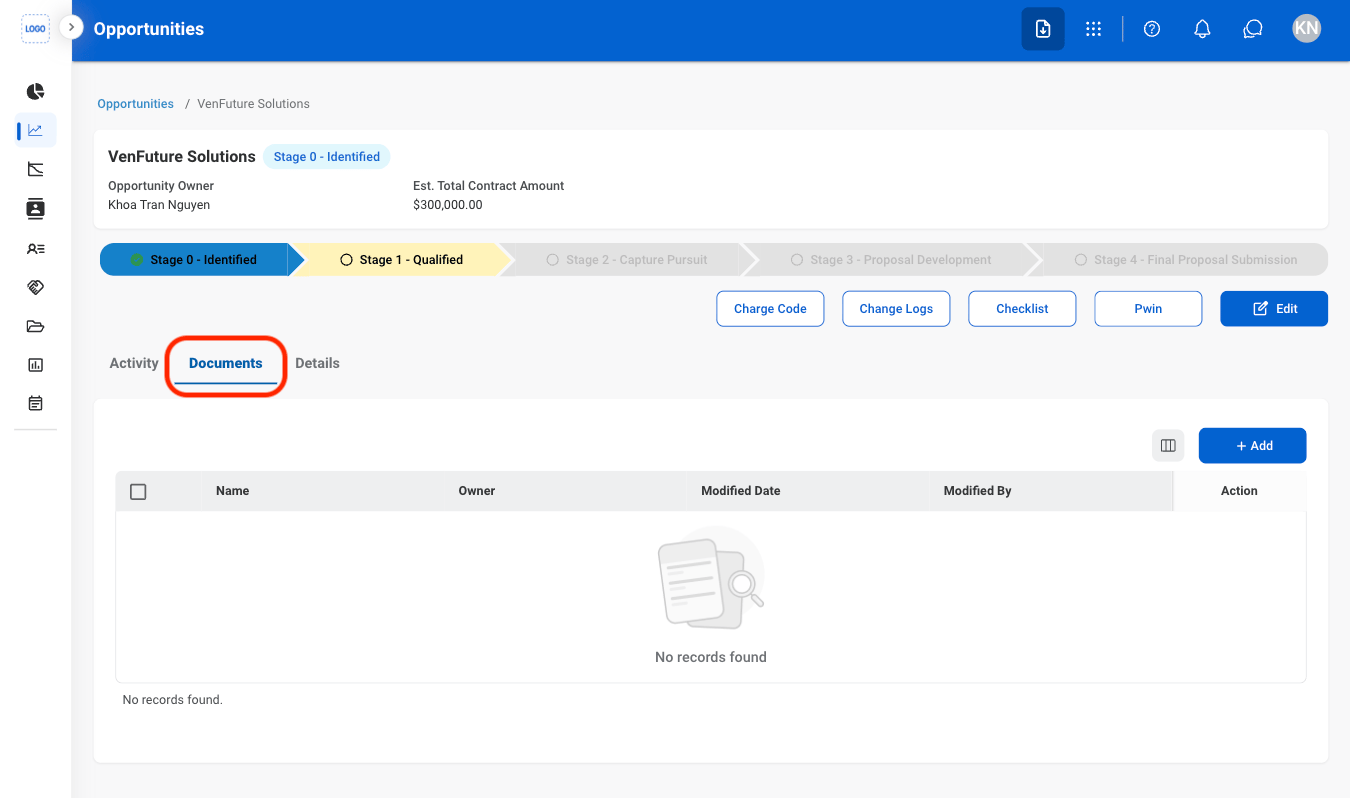
Select Add
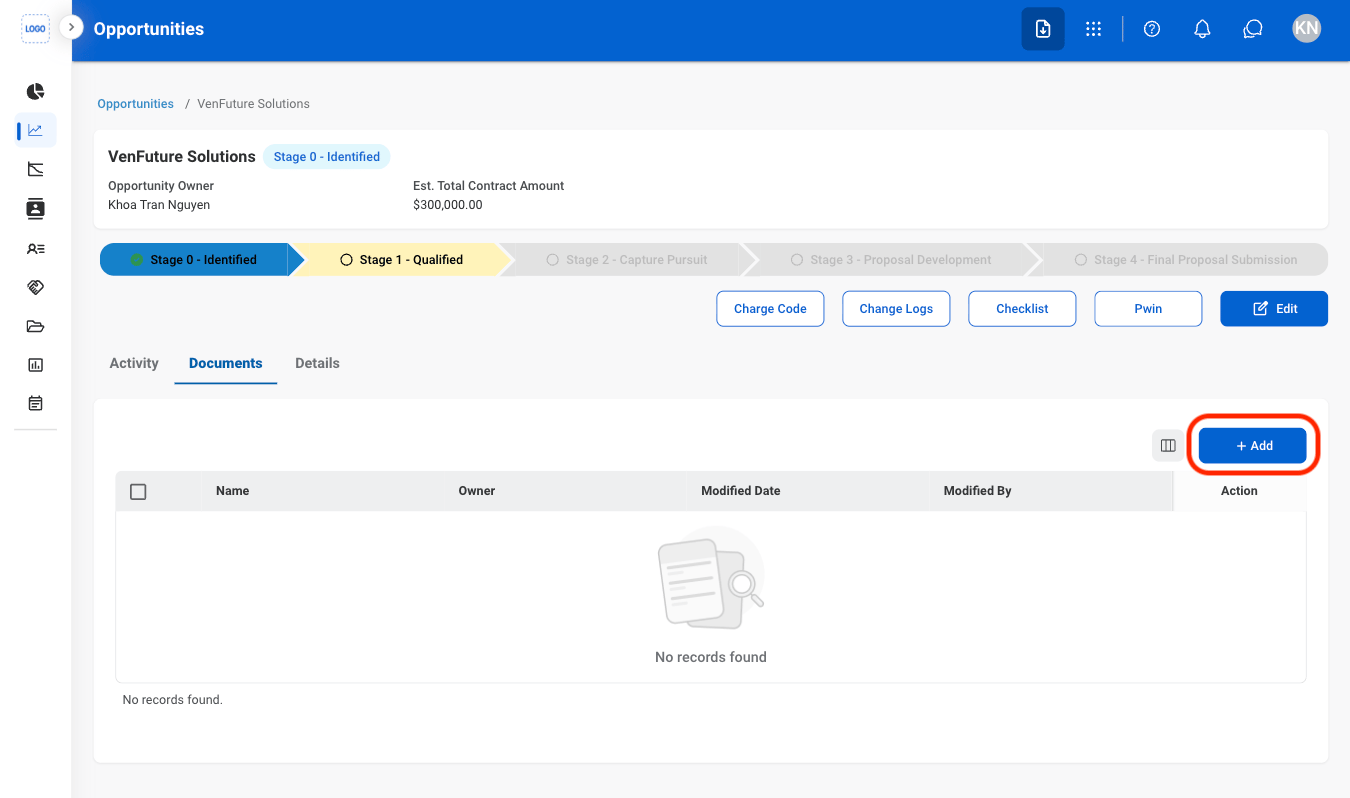
Select a document type
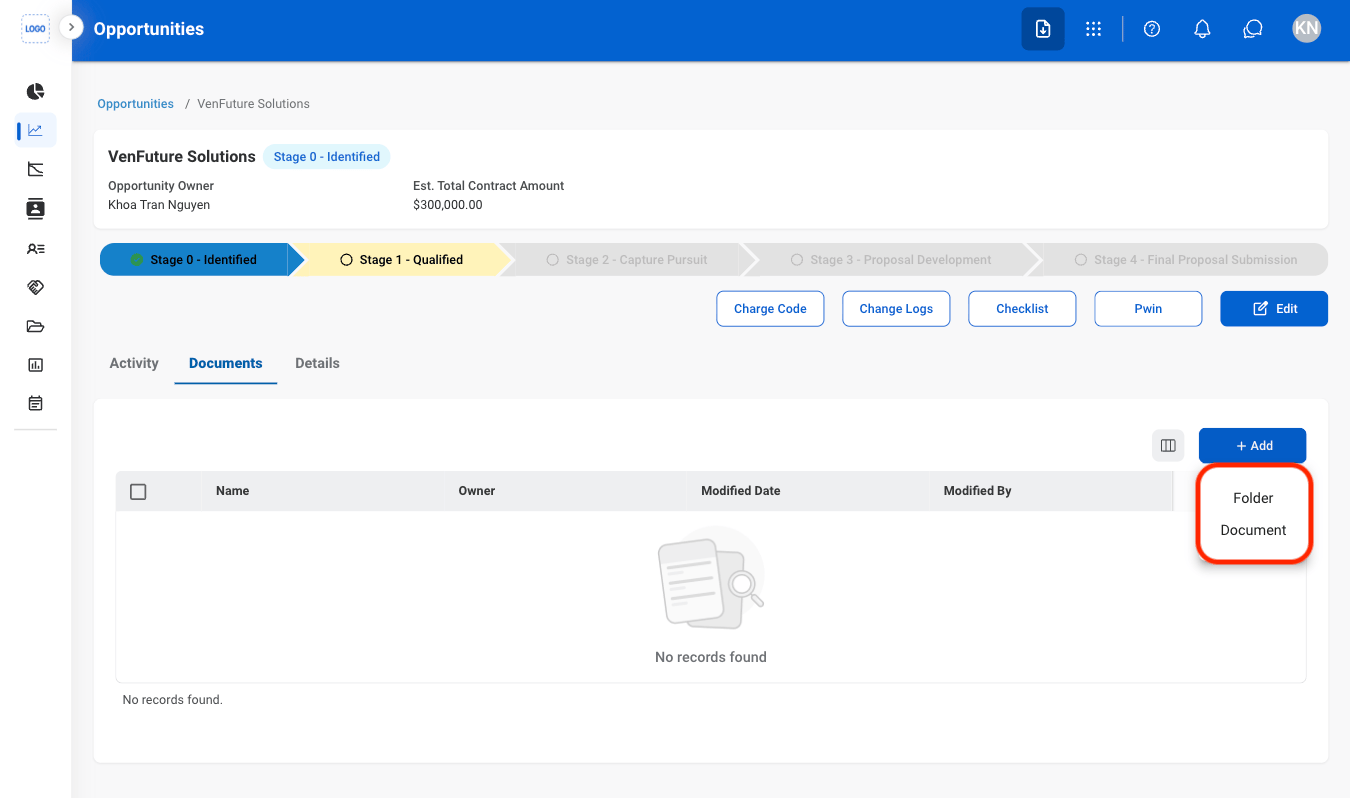
Fill in the required information
Details
Edit Details
Select a Stage
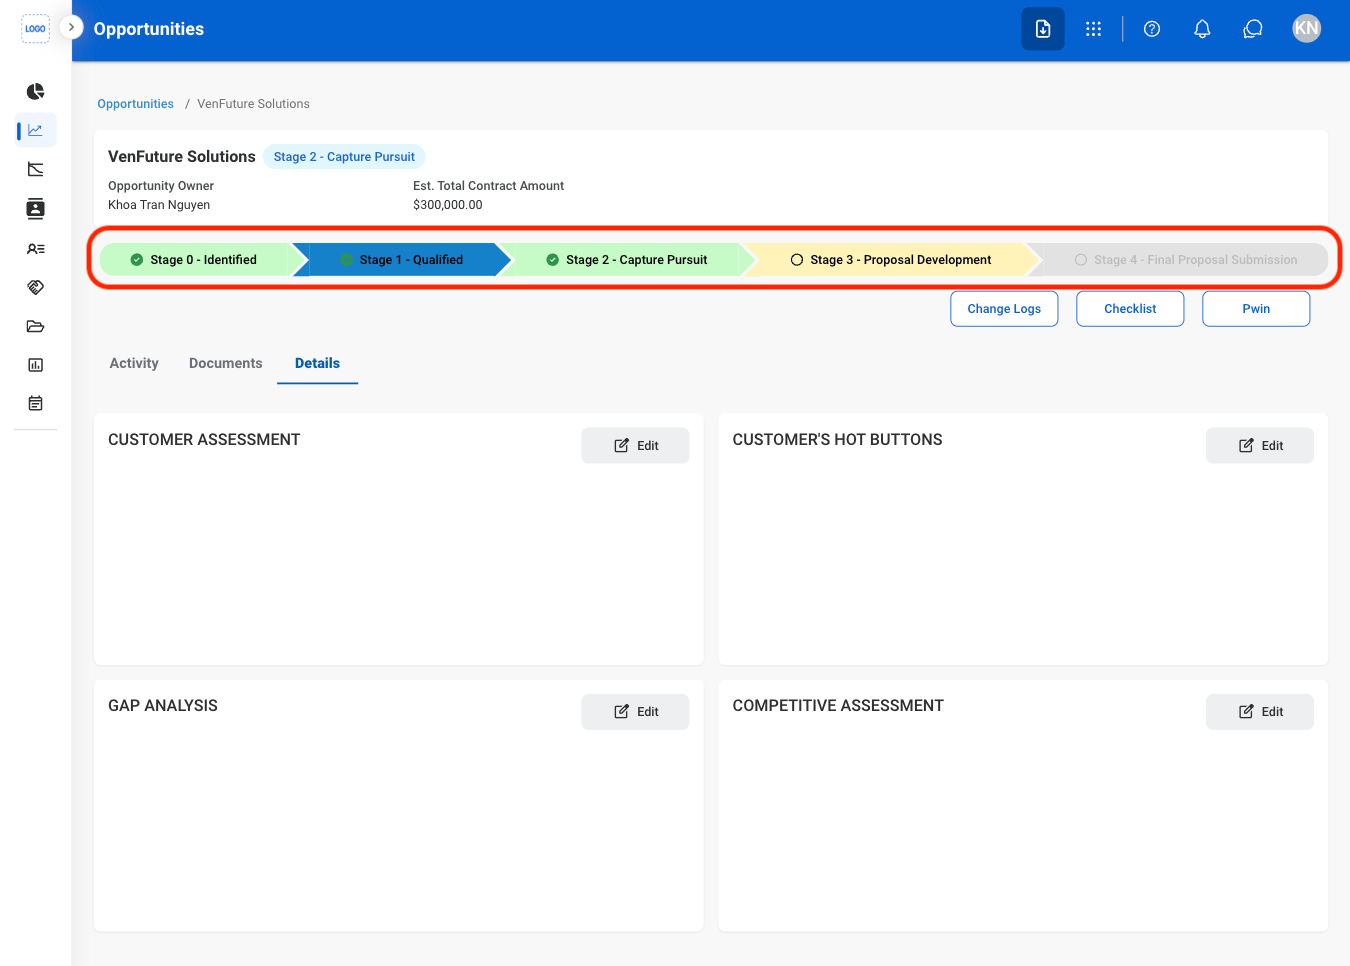
Navigate to Details
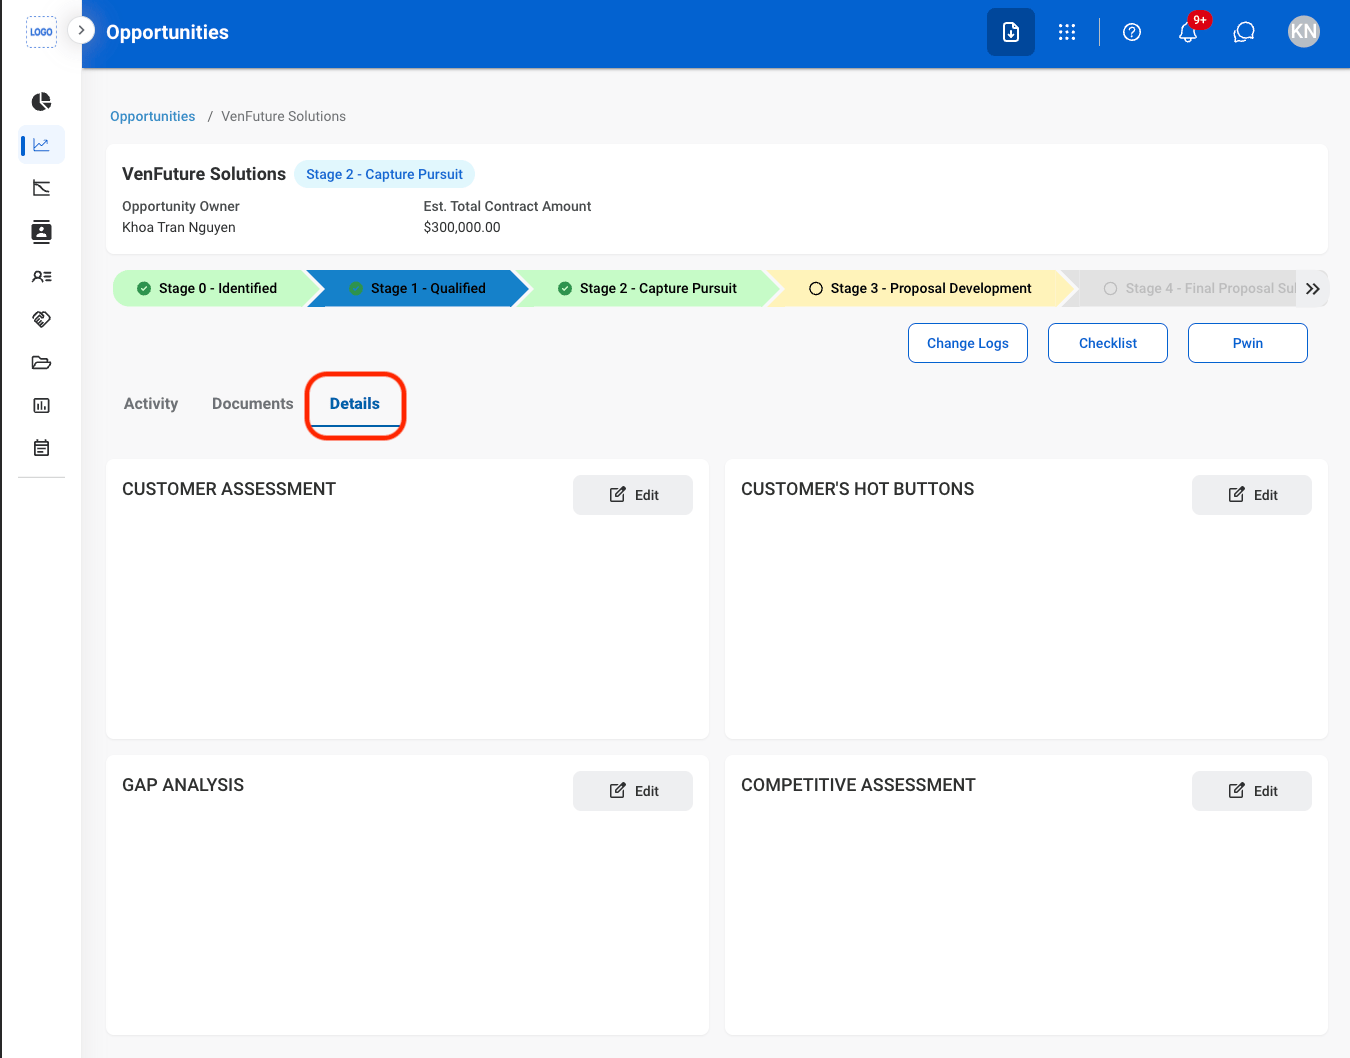
Select Edit
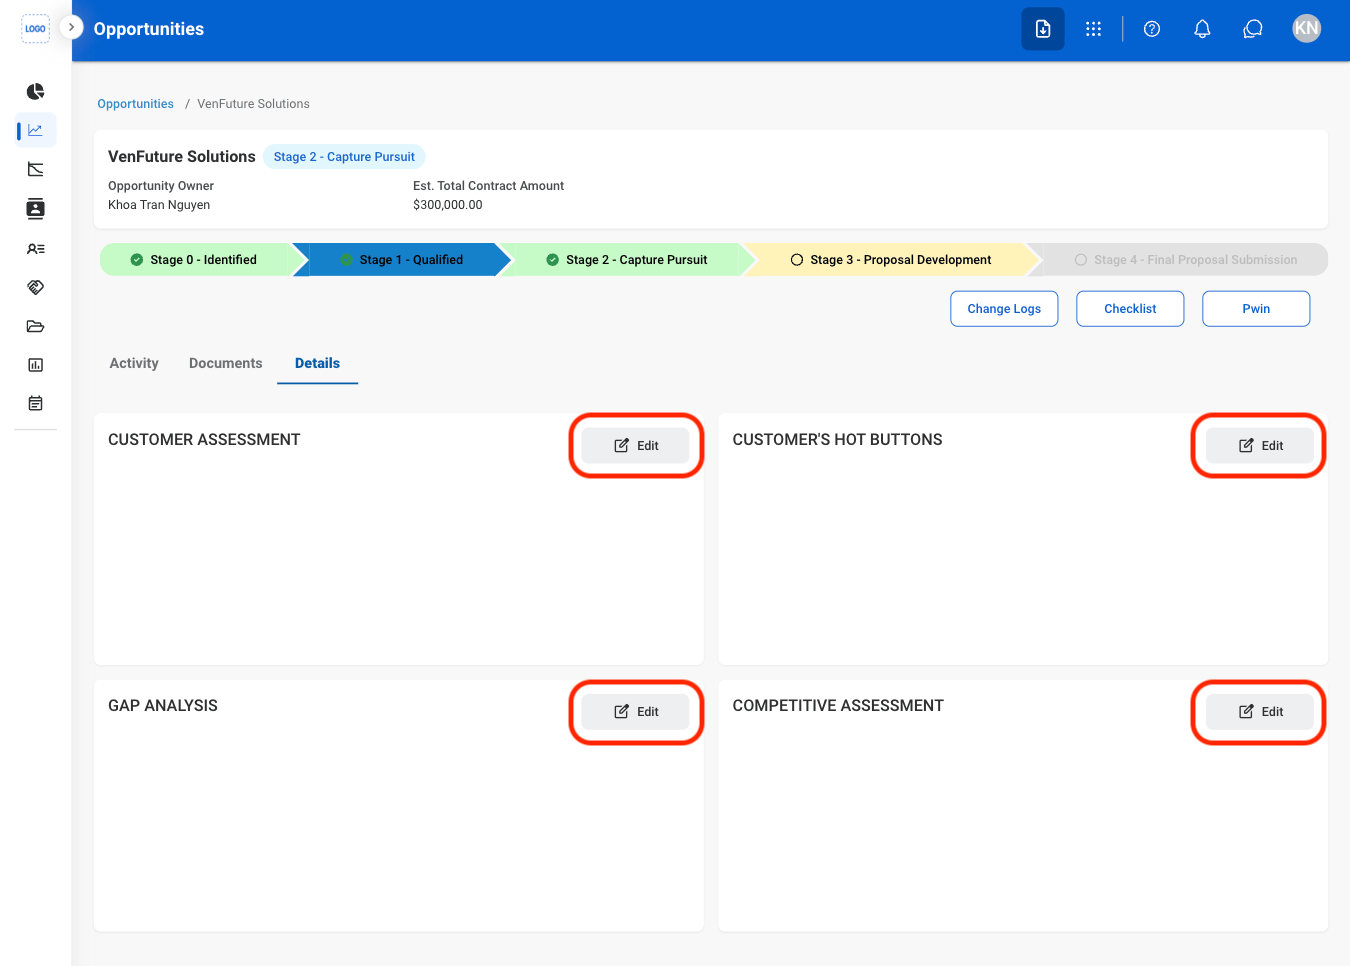
Fill in the required information
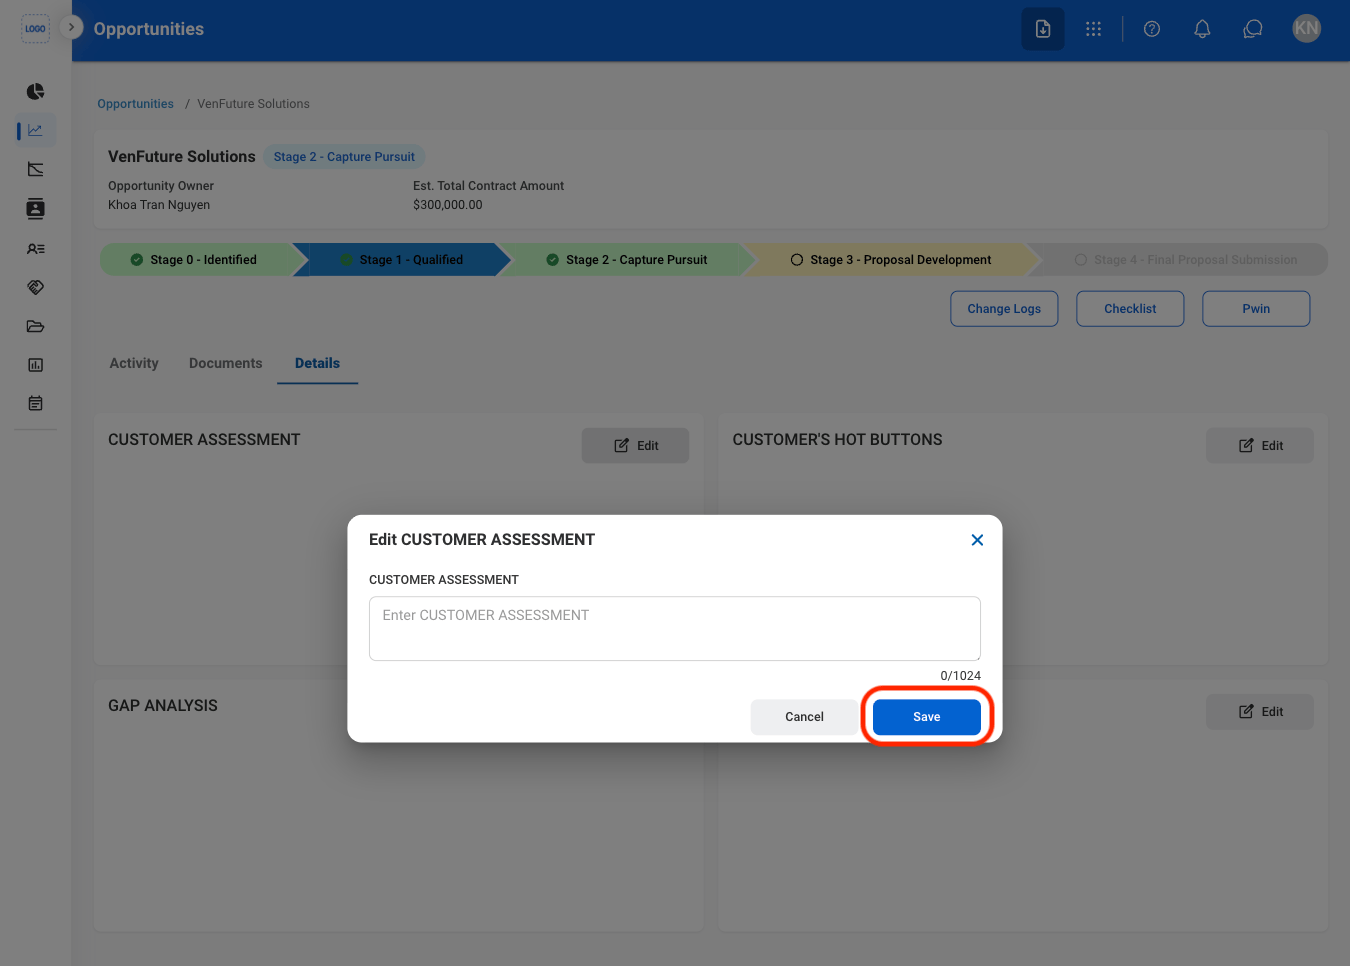
Stage 0 Functions
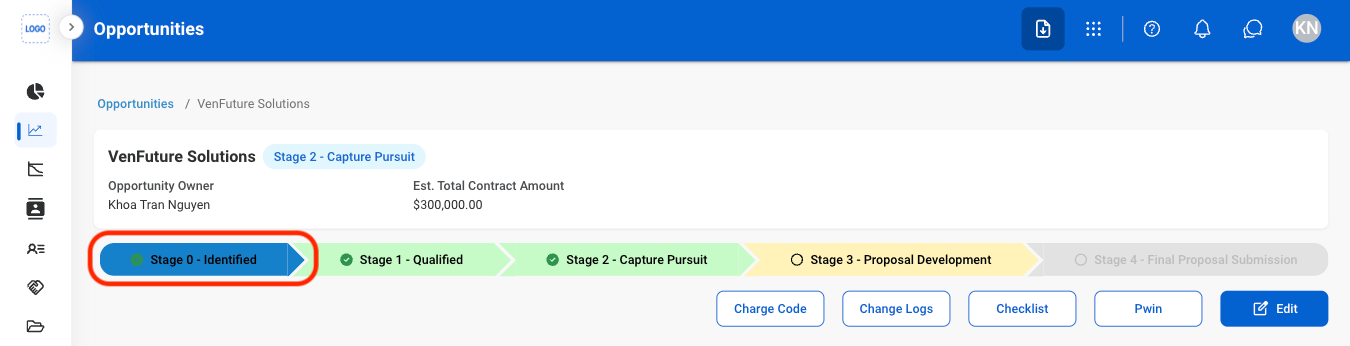
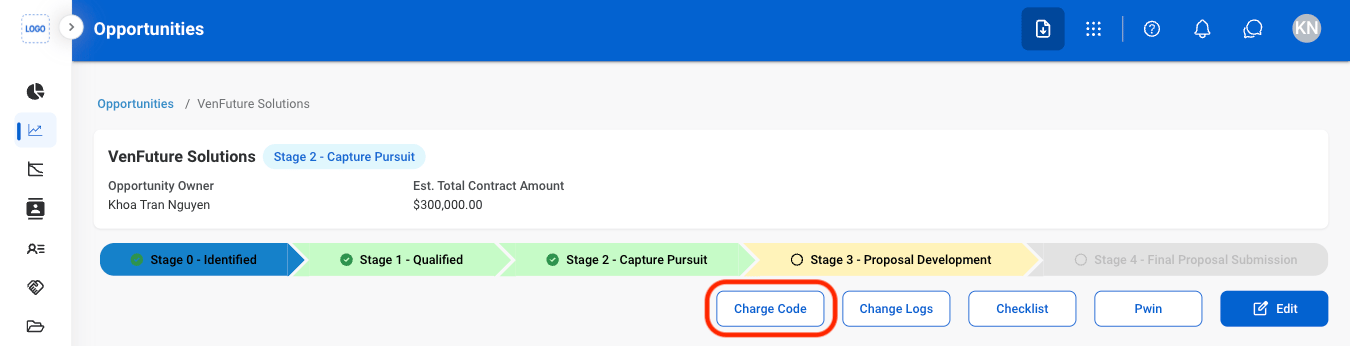
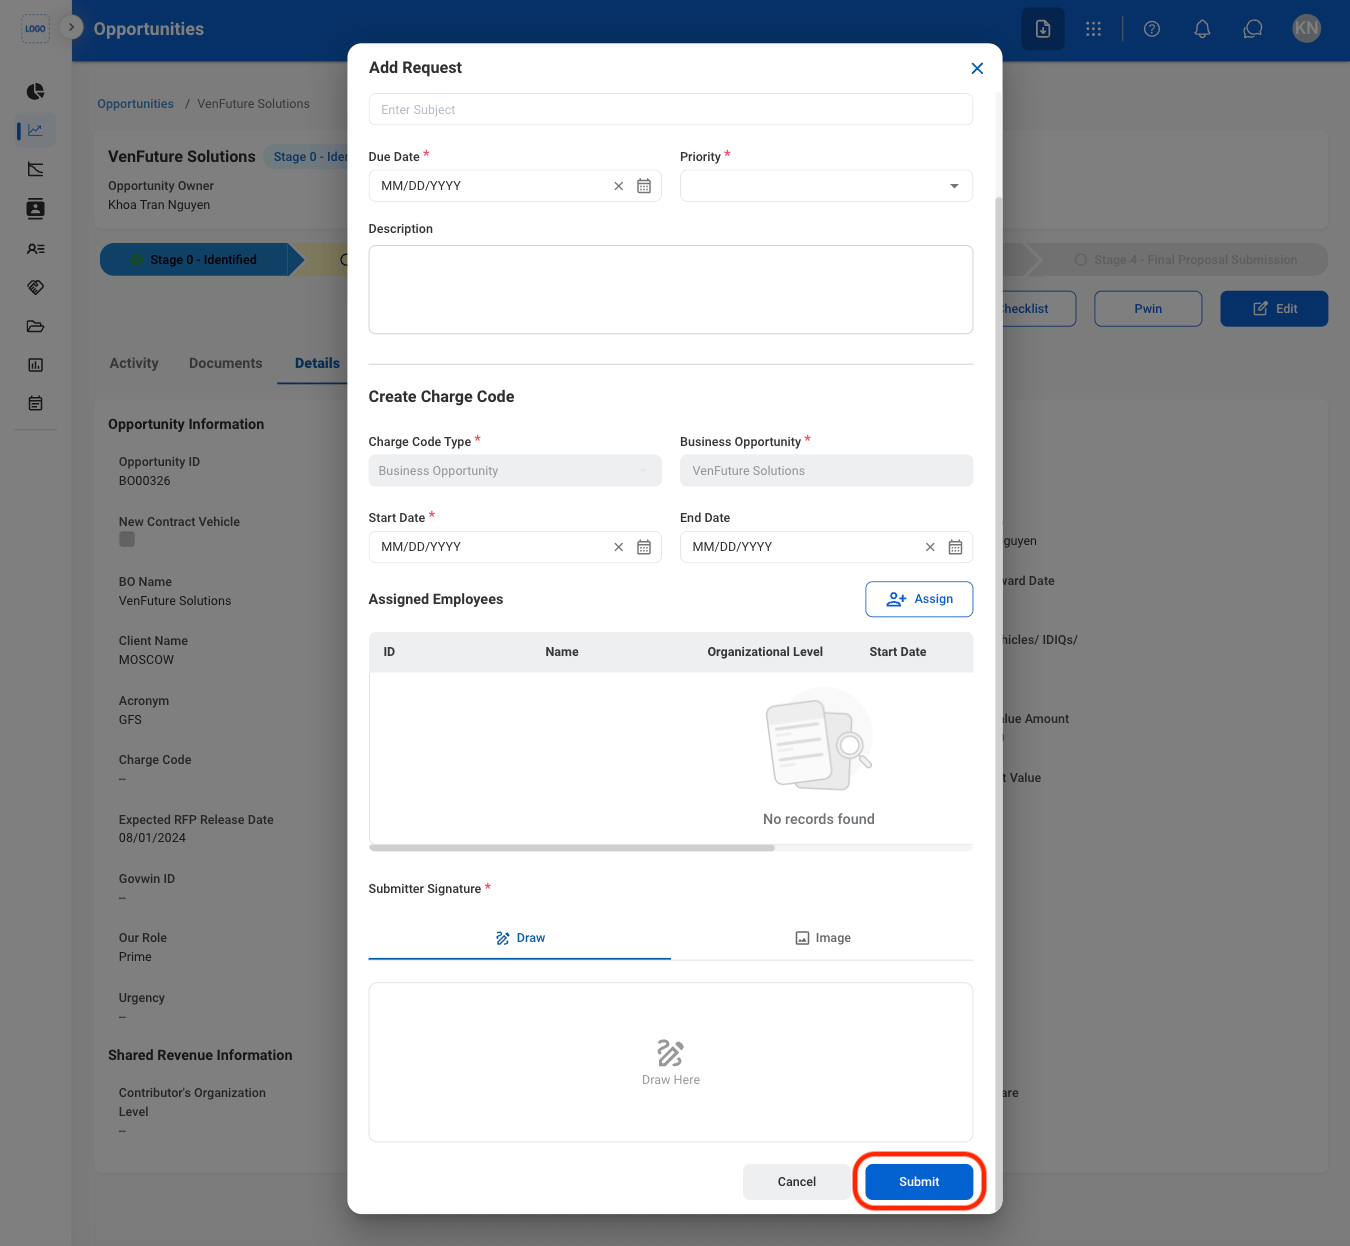
Request an Edit to the Charge Code
Select Stage 0
Select Charge Code
Fill in the required information
Stage 2 Functions
Edit Analysis
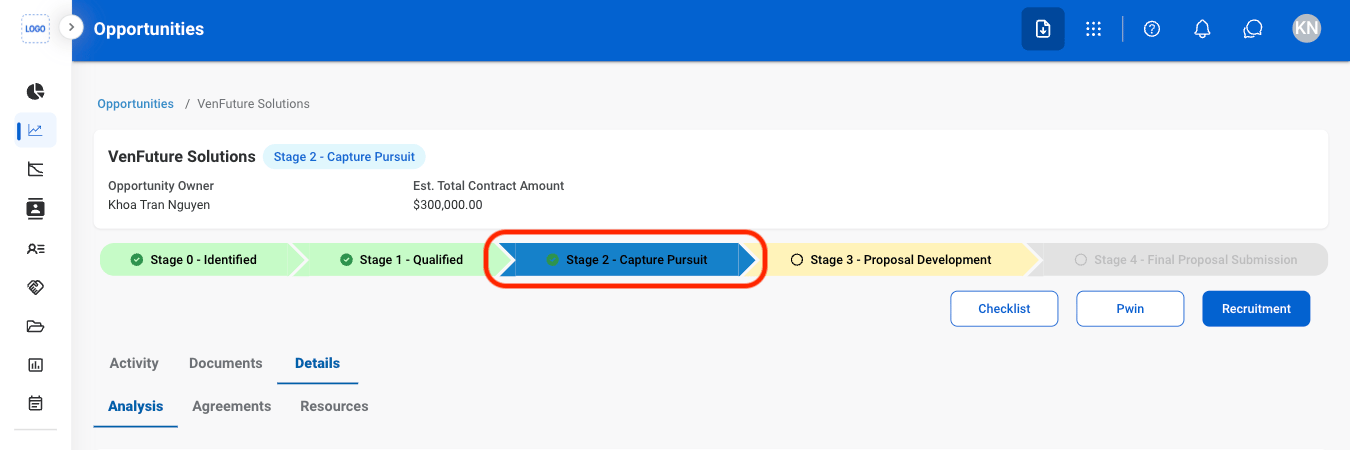
Select Stage 2
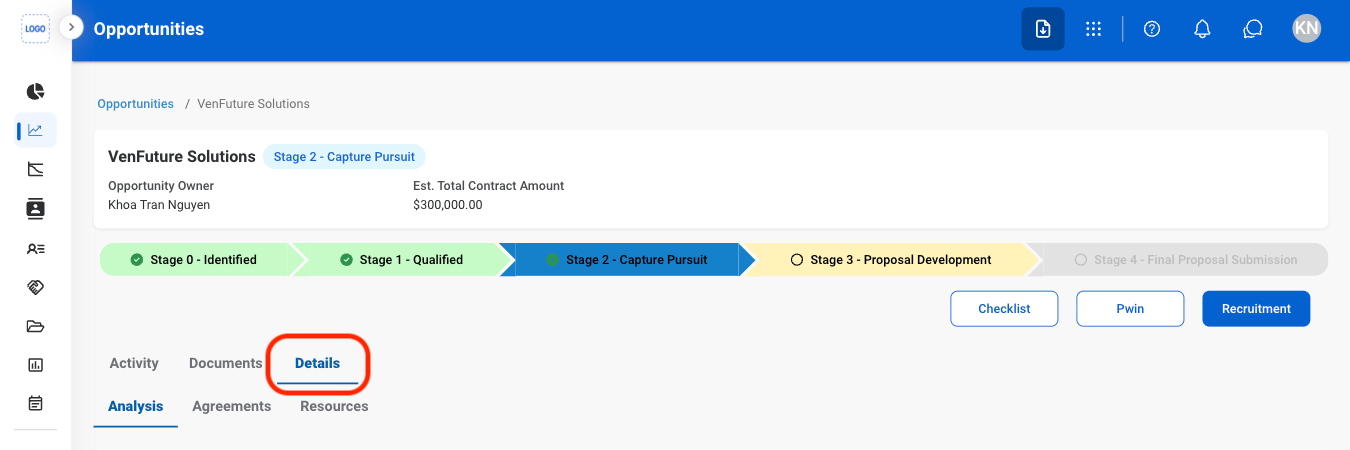
Navigate to Details
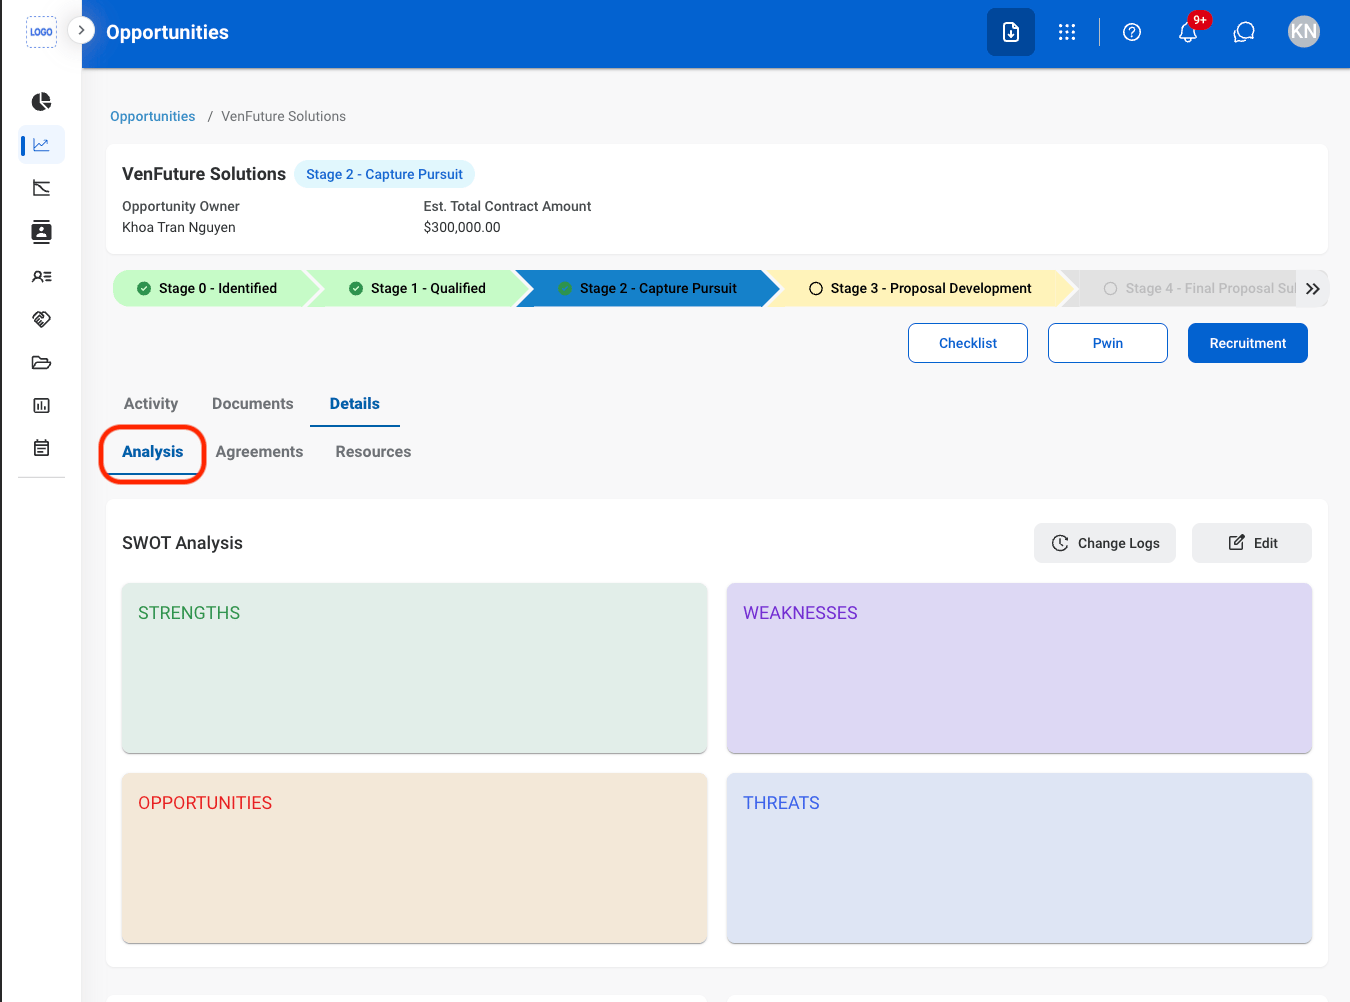
Navigate to Analysis
Select Edit
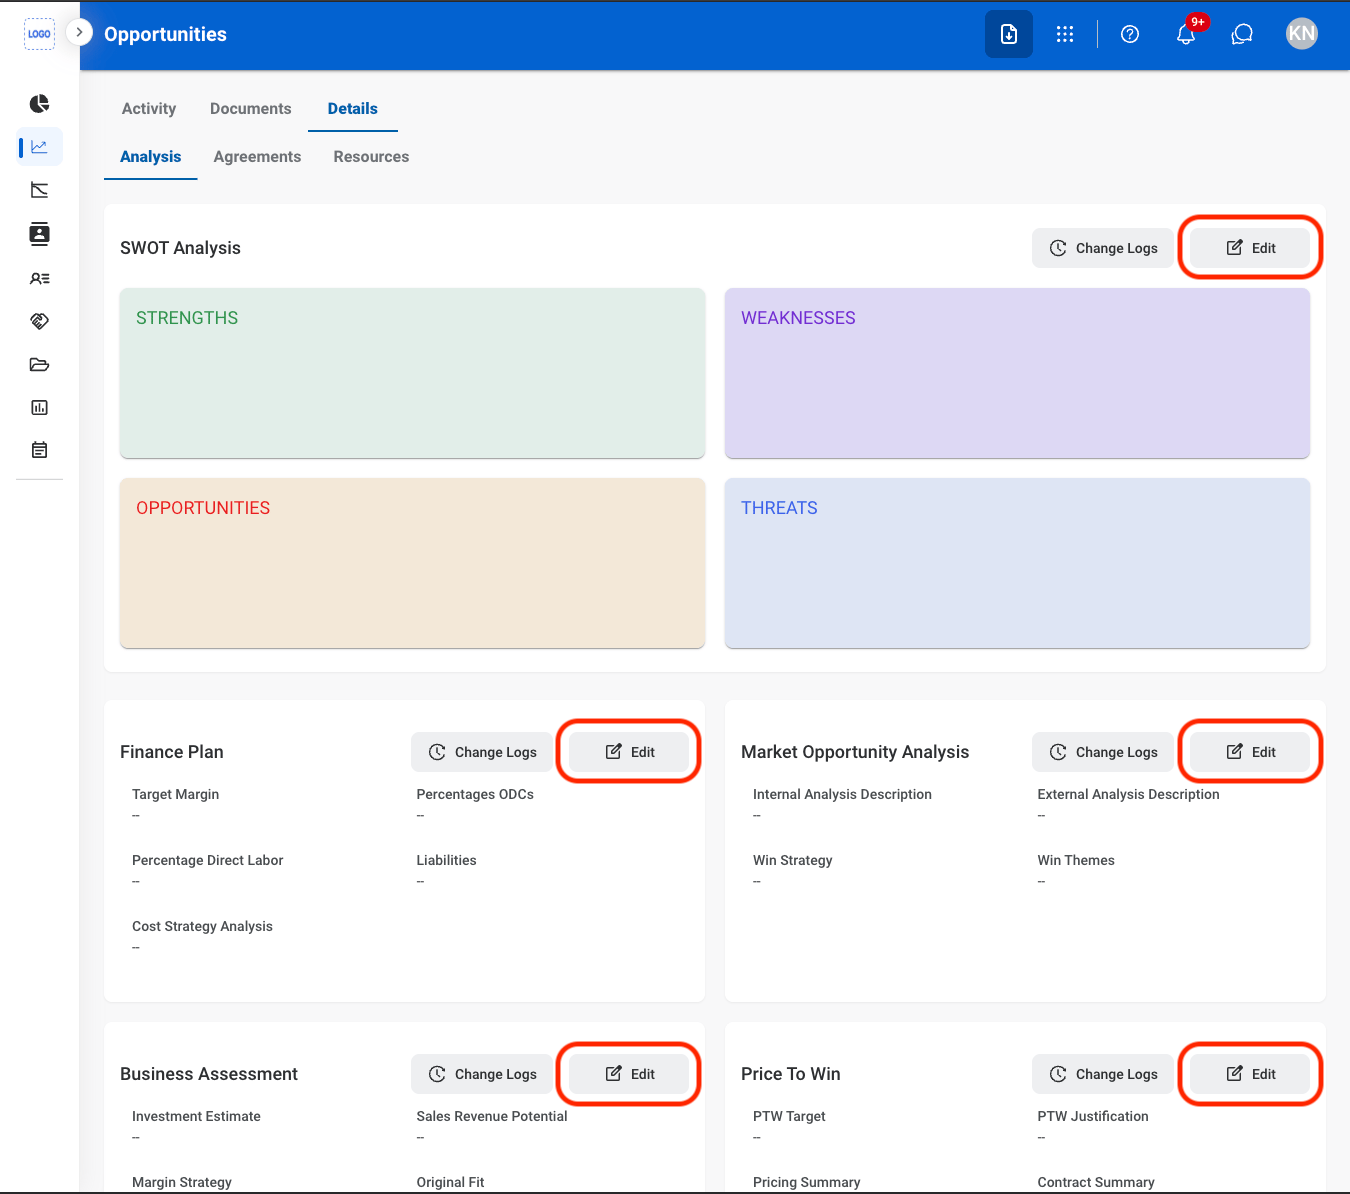
Fill in the required information
Add Potential Partners
Navigate to Details
Navigate to Agreements
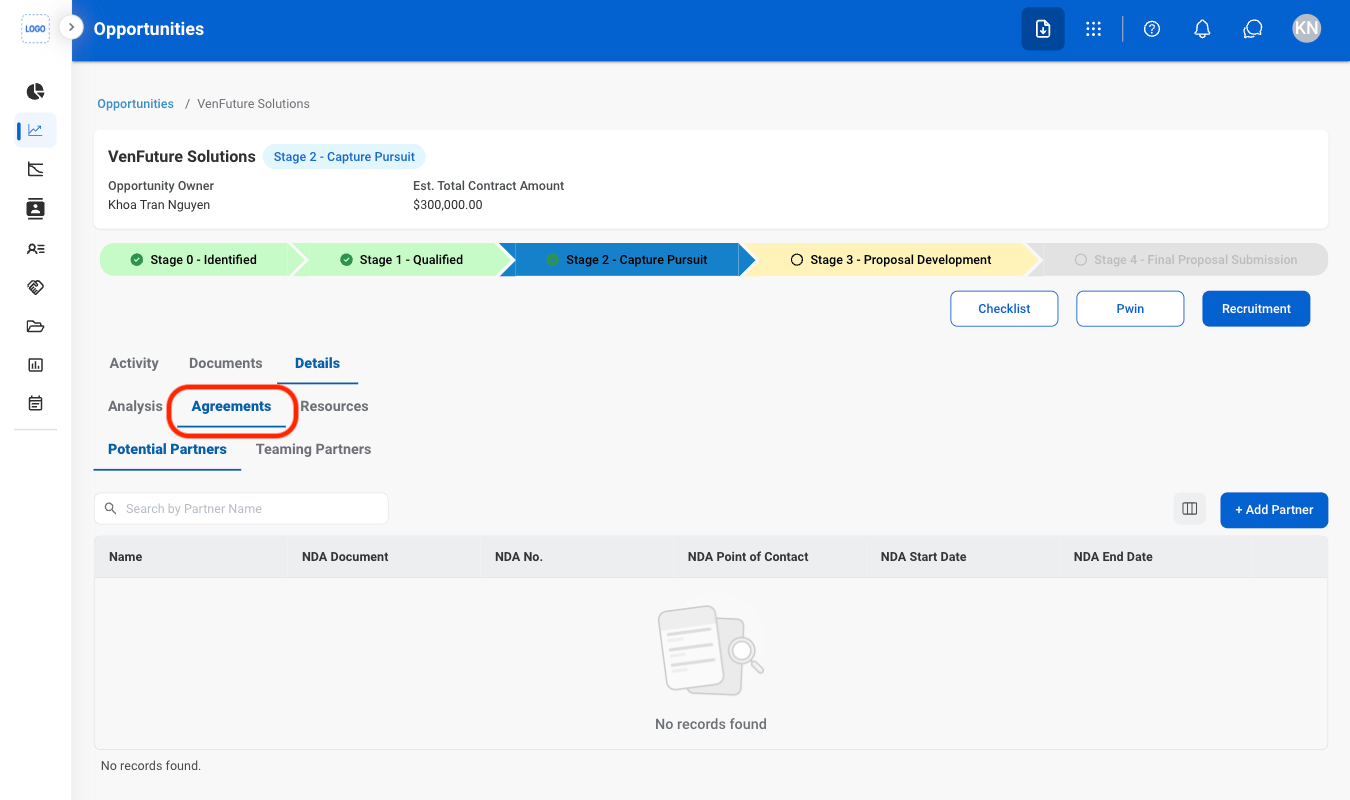
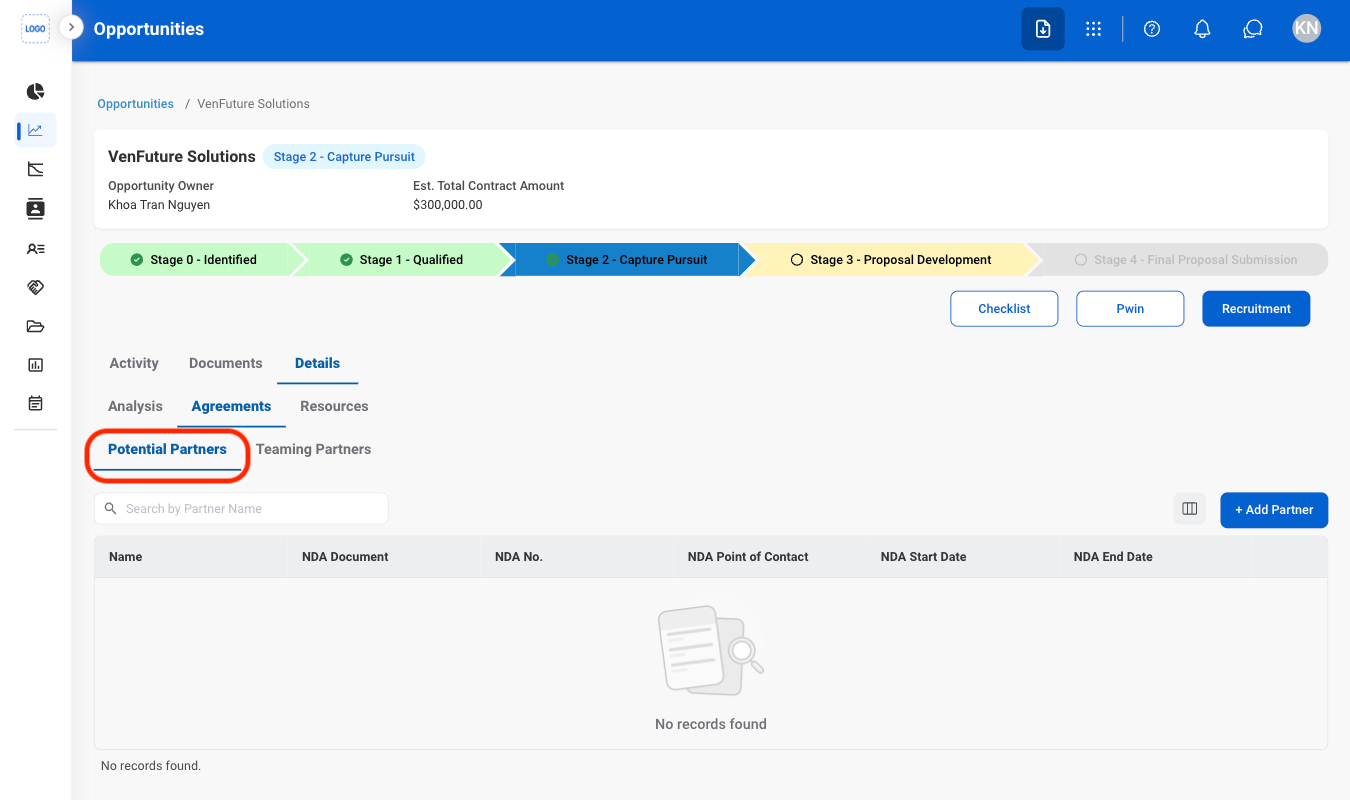
Navigate to Potential Partners
Select Add Partner
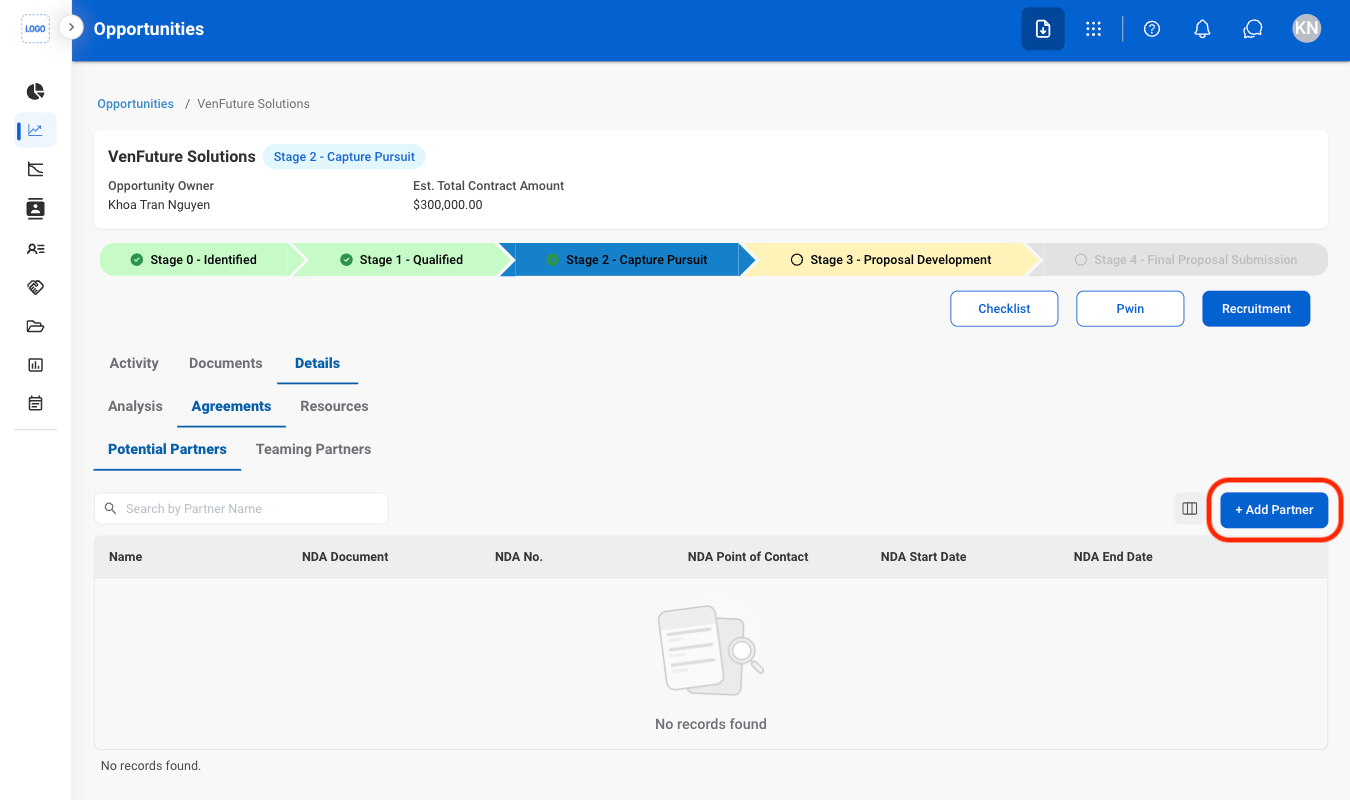
Select partner(s)
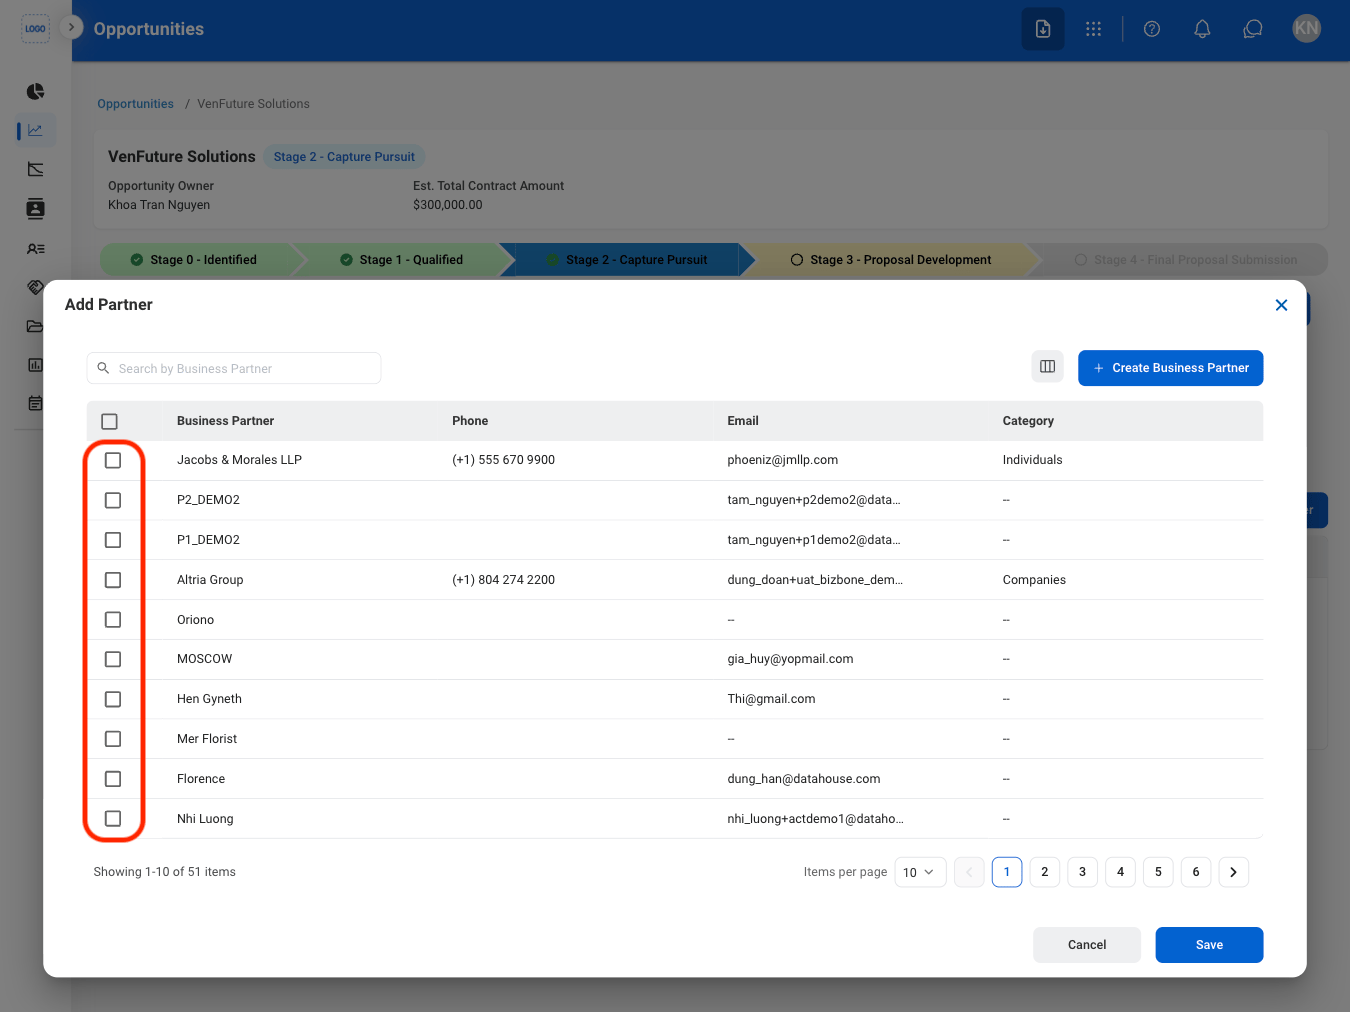
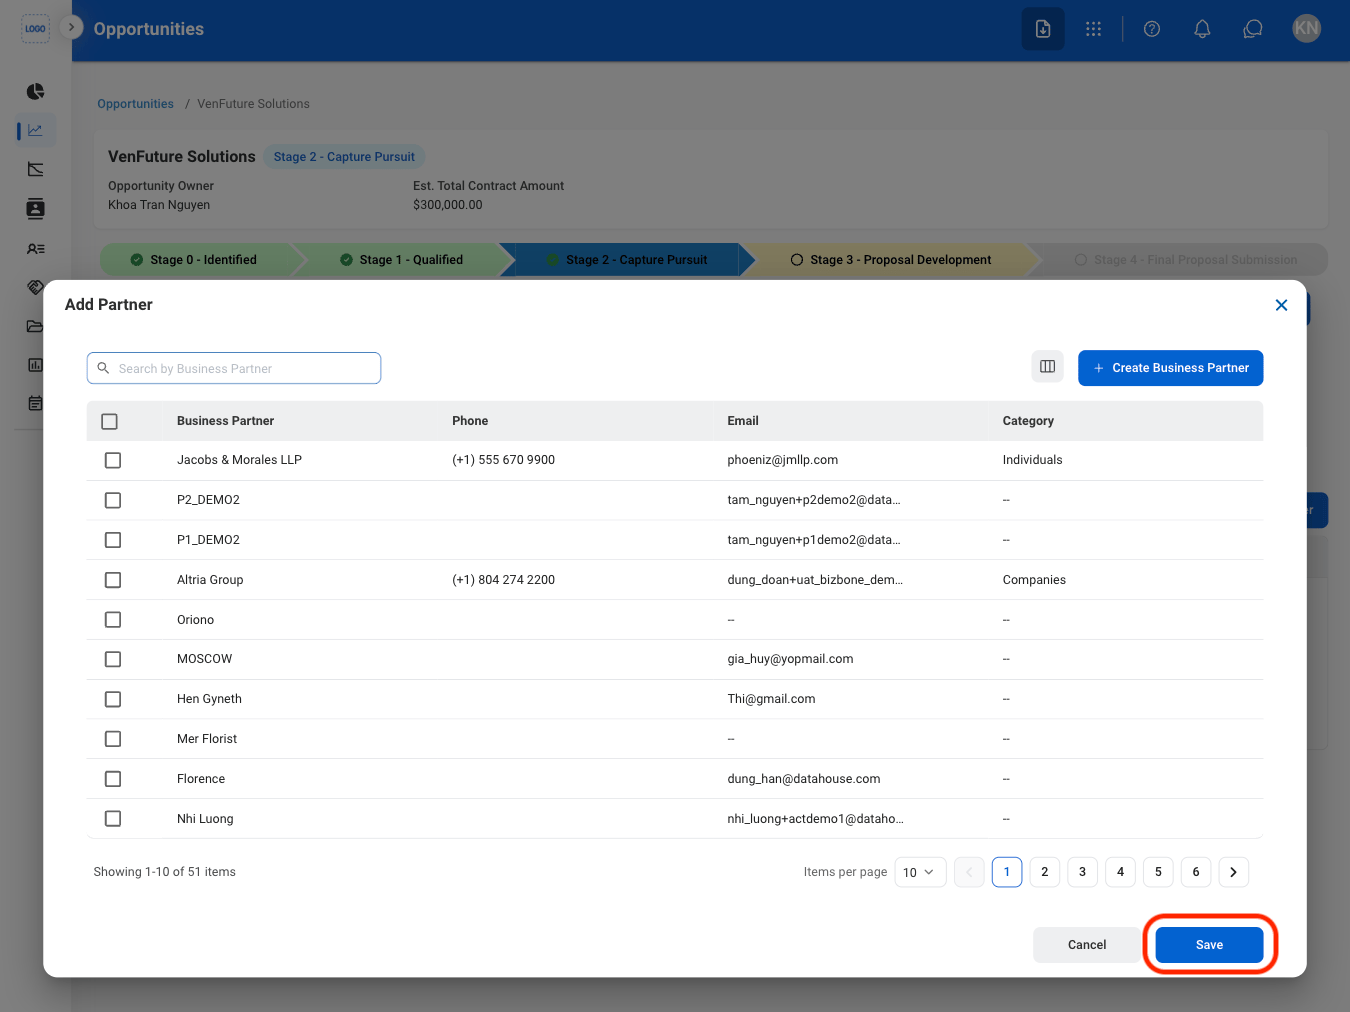
Confirm the action
Partner Requests
Navigate to Agreements
Navigate to Potential Partners
Select the ellipsis icon
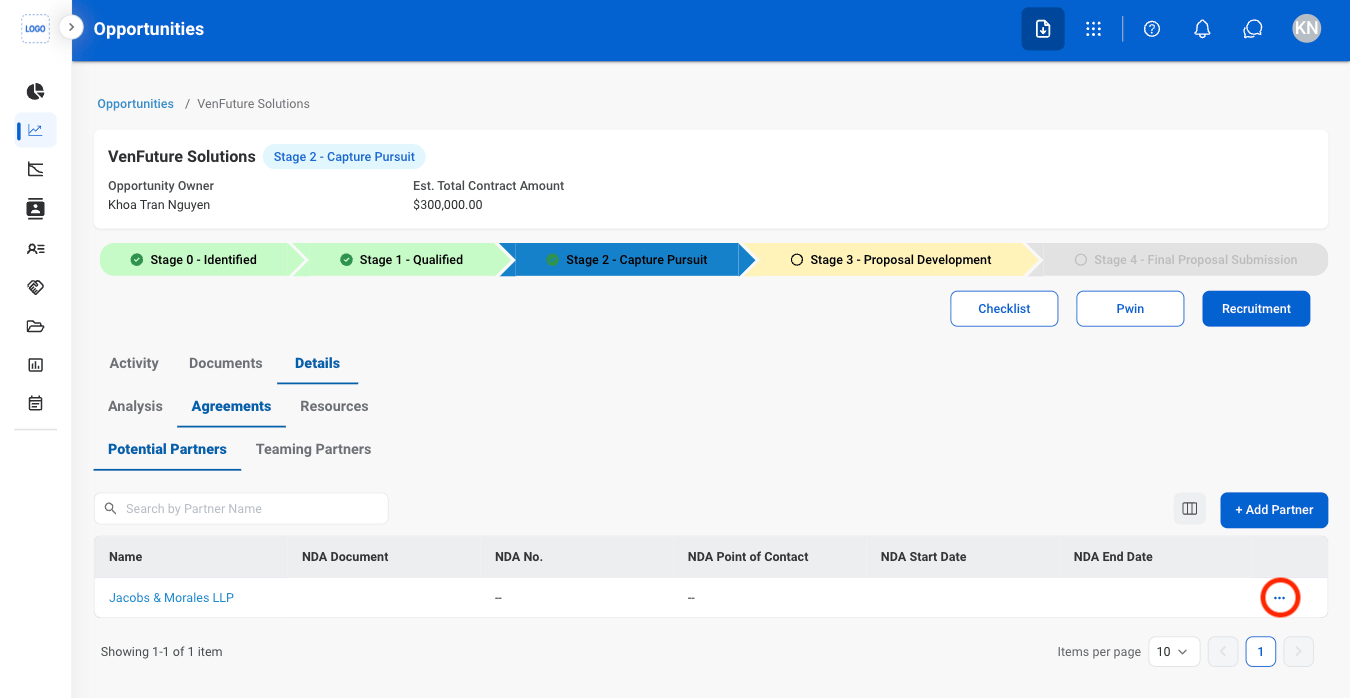
Select an action
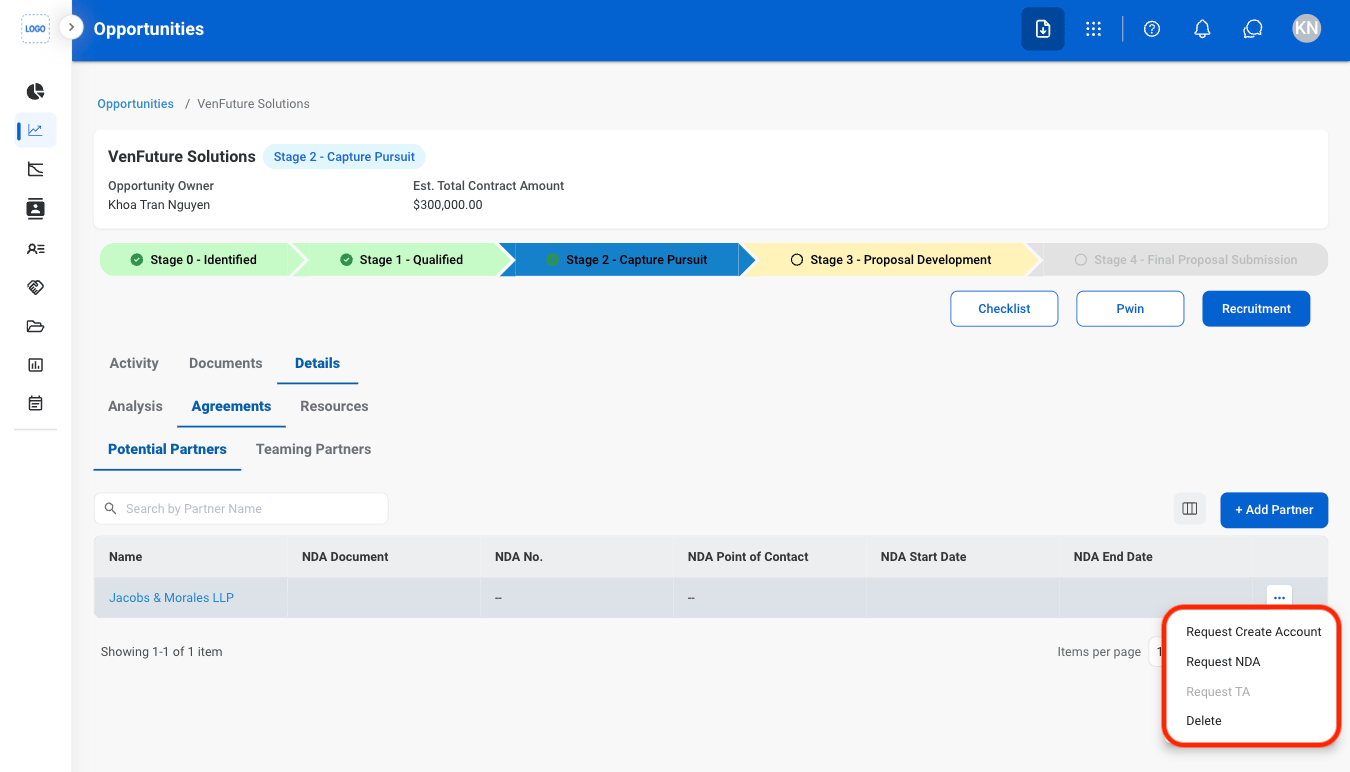
- Request Account Creation: Submit a request to create a new partner account.
- Request NDA: Submit a request to create a Non-Disclosure Agreement (NDA).
- Request TA: Submit a request to create a Teaming Agreement (TA).
- Delete: Remove from Potential Partners list
Fill in the required information
- Request Account Creation: Select Save to complete or Cancel to exit without saving changes.
- Request NDA: Select Submit to complete or Cancel to exit without saving changes.
- Request TA:
- Delete: Entry is deleted upon click.
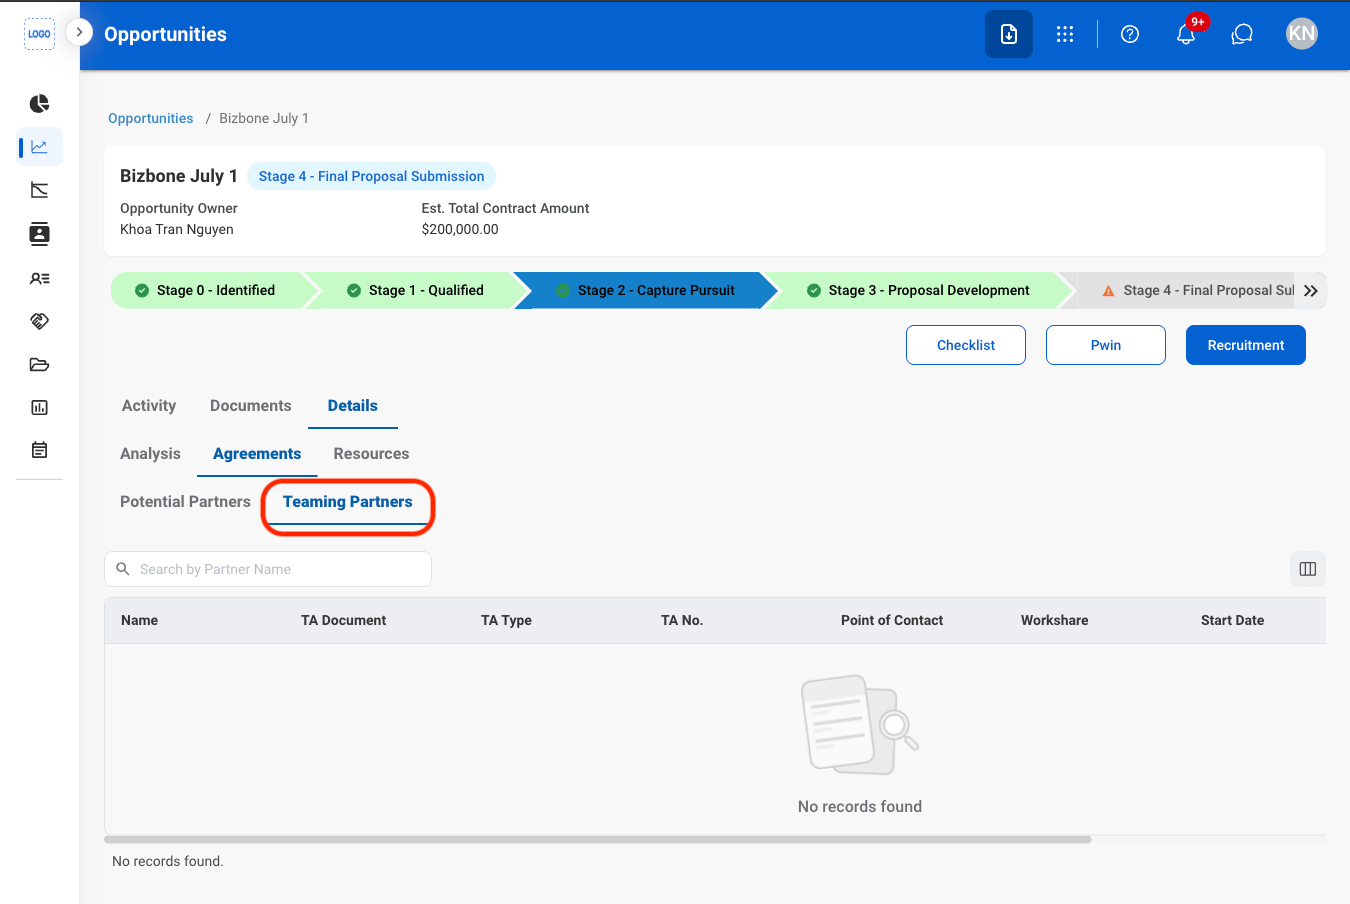
View Teaming Partners
Navigate to Teaming Partners
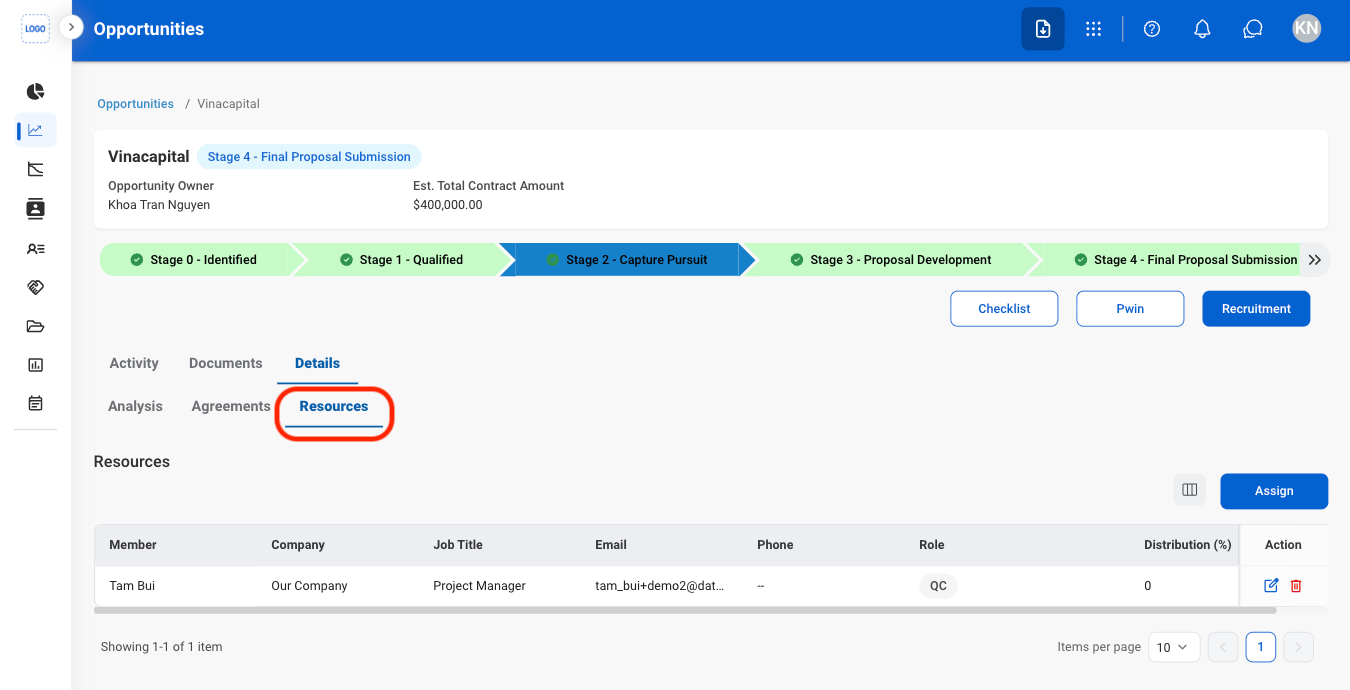
Add Resources
Navigate to Resources
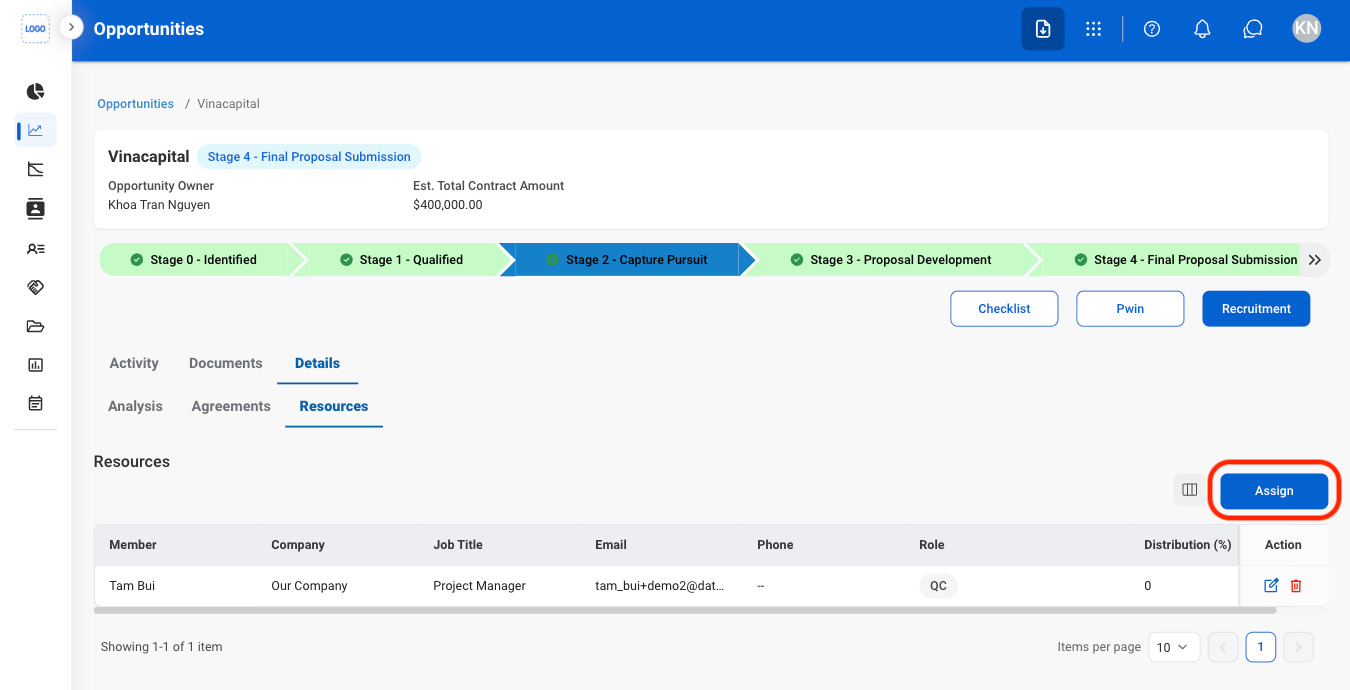
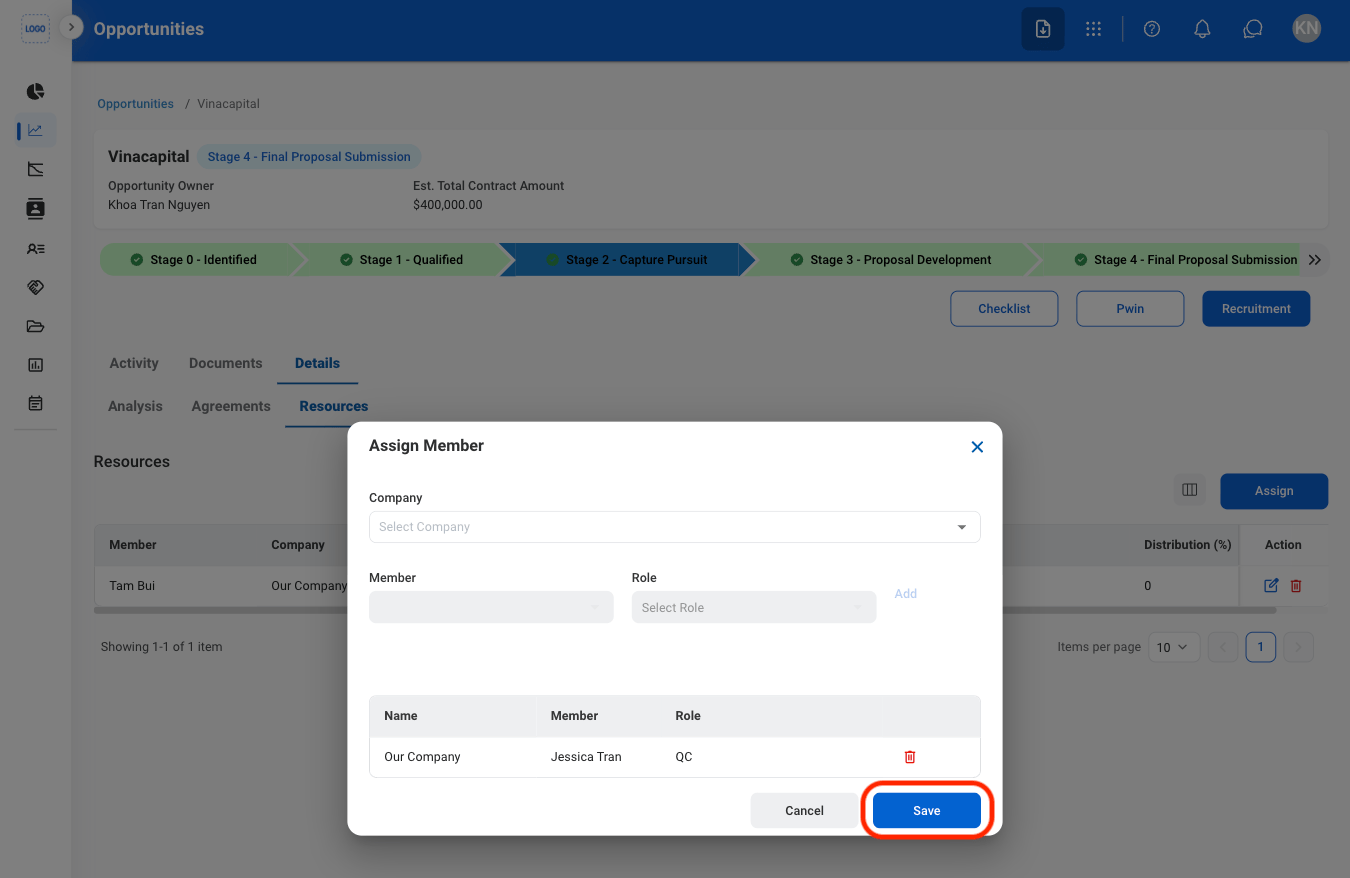
Select Assign
Select a team member and role
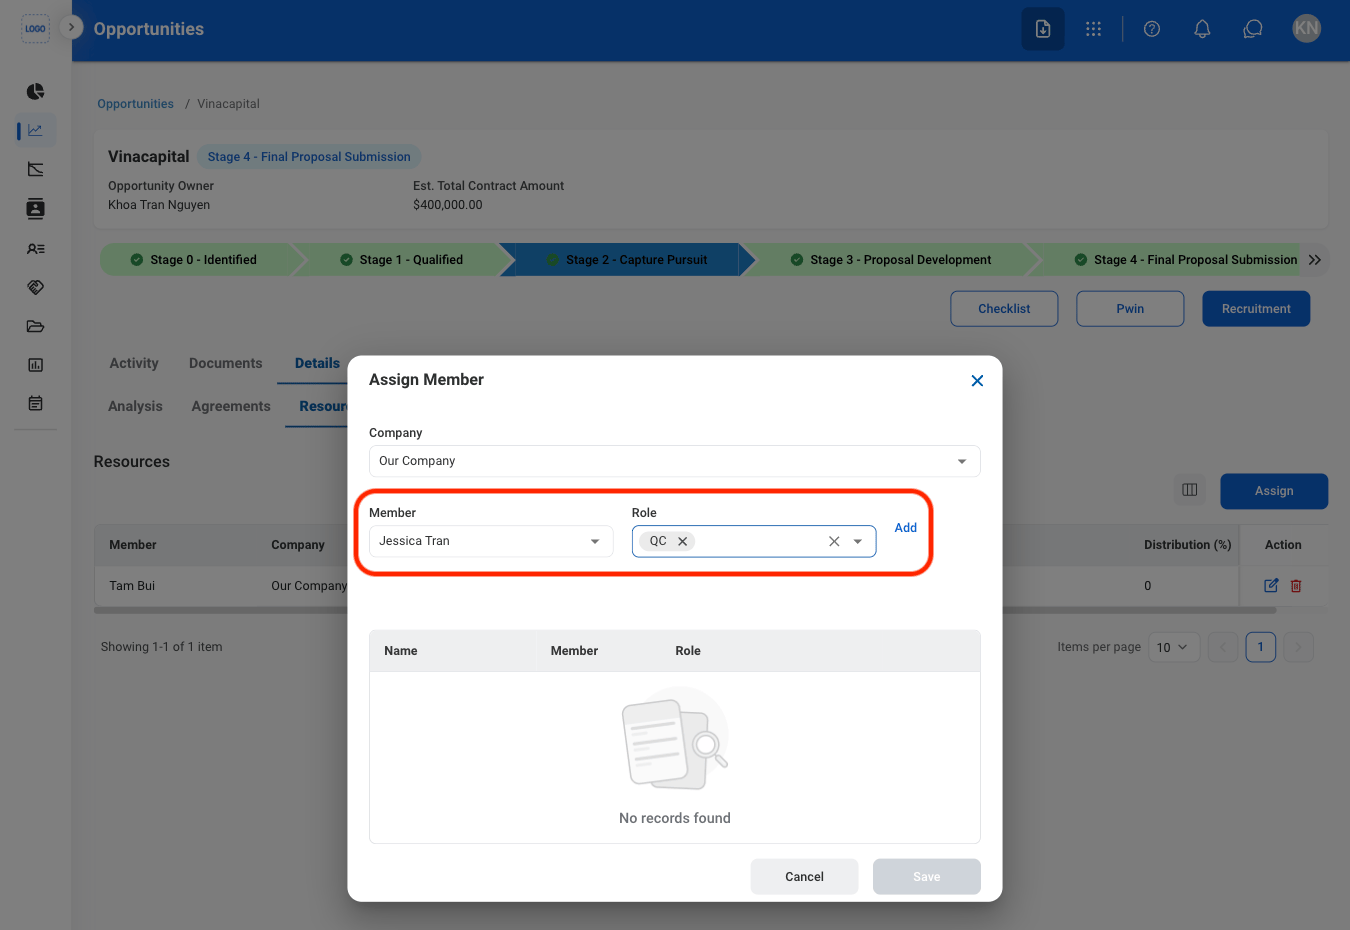
Confirm the action
Stage 3 Functions
Add a Team Review
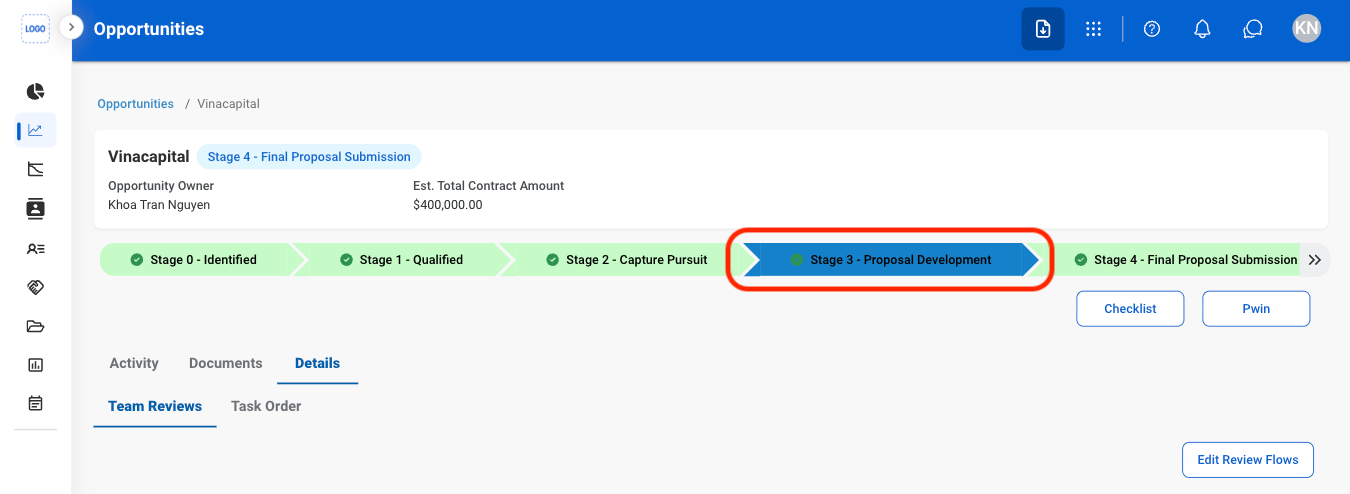
Select Stage 3
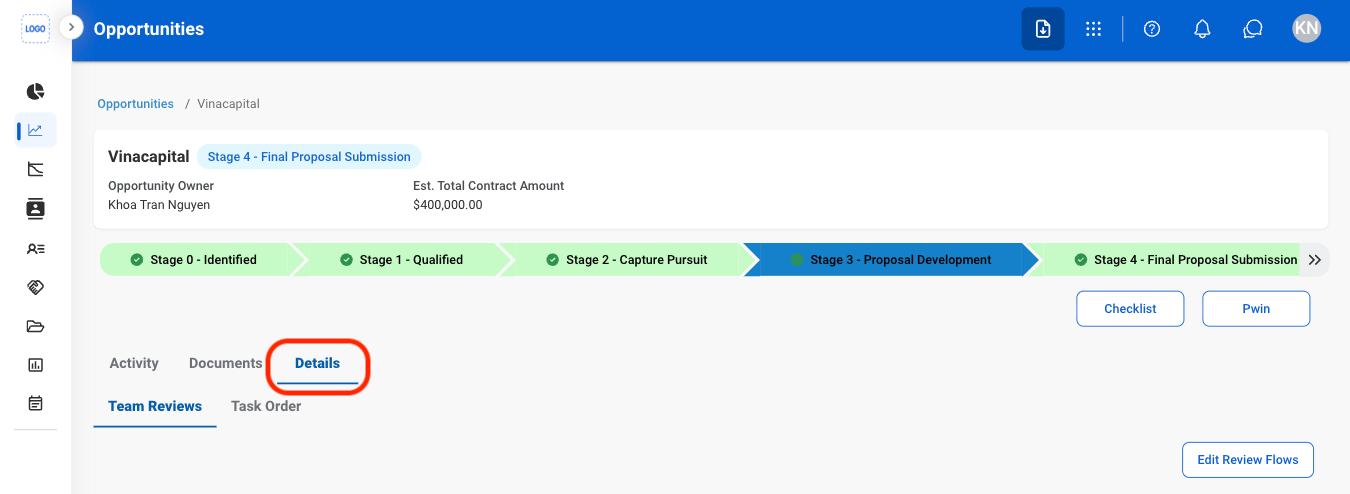
Navigate to Details
Navigate to Team Reviews
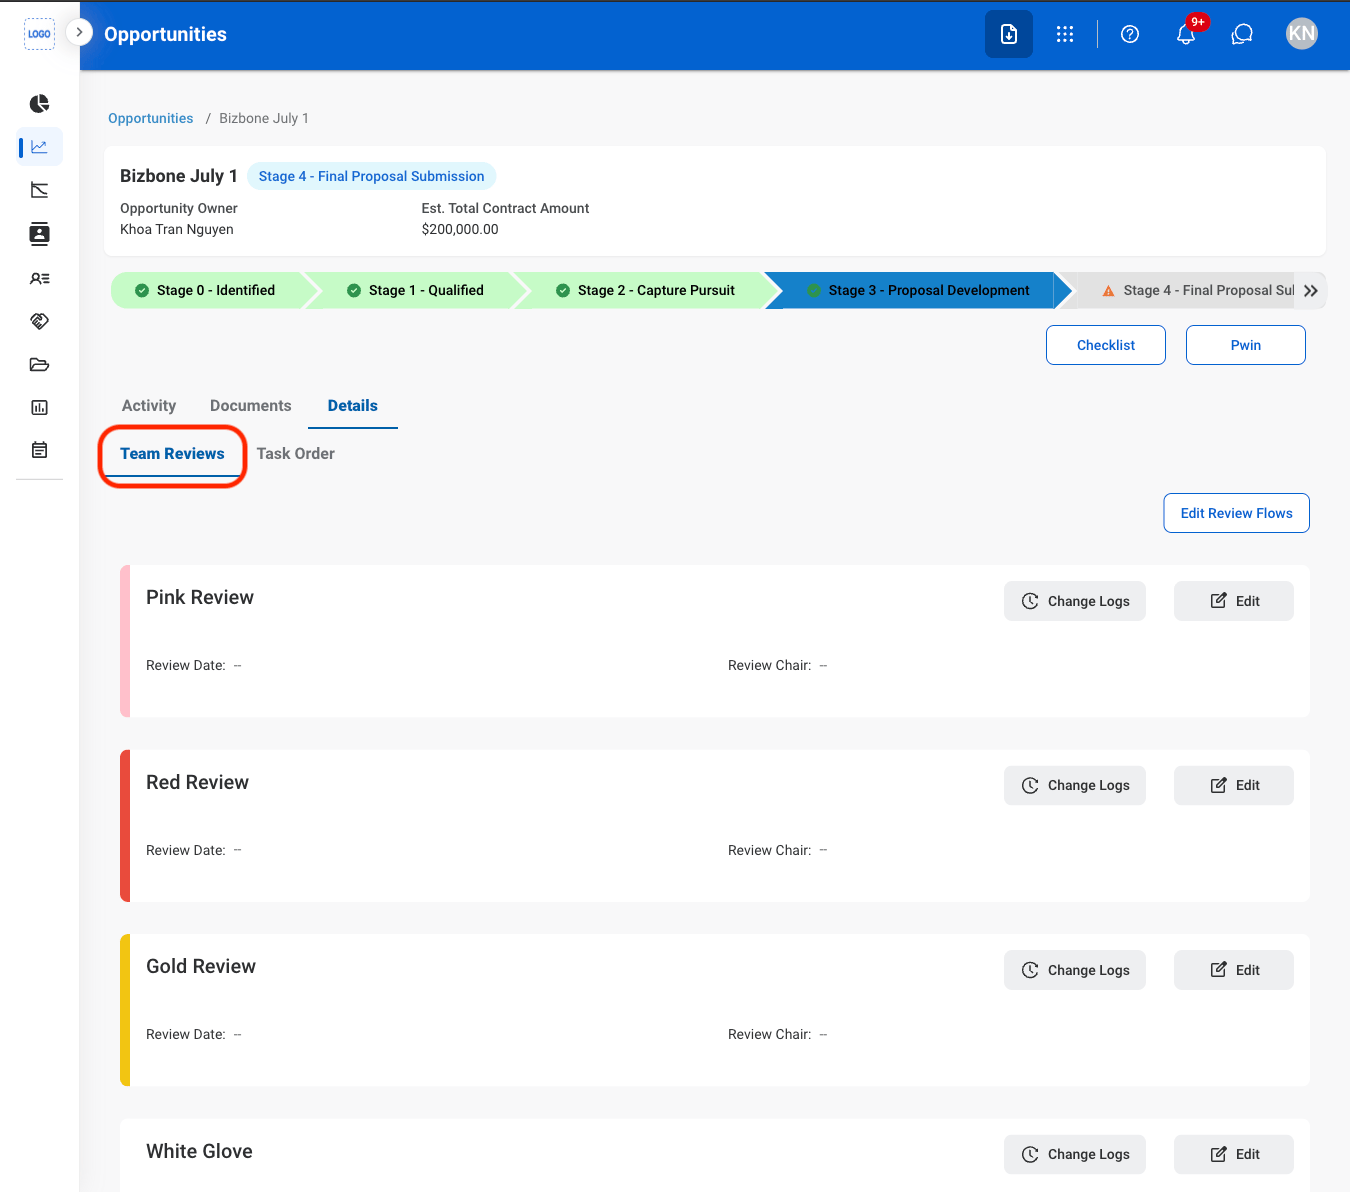
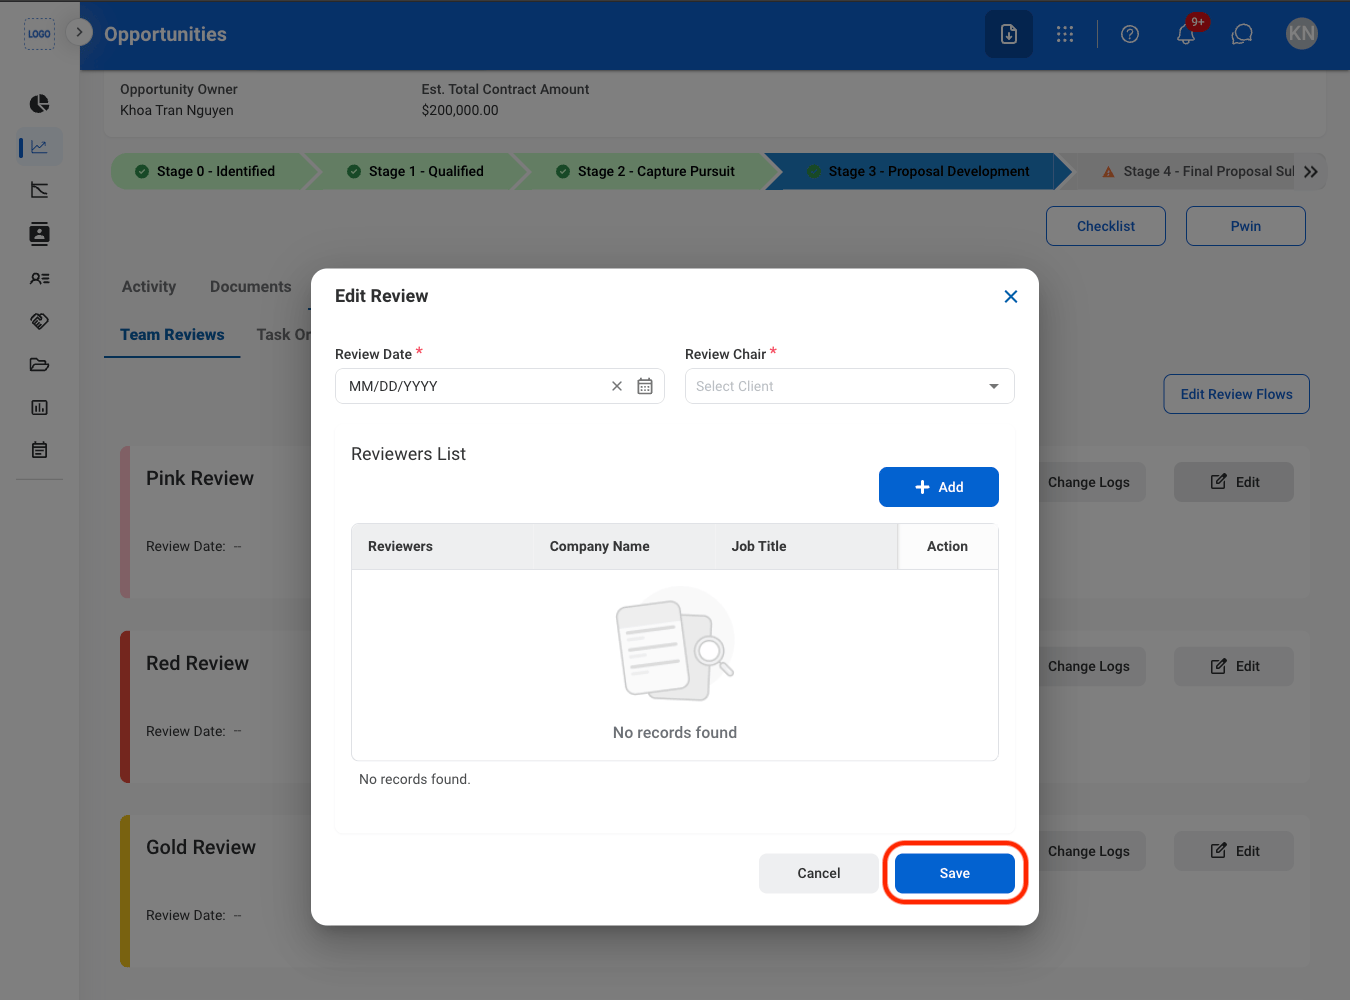
Select Edit
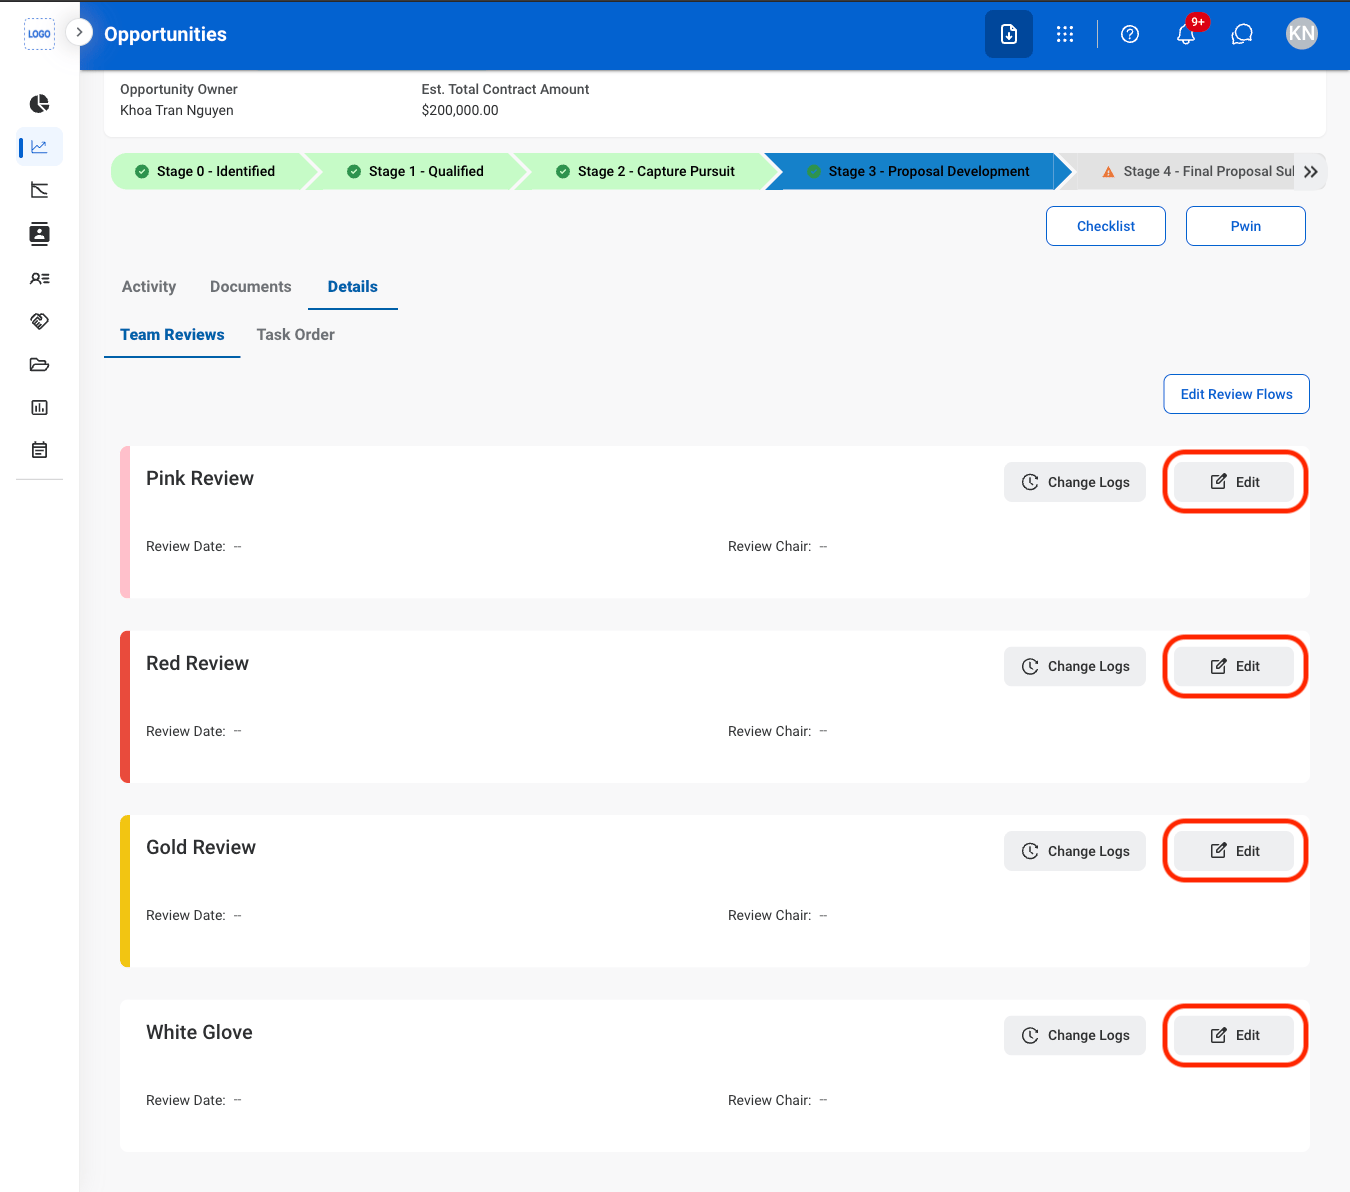
Fill in the required information
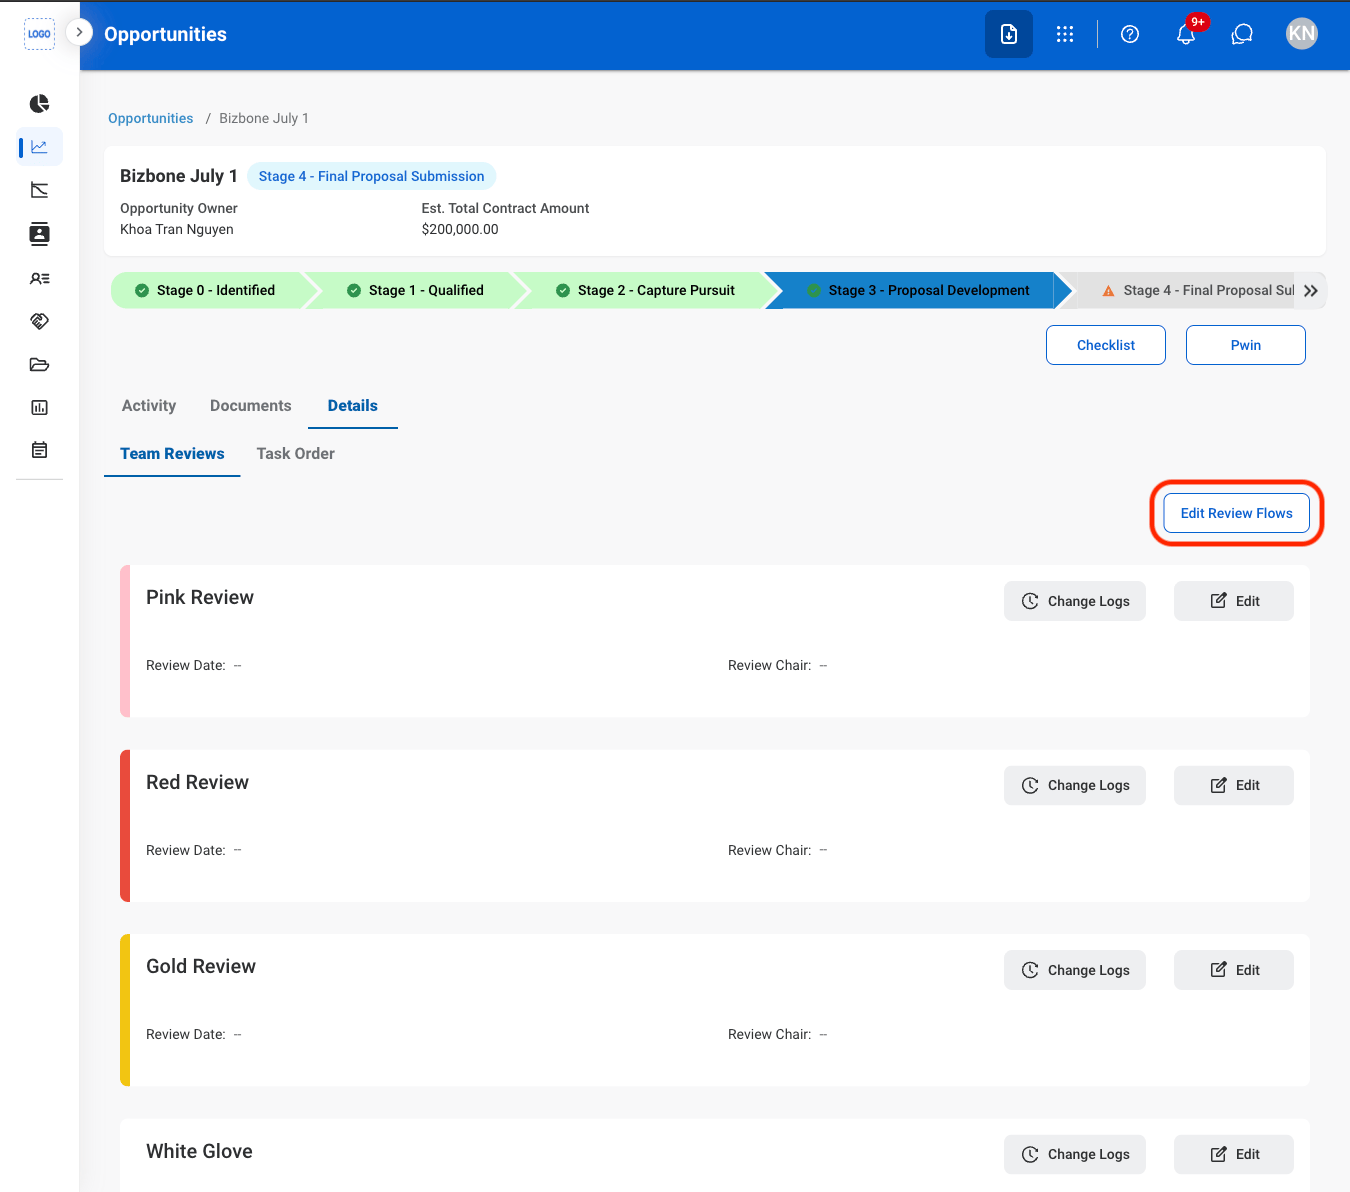
Edit Team Review Flow
Navigate to Details
Navigate to Team Reviews
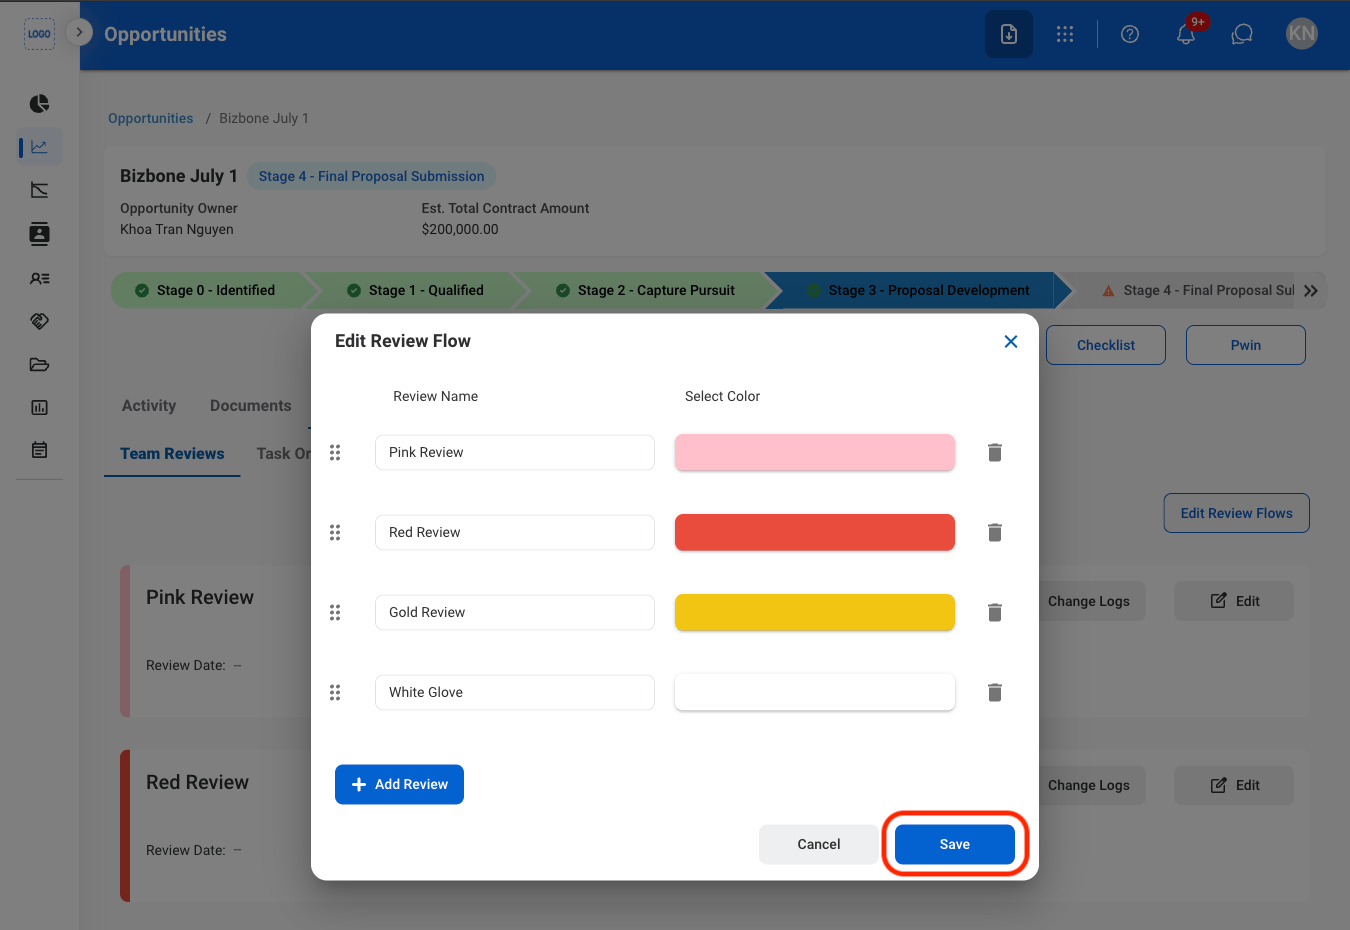
Select Edit Review Flows
Fill in the required information
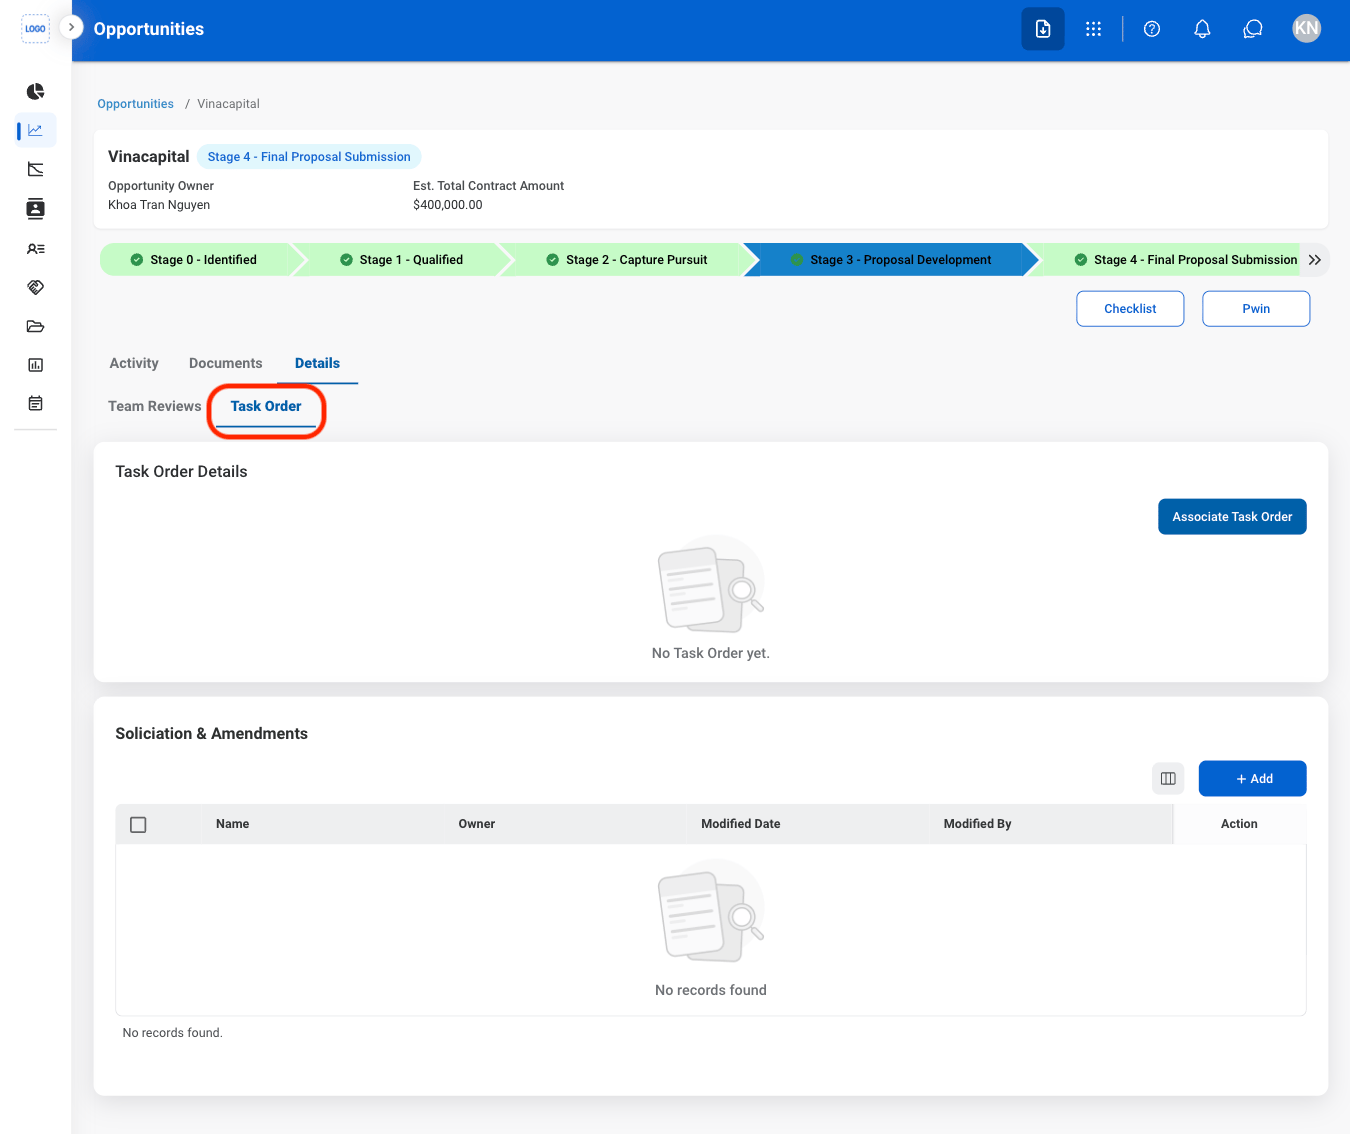
Associate an Existing Task Order
Navigate to Task Order
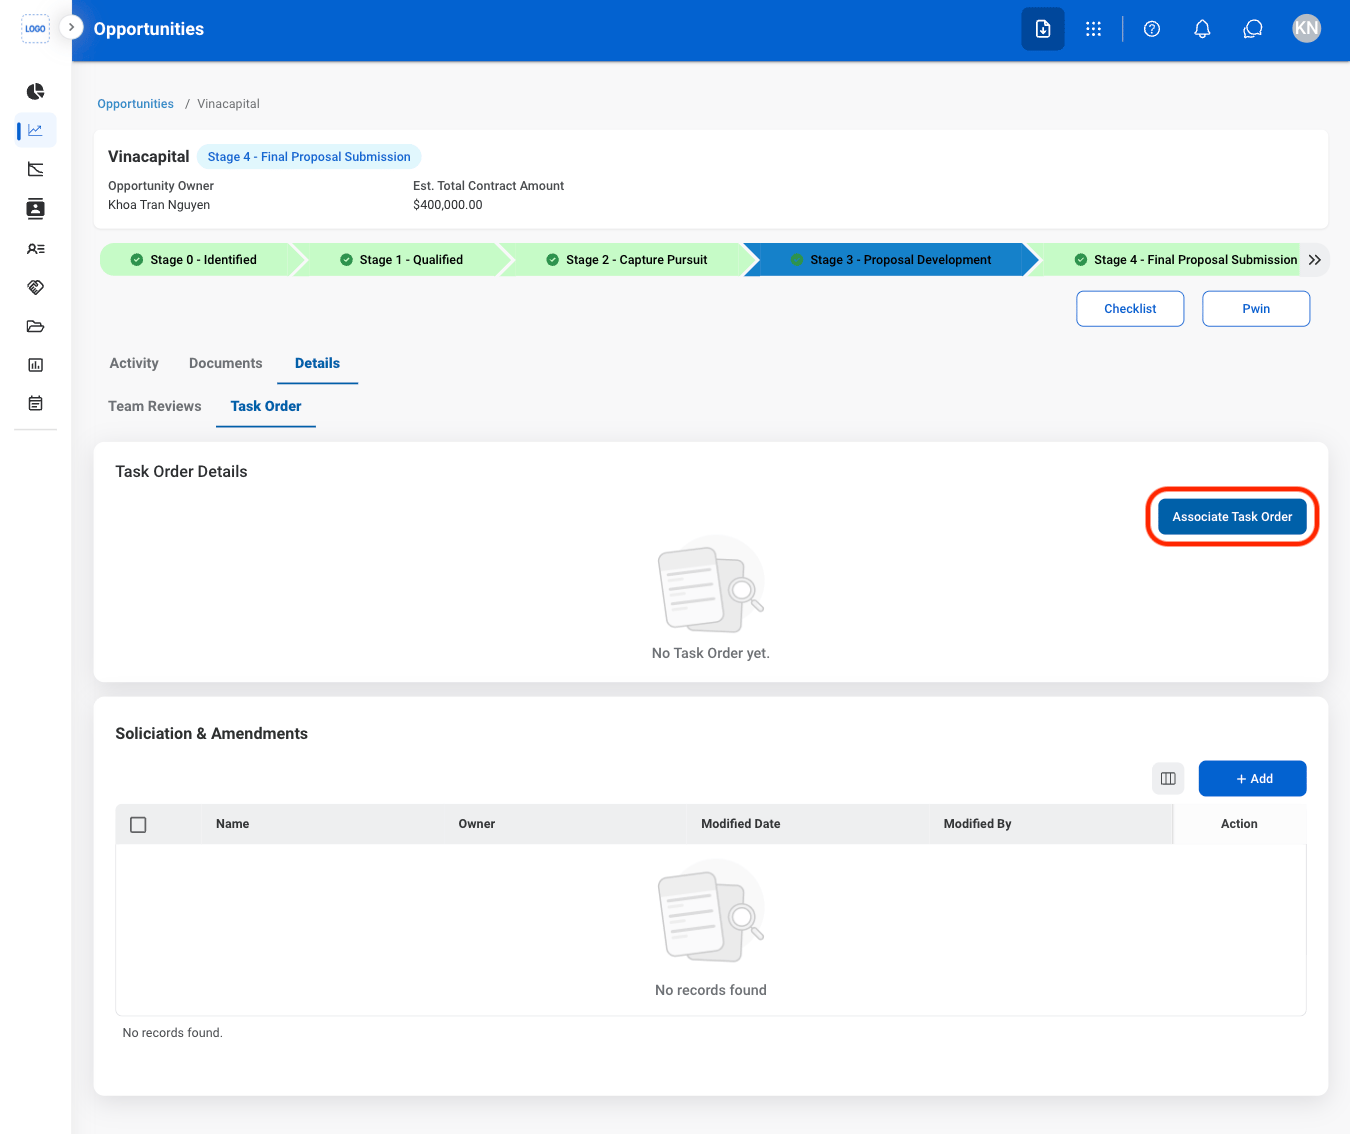
Select Associate Task Order
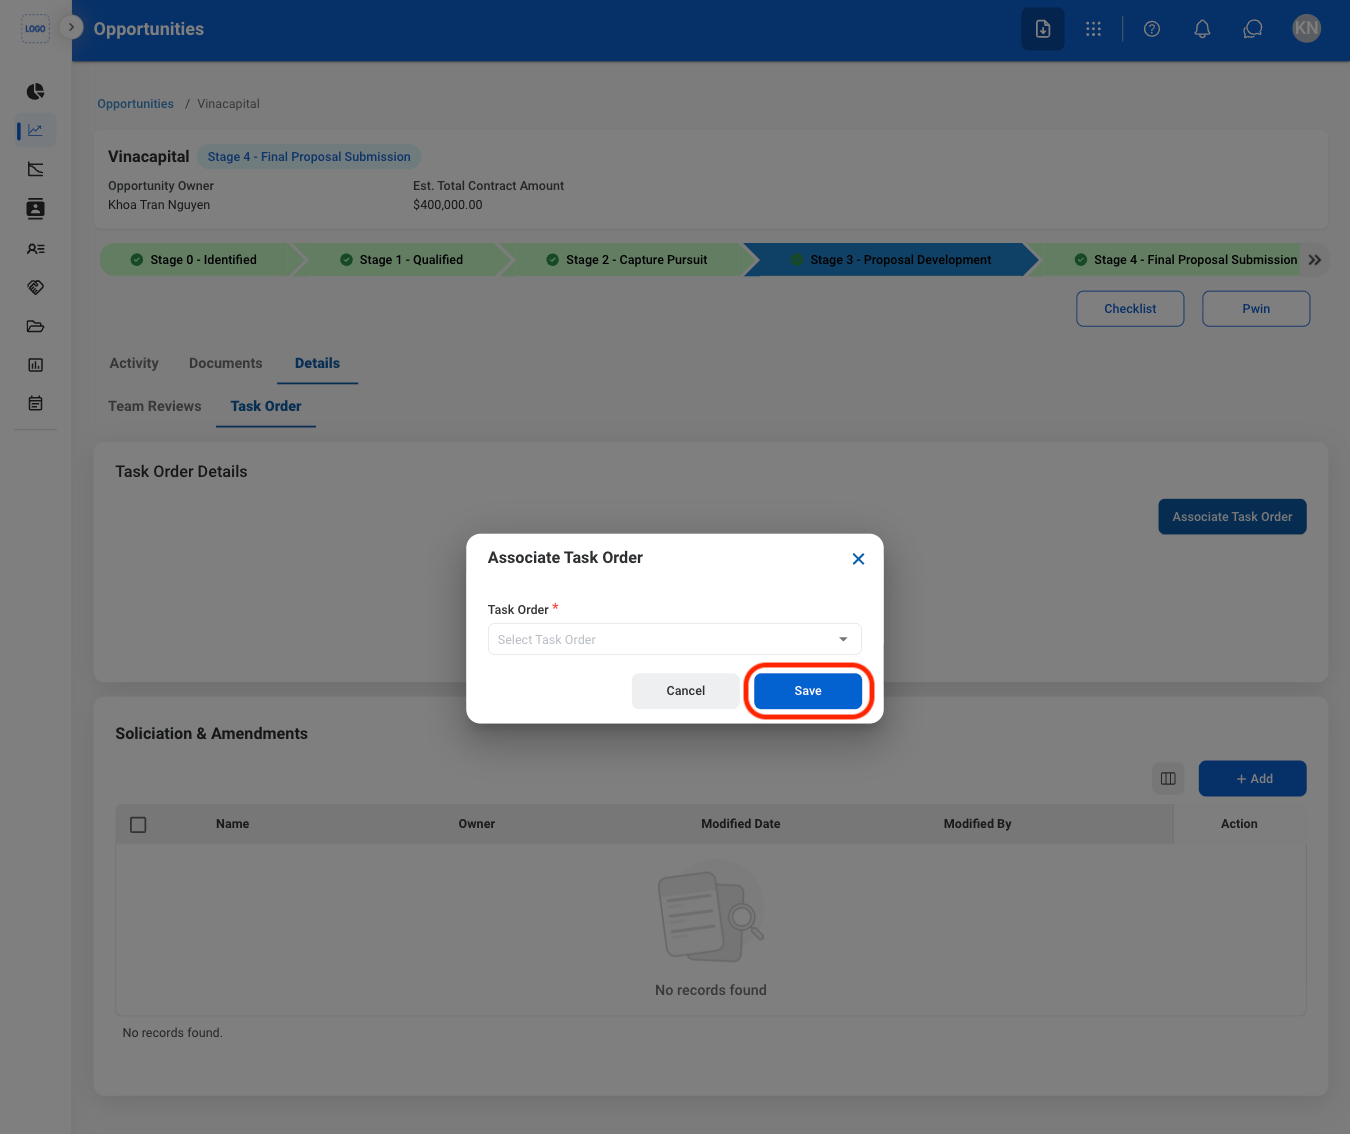
Fill in the required information
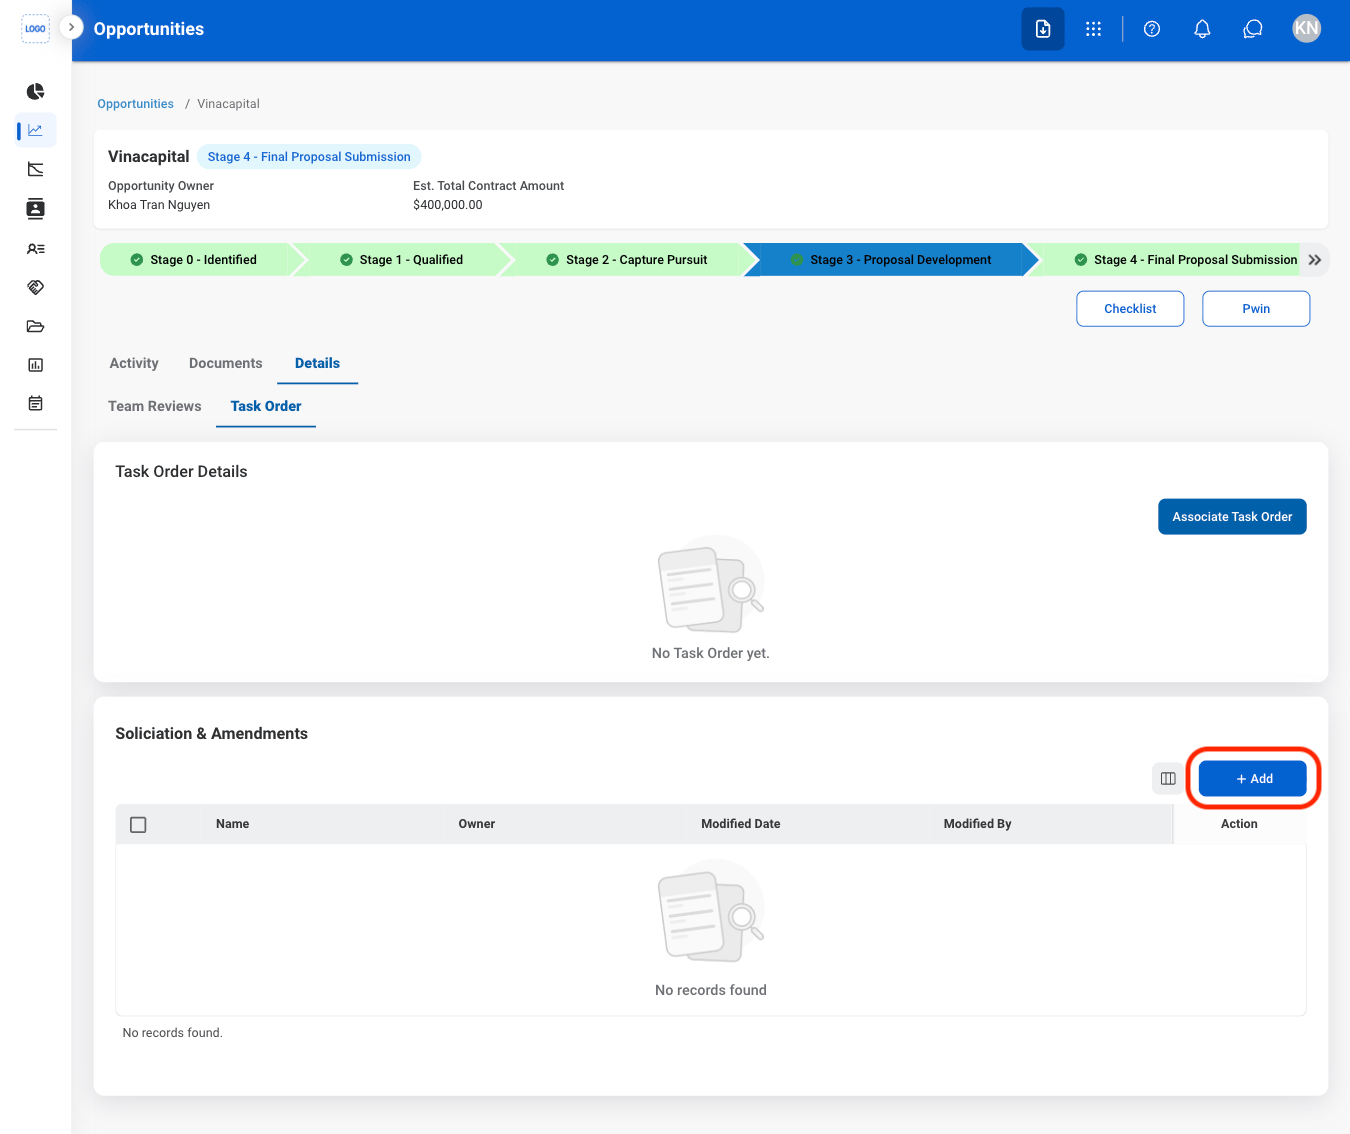
Add Solicitation & Amendments
Select Add
Select a document type
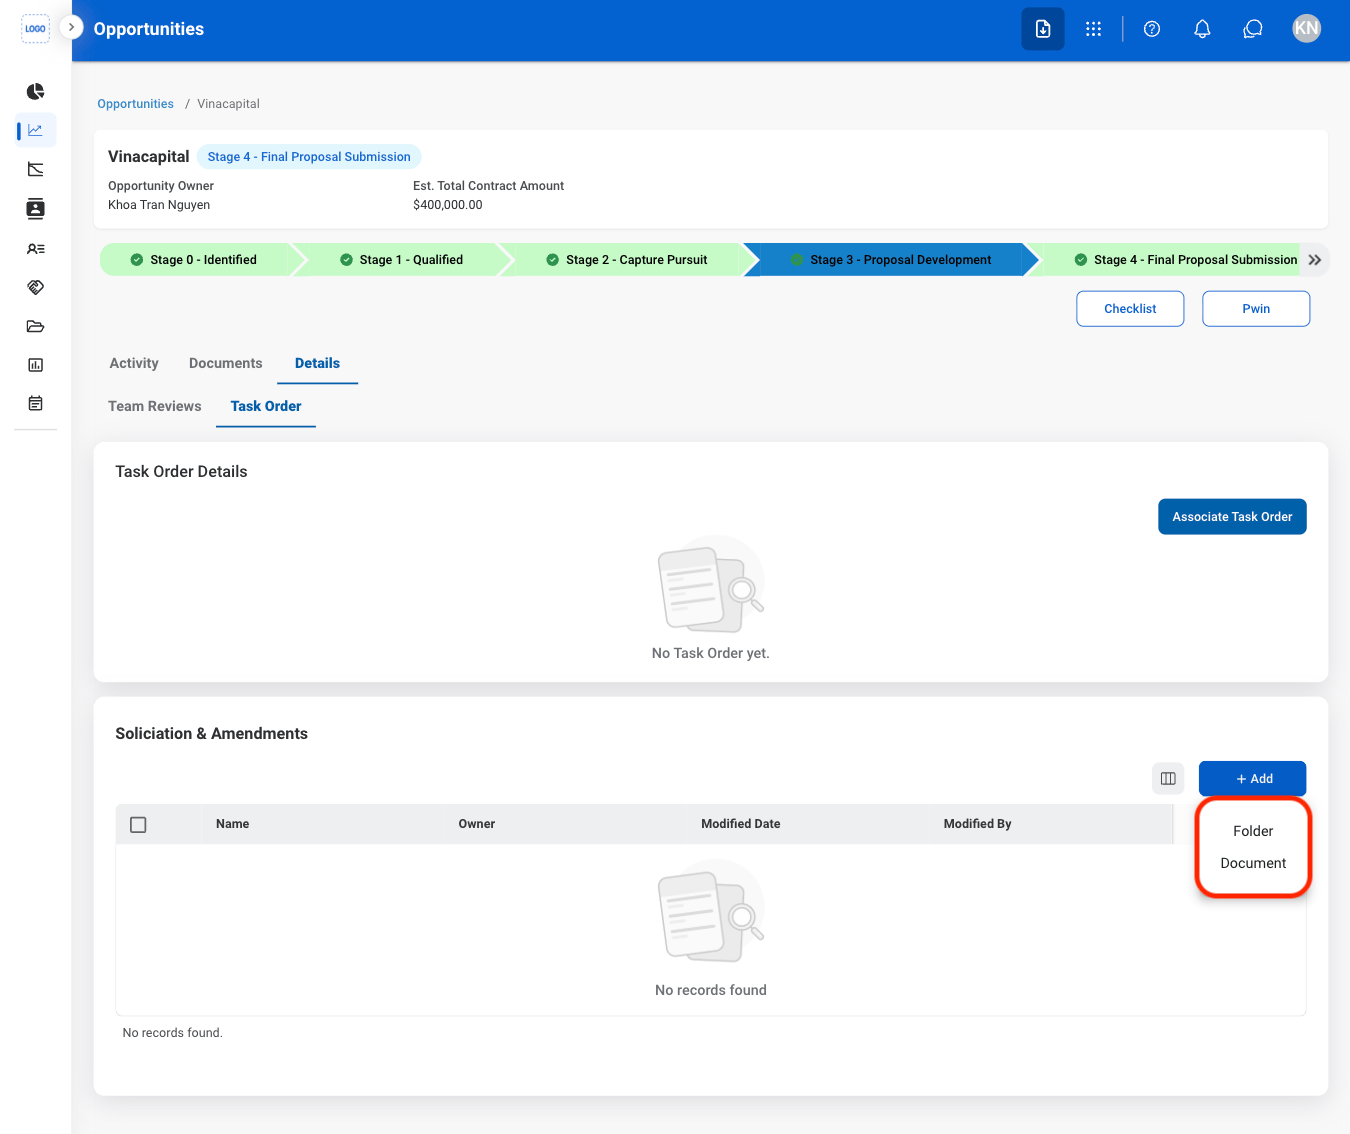
Fill in the required information
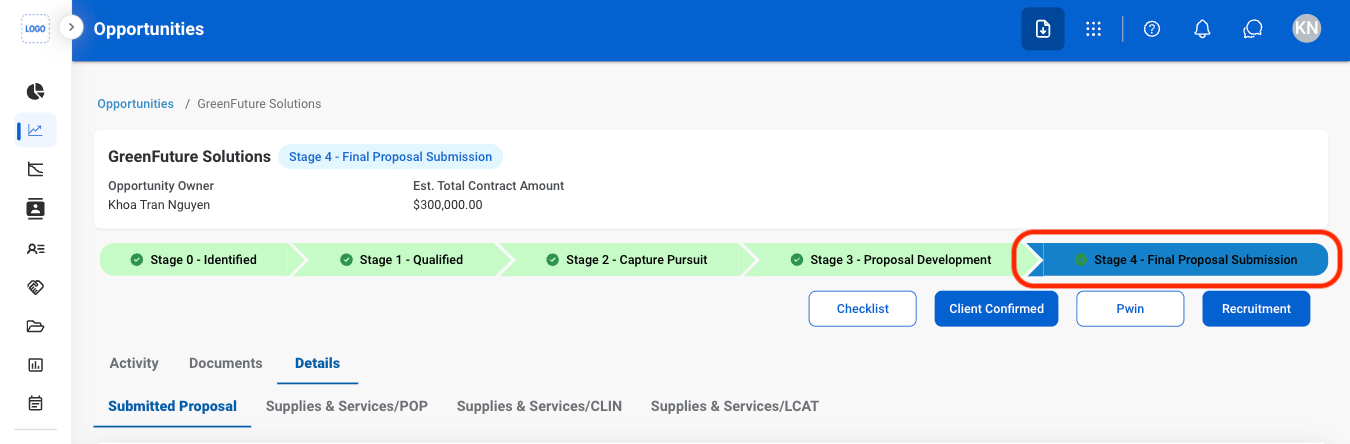
Stage 4 Functions
Edit Submitted Proposal
Select Stage 4
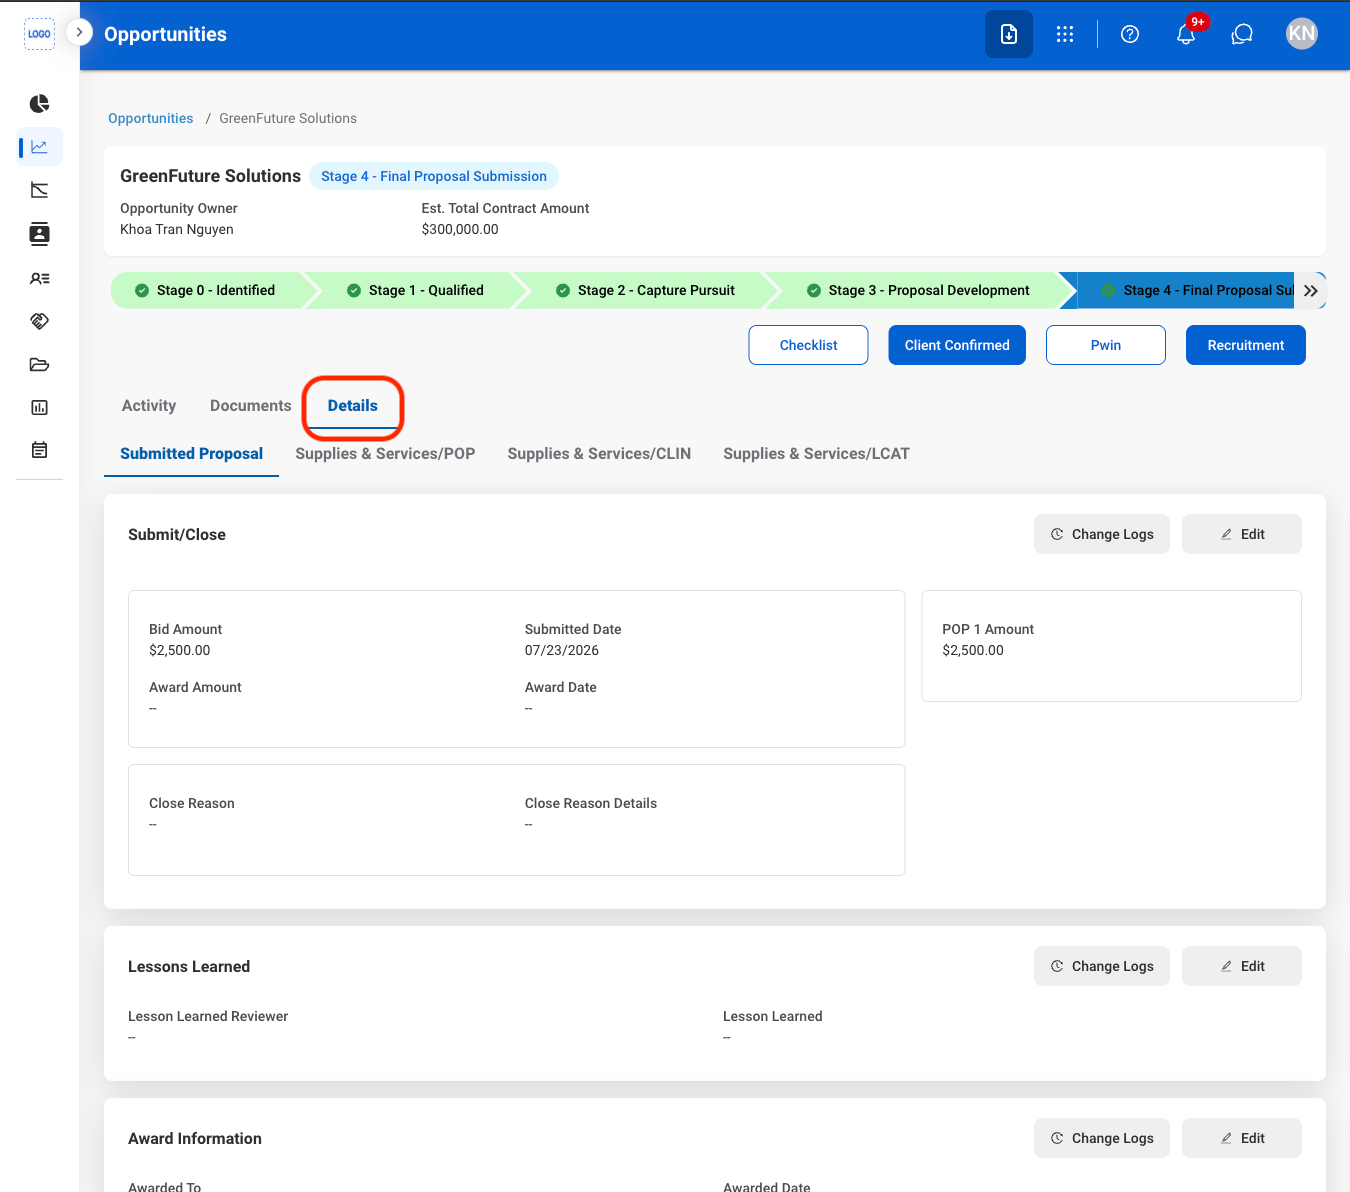
Navigate to Details
Navigate to Submitted Proposal
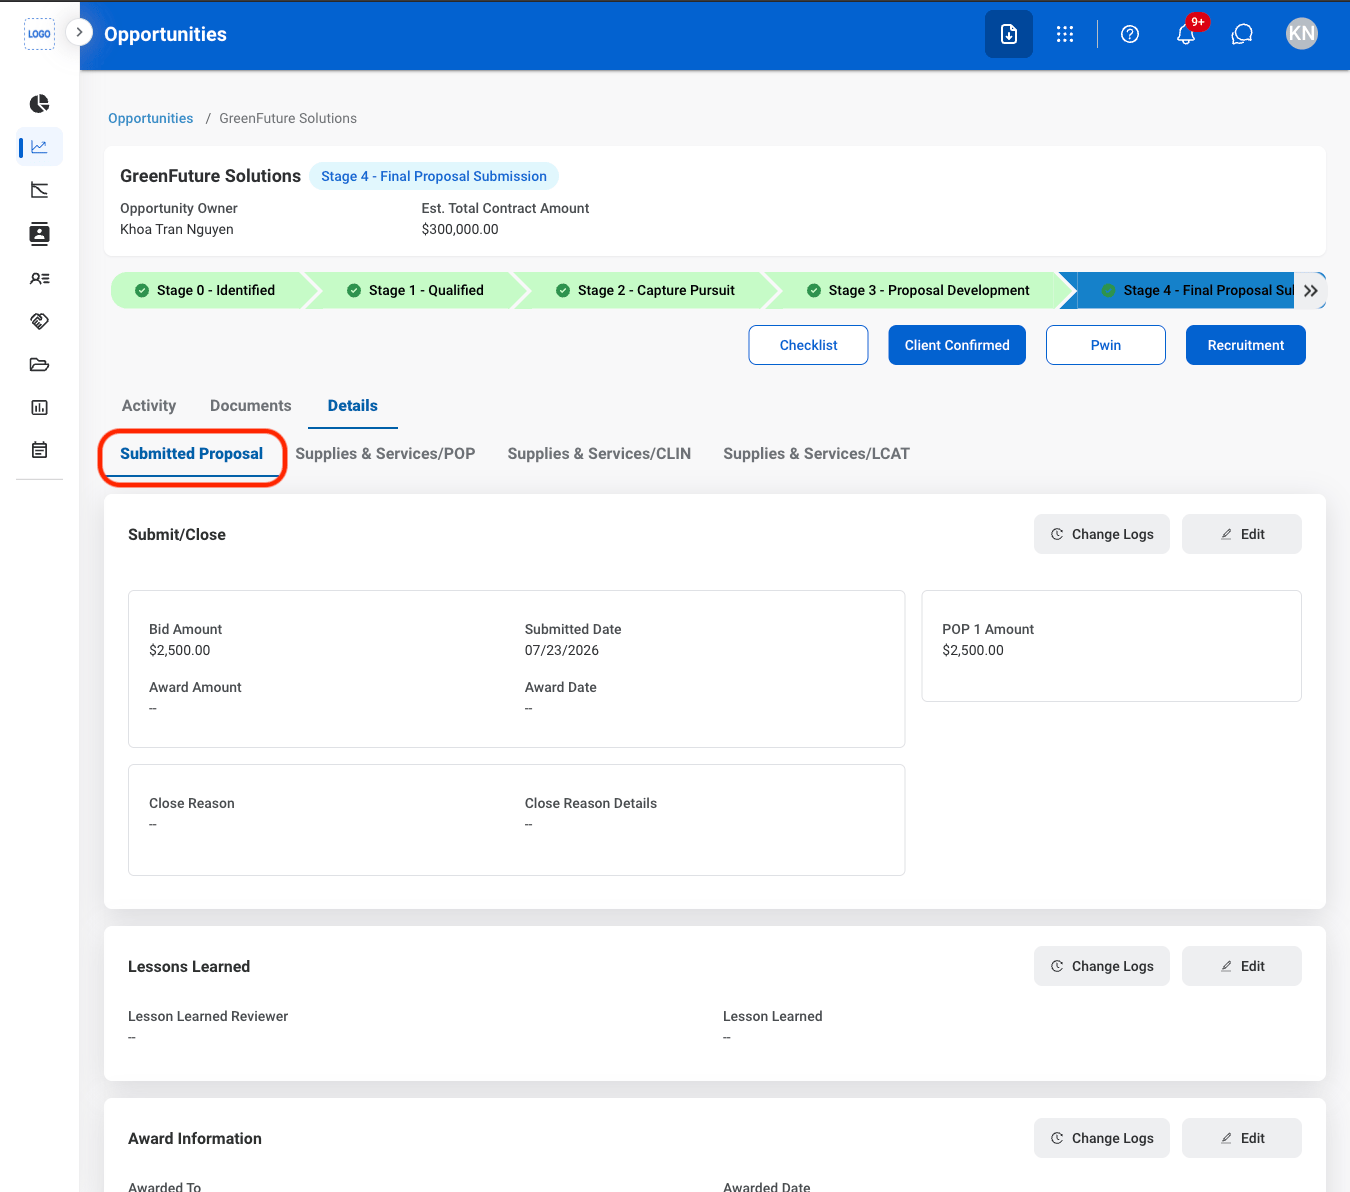
Select Edit
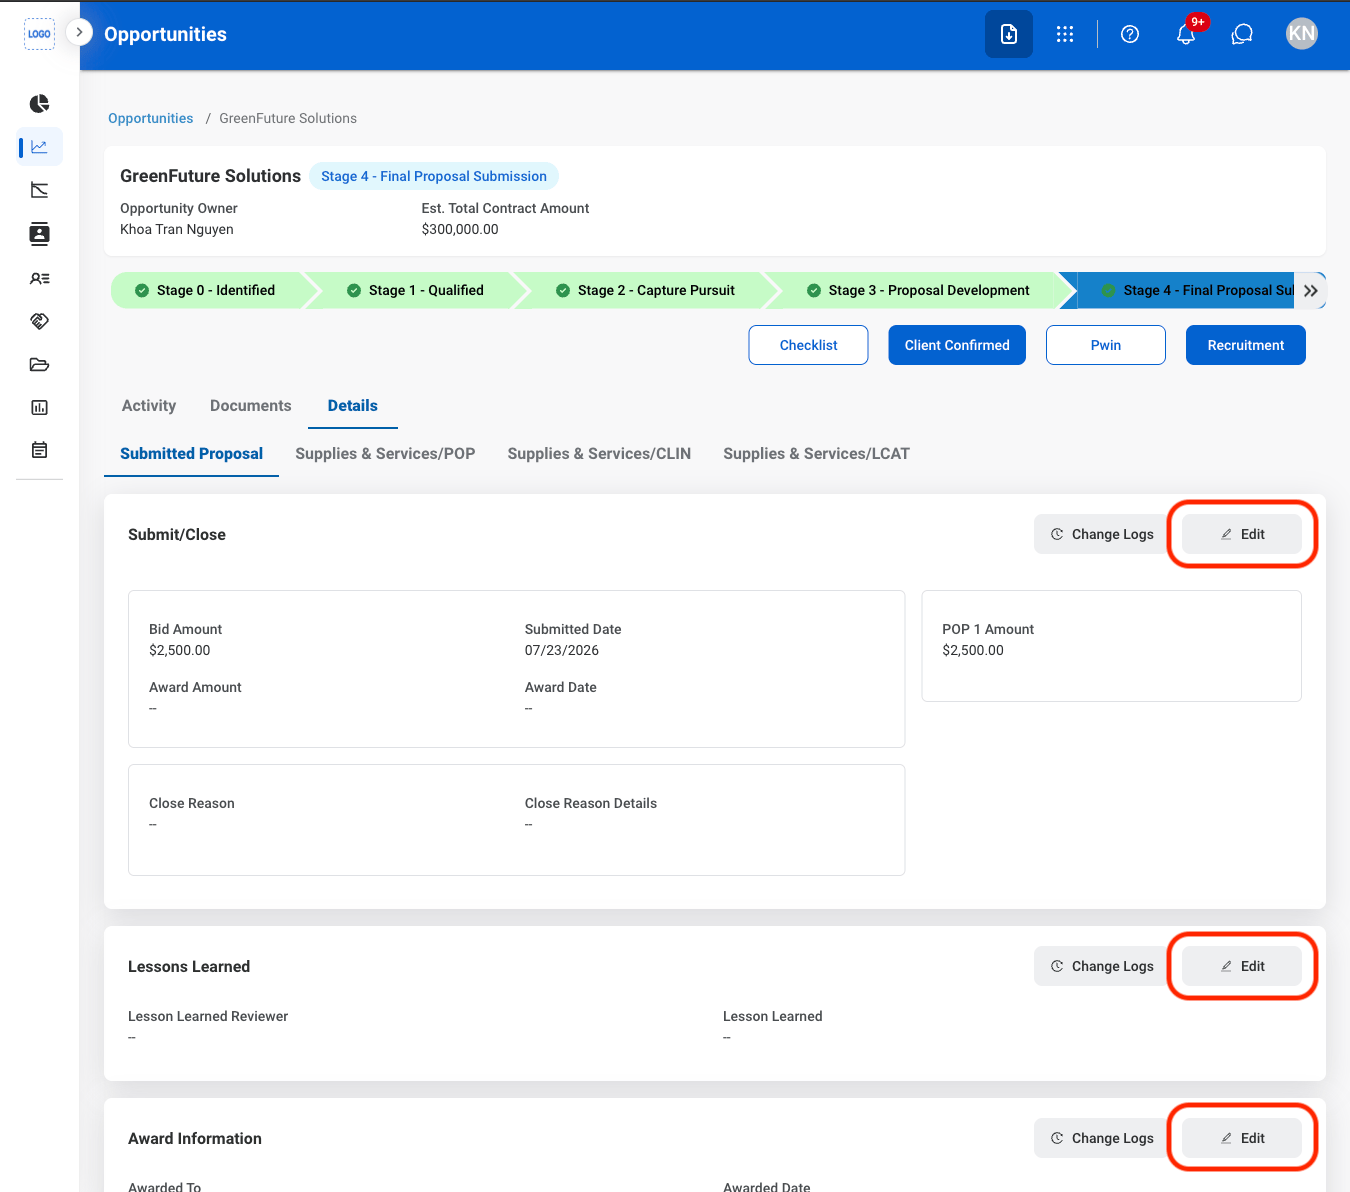
Fill in the required information
Add Period of Performance
Navigate to Supplies & Services/POP
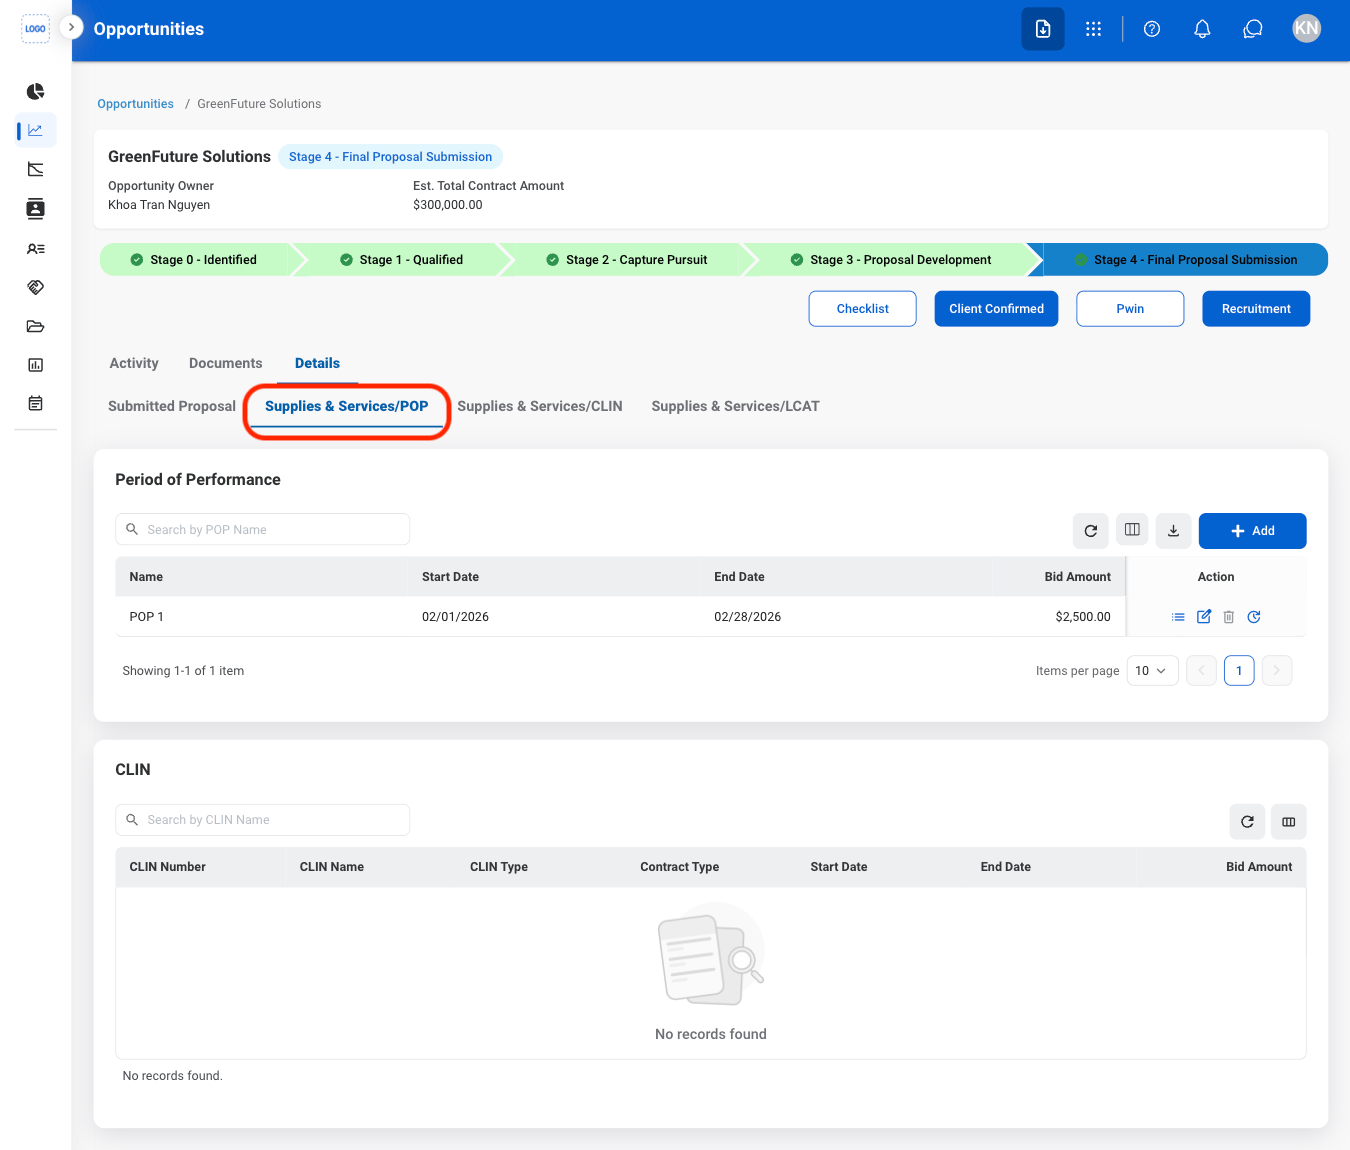
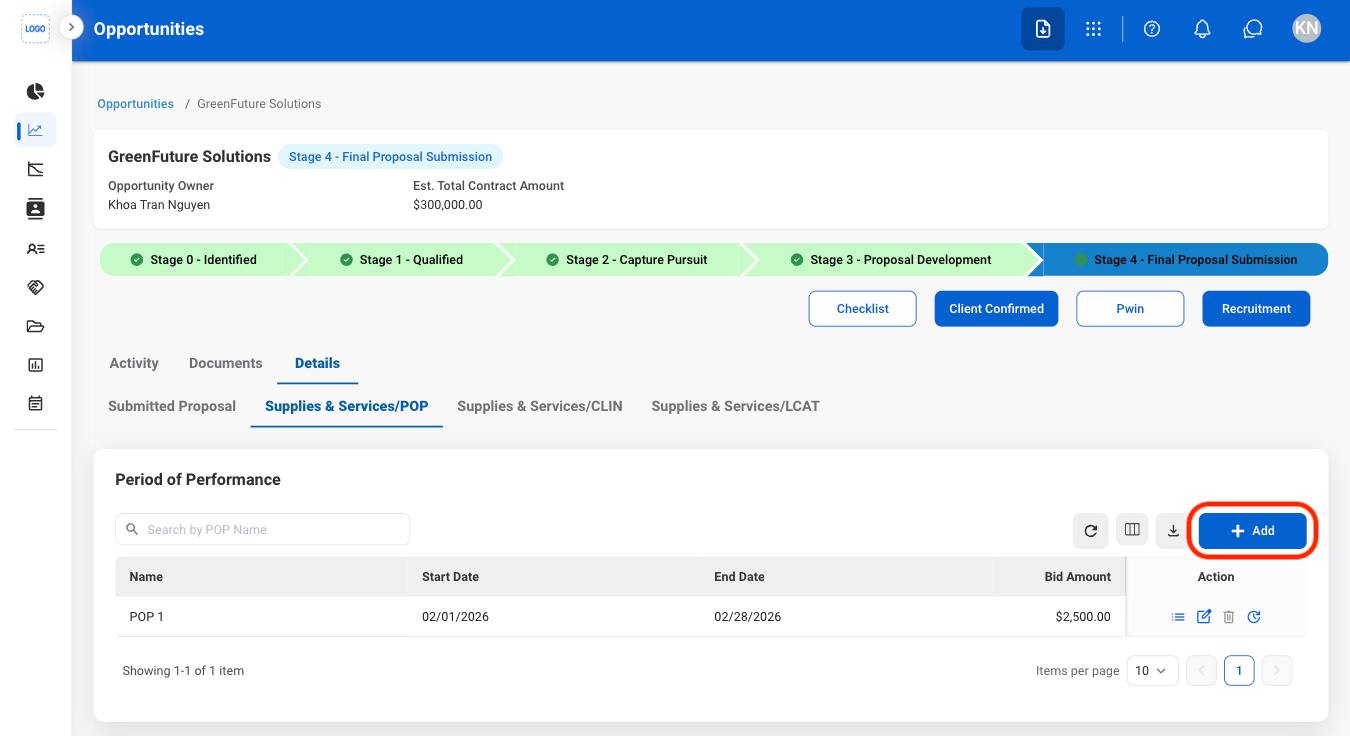
Select Add
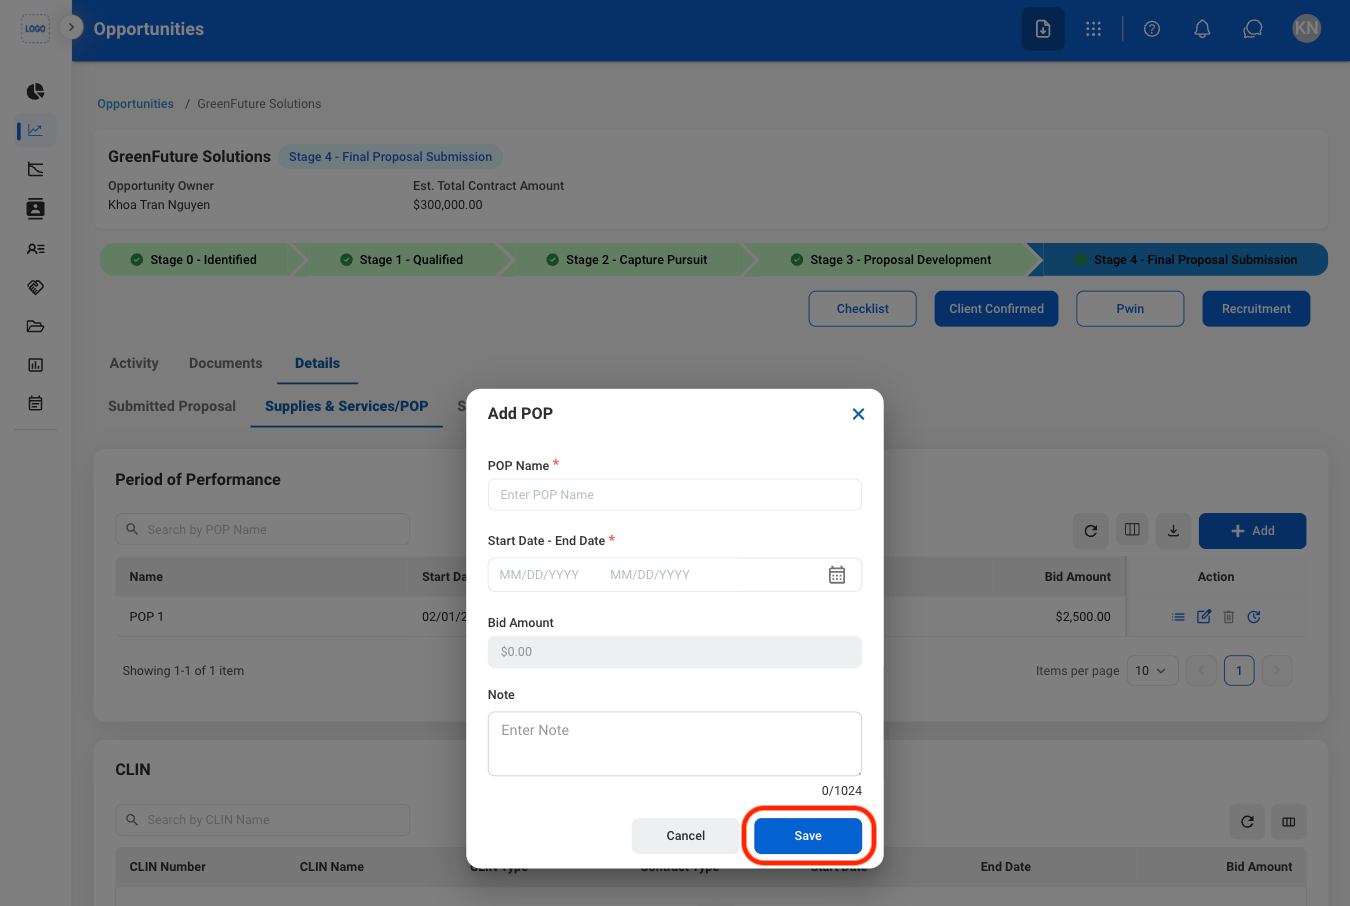
Fill in the required information
Add and Assign CLIN
Navigate to Supplies & Services/CLIN
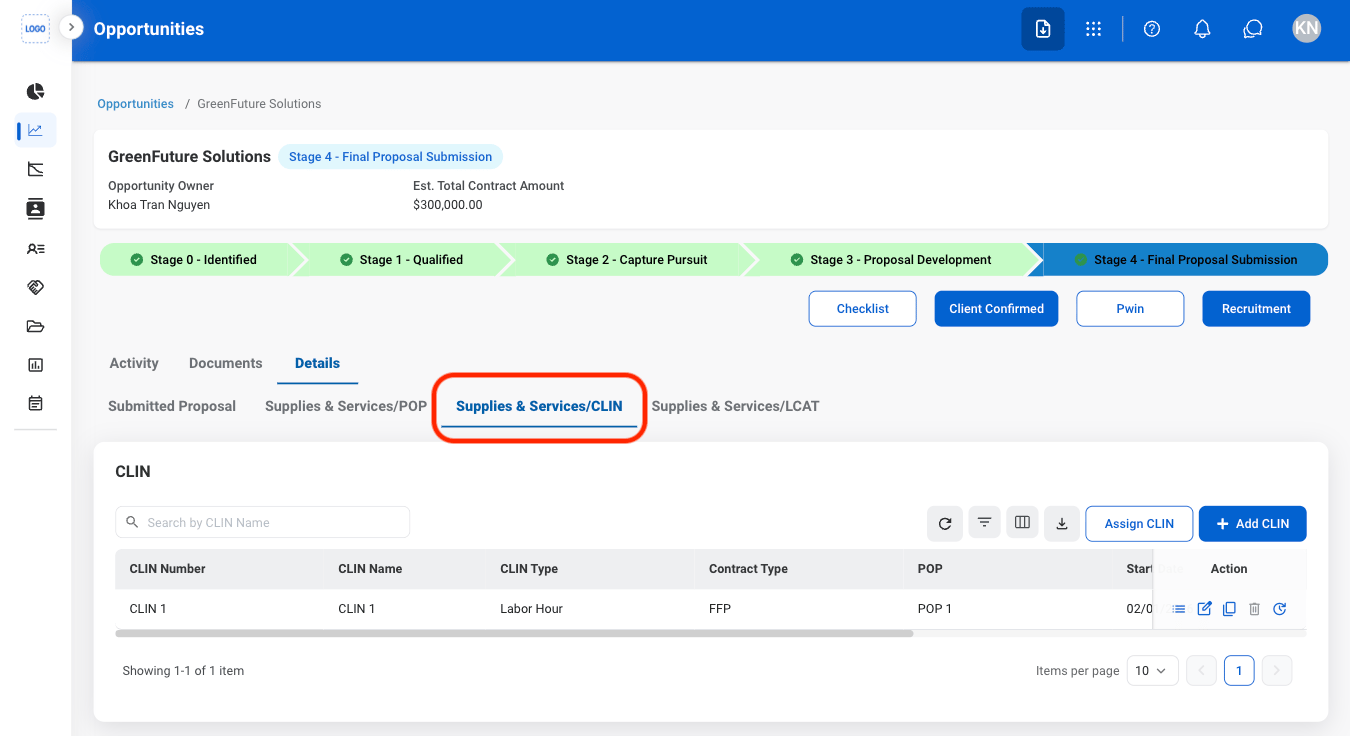
Select an action
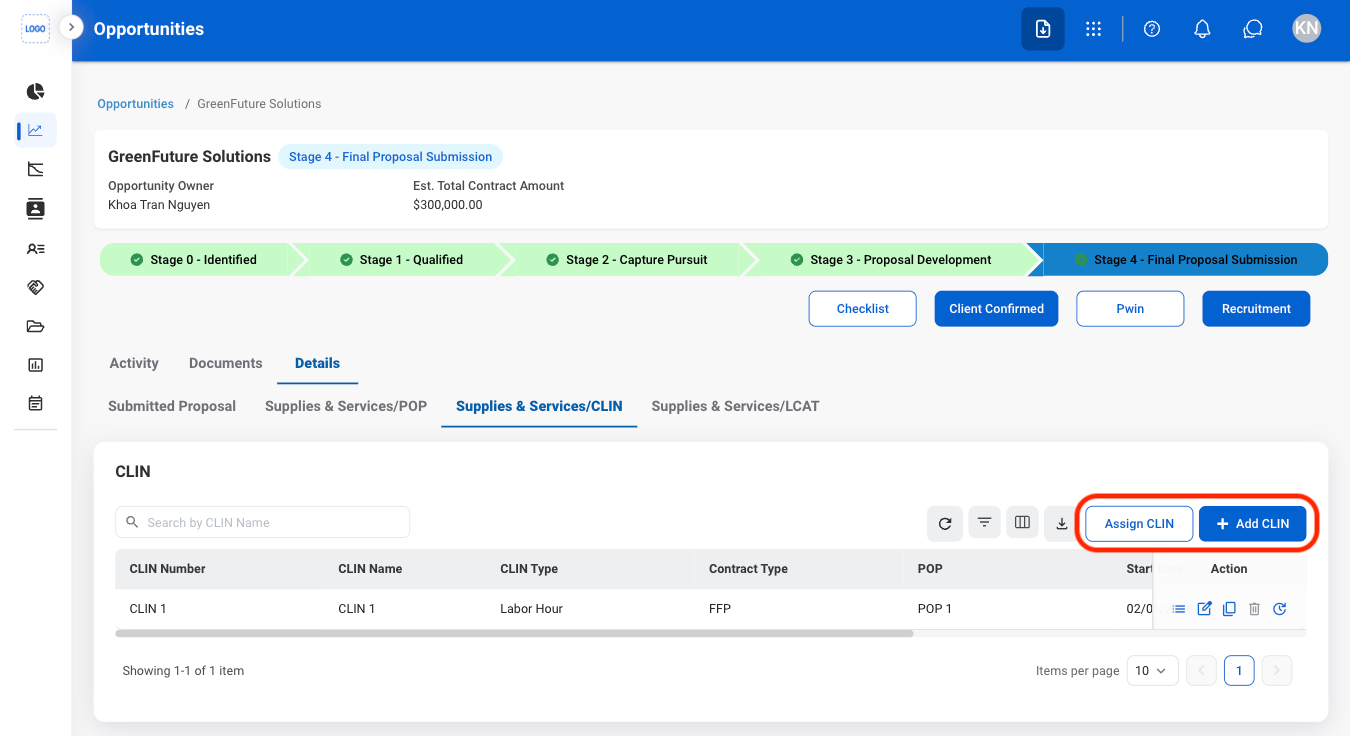
- Add CLIN: Create a new Contract Line Item Number (CLIN) and define its associated contract information.
- Assign CLIN: Associate an existing CLIN with the selected Period of Performance (POP).
Confirm the action
Add and Assign LCAT or Contingent
Navigate to Supplies & Services/LCAT
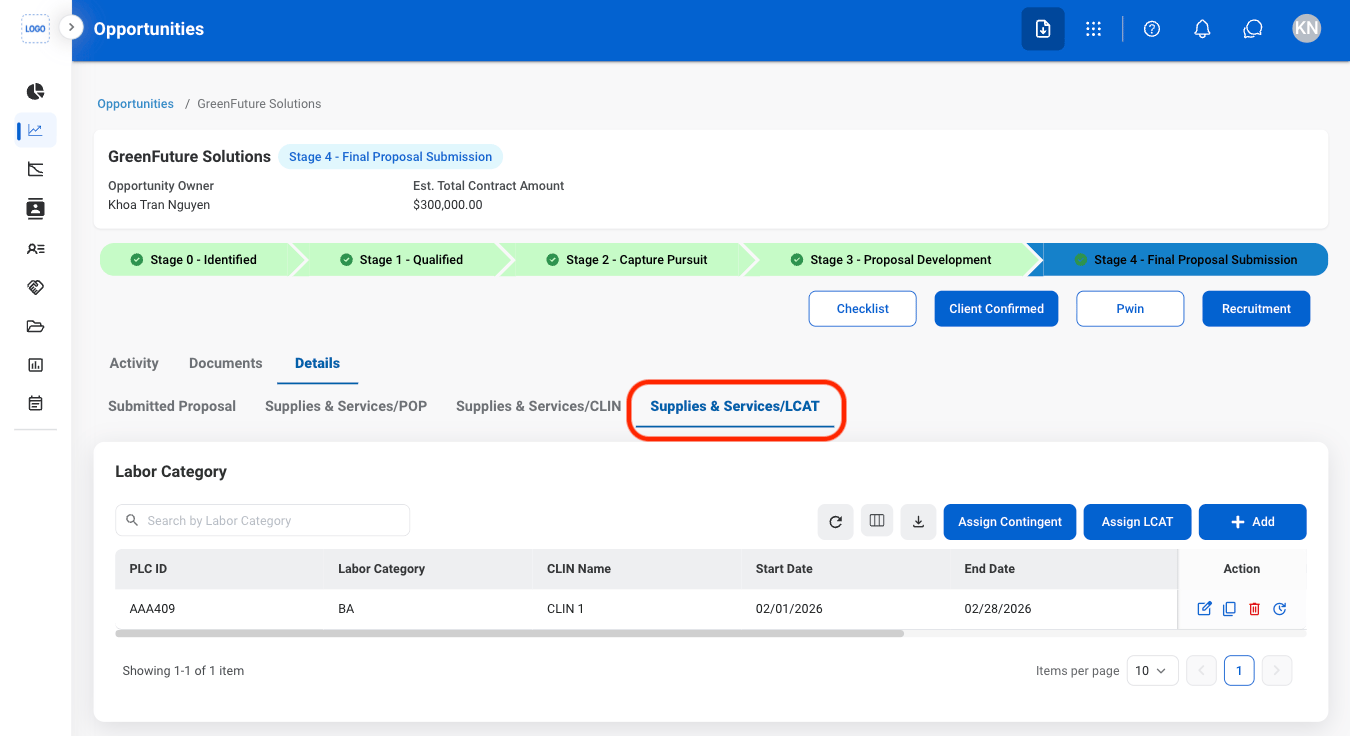
Select an action
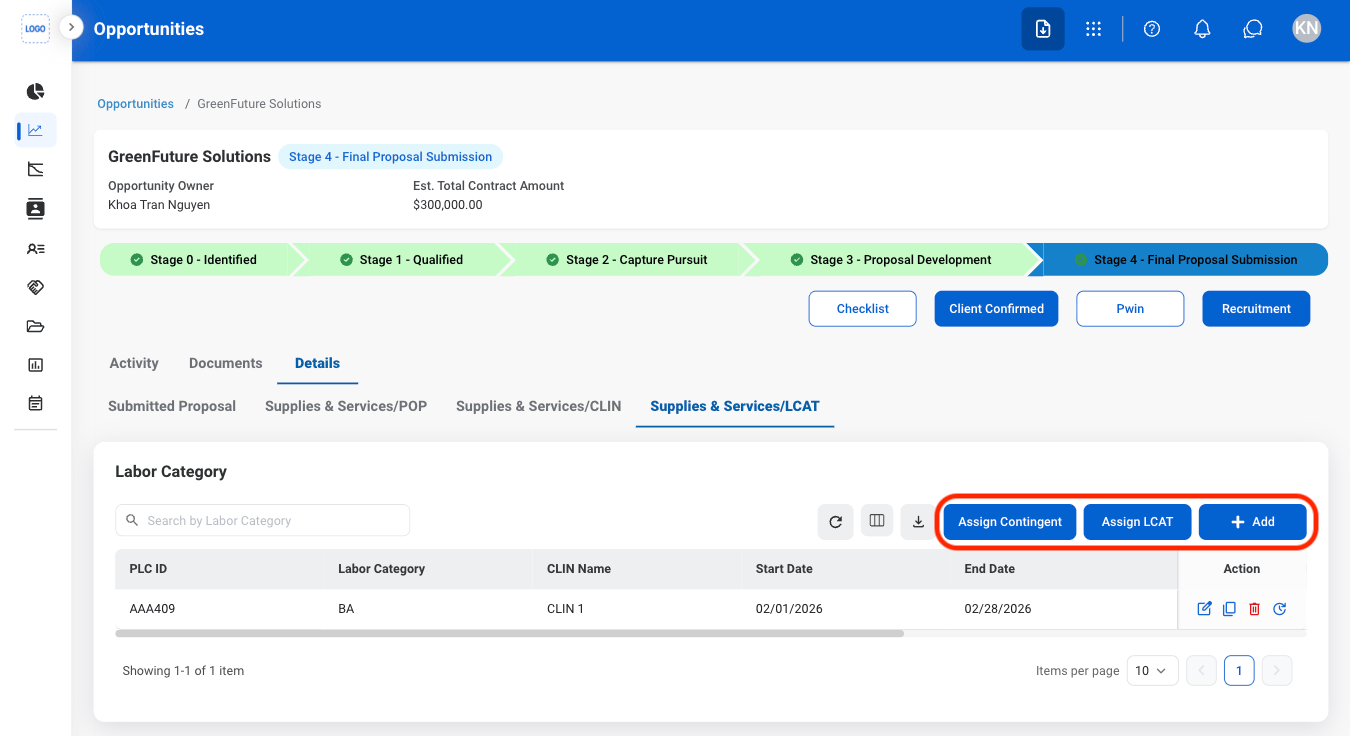
- Add LCAT: Create a new Labor Category (LCAT) and define its associated labor classification information.
- Assign LCAT: Associate an existing Labor Category (LCAT) with the selected Contract Line Item Number (CLIN) or contract record.
- Assign Contingent: Assign contingent personnel to the selected Labor Category (LCAT) for contract planning or staffing.
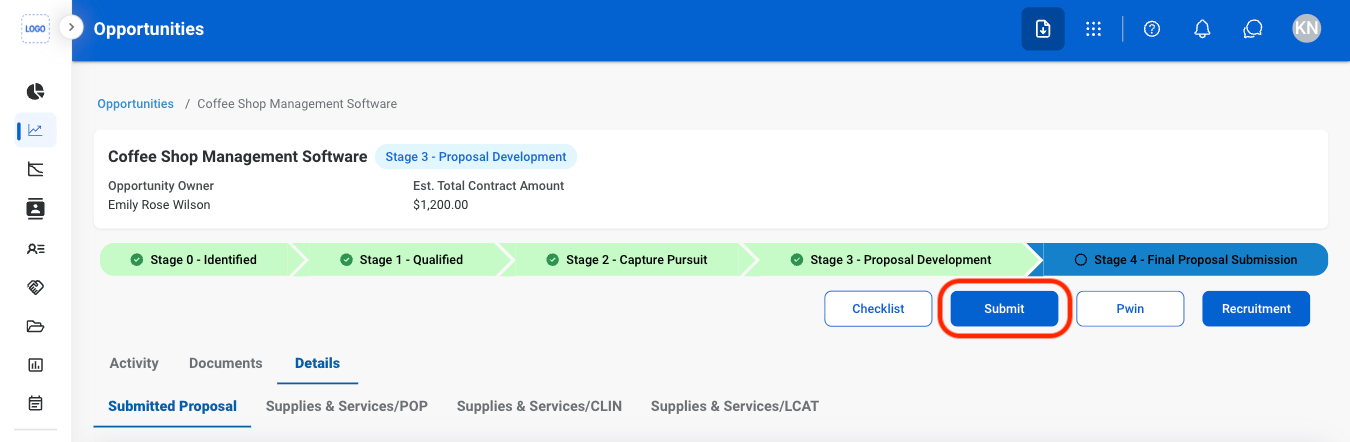
Submit Client Opportunity
Select Submit
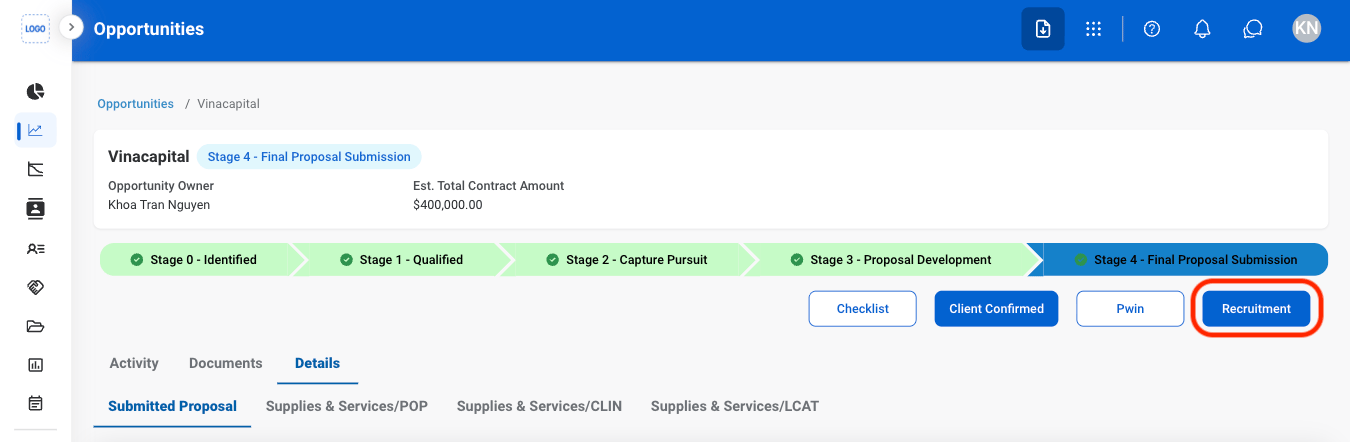
Open Opportunity Recruitment
Select Recruitment
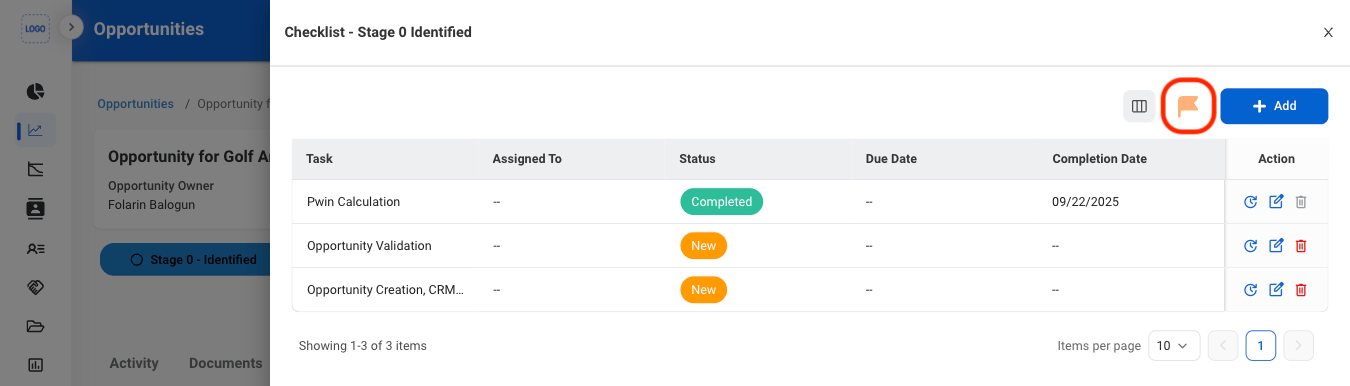
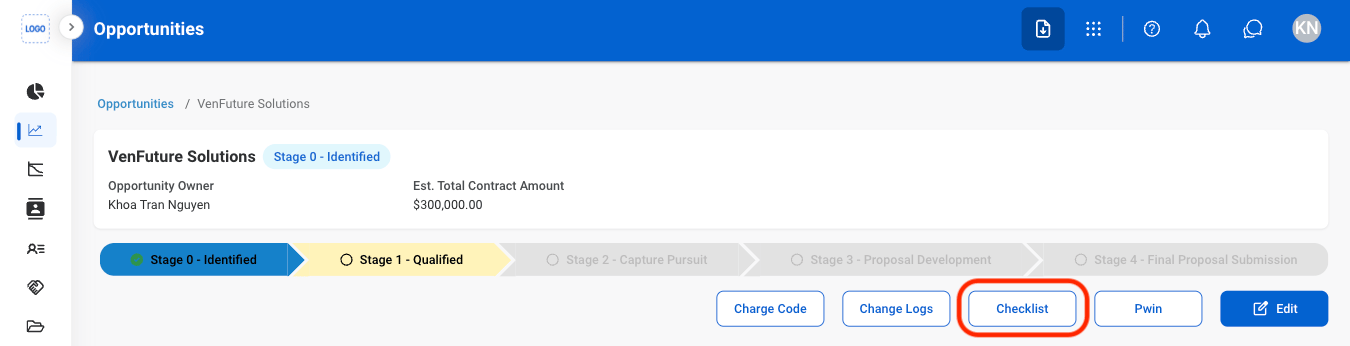
Add to Checklist
Select Checklist
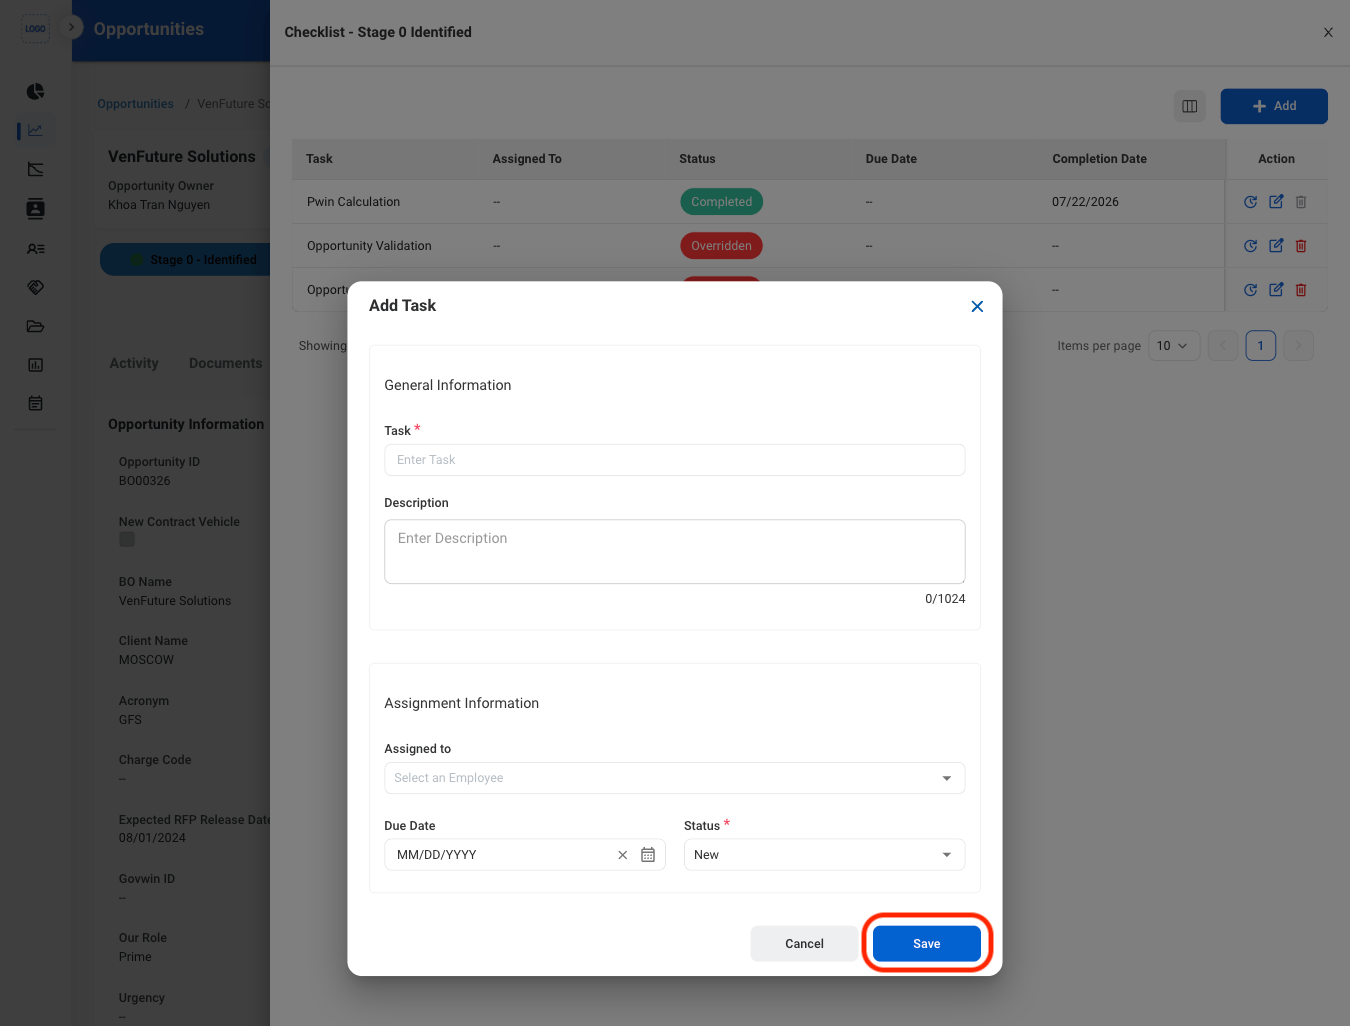
Select Add
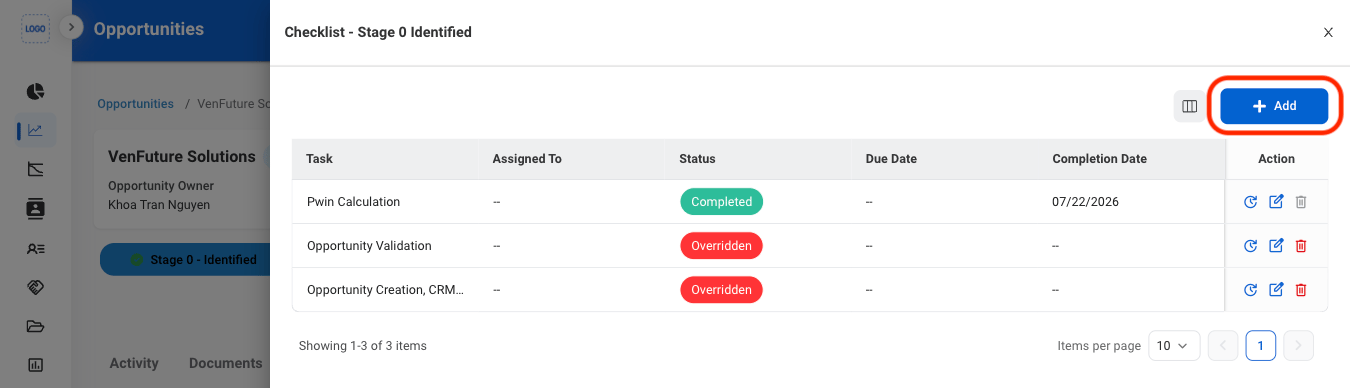
Fill in the required information
Checklist Actions
Select an action
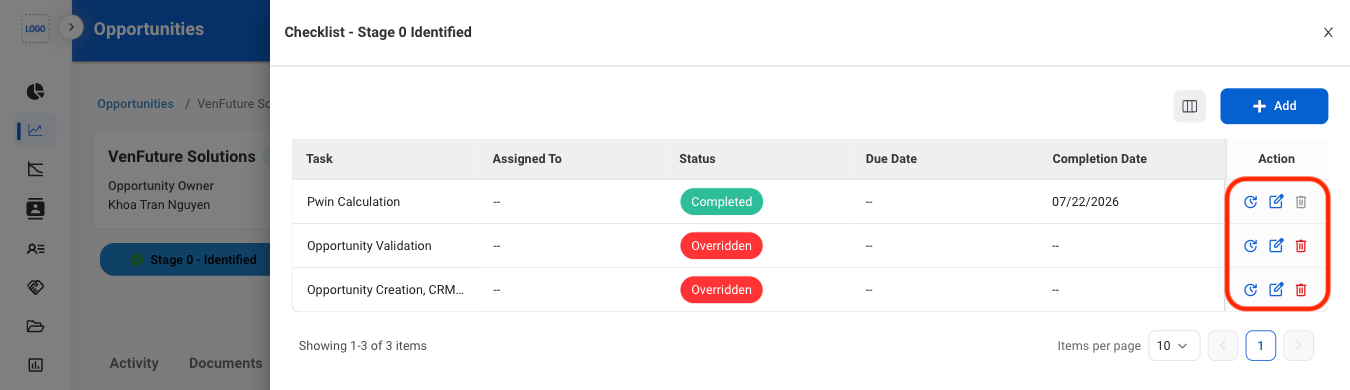
- History: Open the change log.
- Edit: Modify the task.
- Delete: Remove task from the checklist.
Confirm the action.
- Edit: Select Save to complete or Cancel to exit without saving changes.
- Delete: Select Delete to complete or Cancel to exit without saving changes.
Change an Opportunity Status
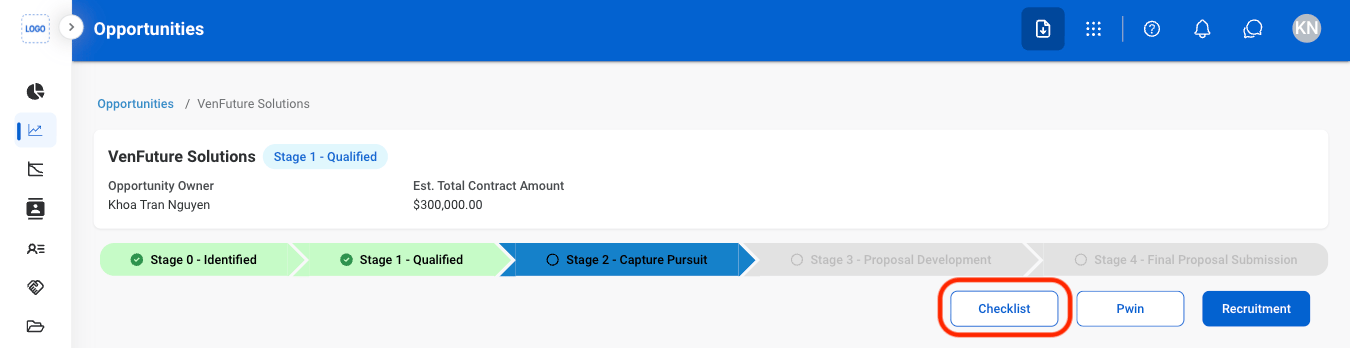
Select Checklist
Select Edit
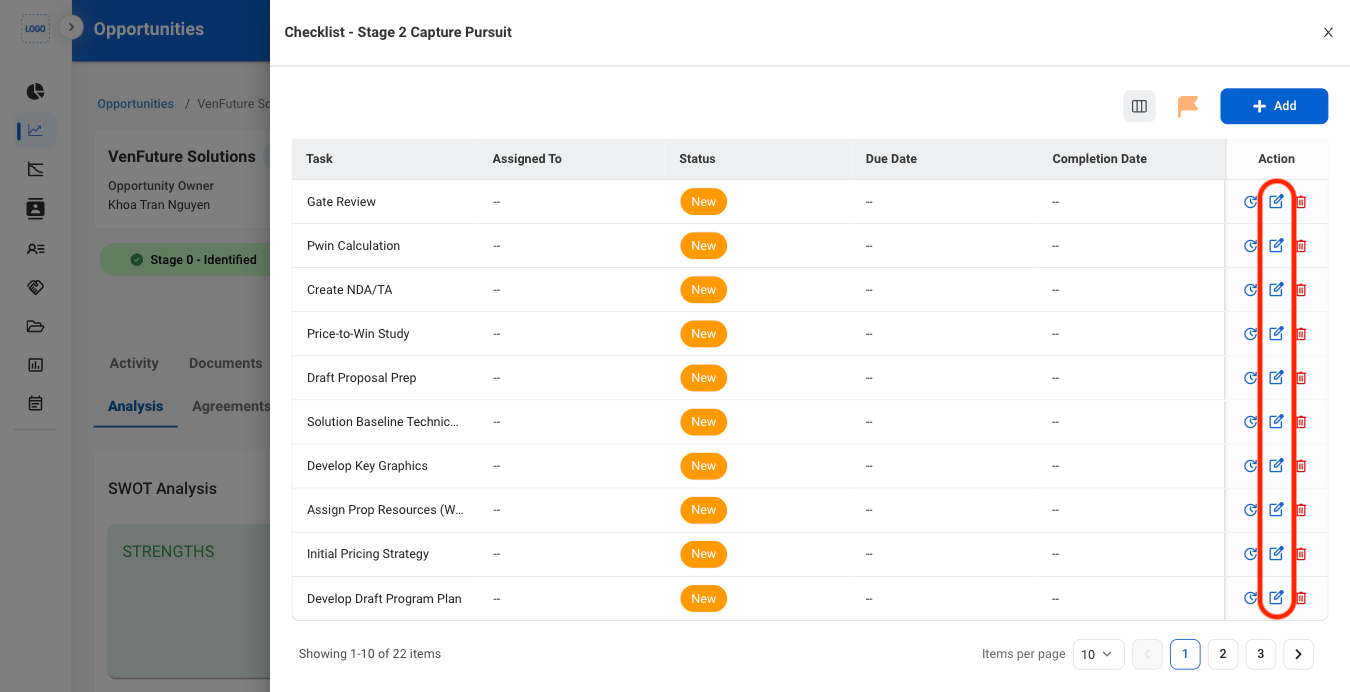
Update all tasks statuses to Completed
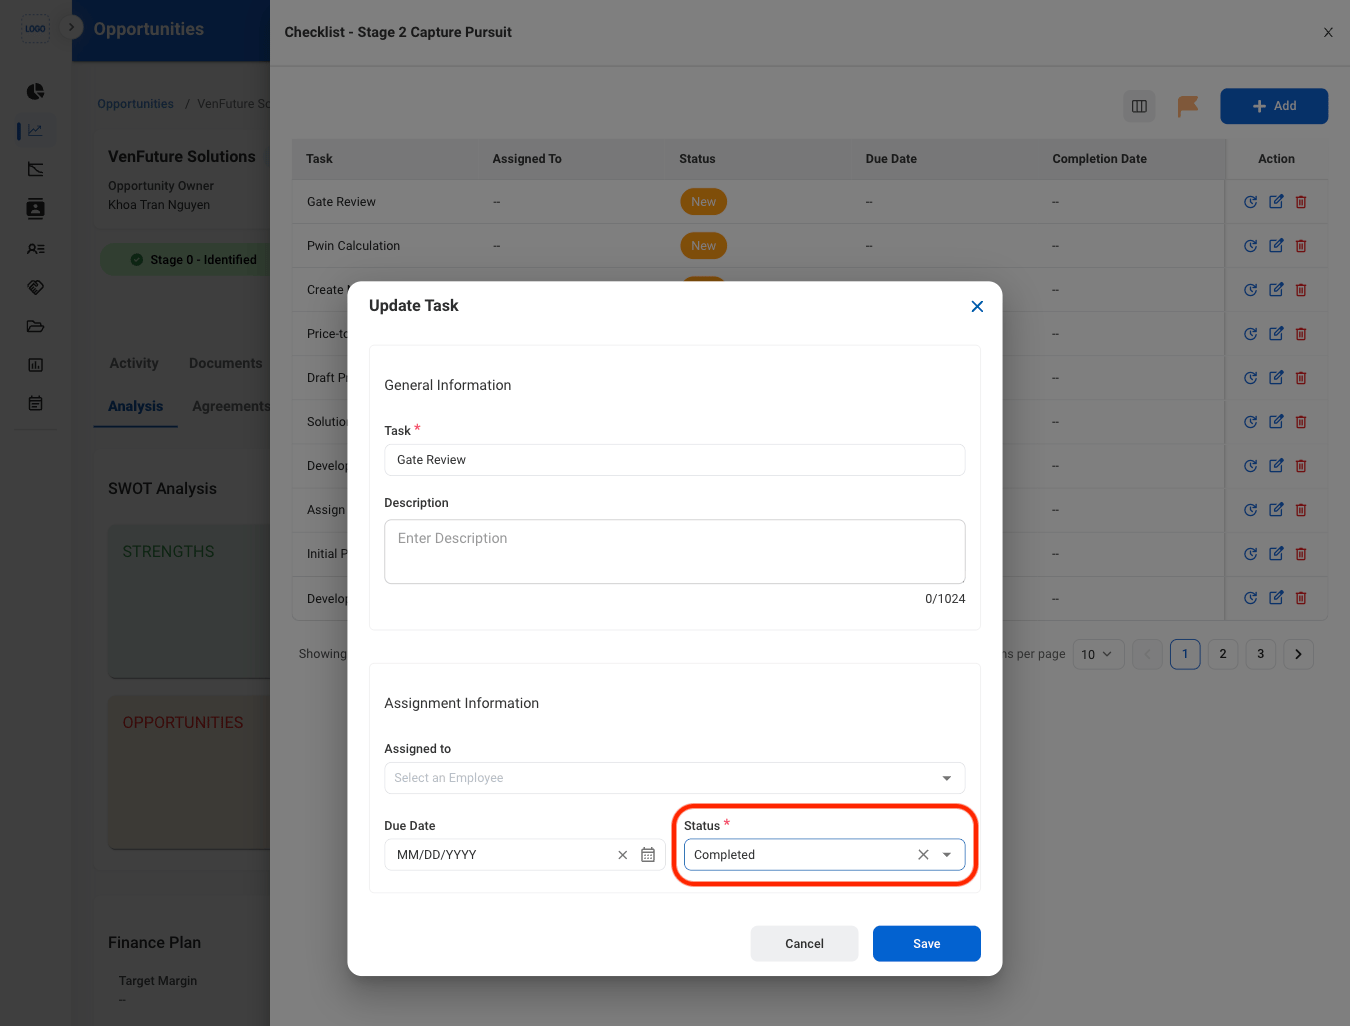
Override a Task
Select the override icon